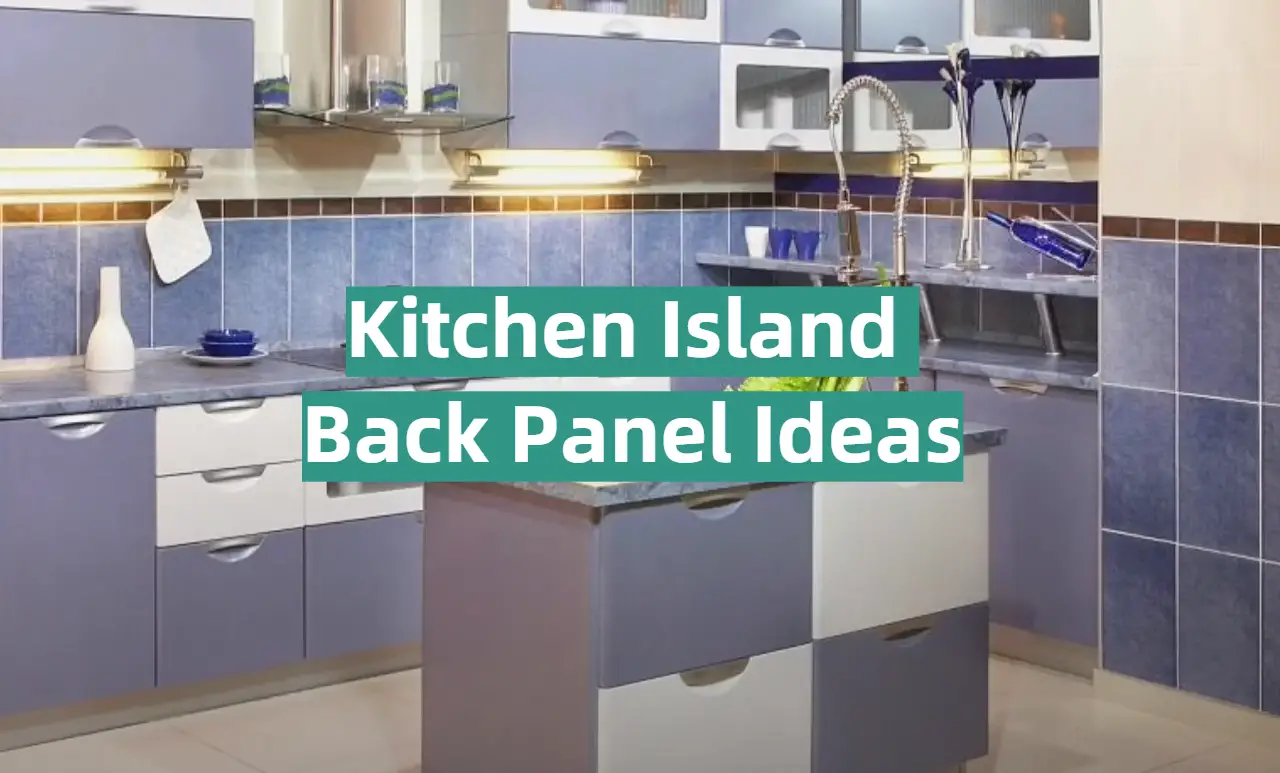
Your kitchen island is a key part of your kitchen. Not only does it provide storage and counter space, but it also serves as a focal point for the room. One of the most important decisions you’ll make when designing your kitchen island is what to do with the back panel. There are many different options available, so you’re sure to find one that fits both your style and your needs. This article will discuss different ideas for kitchen island back panels!
What is a Kitchen Island?
Kitchen islands come in all shapes and sizes, from large stand-alone models that take up most of the floor space to smaller built-in varieties that are implemented into existing cabinetry. Many people opt for custom-made islands that accommodate their exact needs and fit perfectly into the layout of their kitchens. There are endless options when it comes to materials, colors, and finishes for both the countertop and the cabinetry.
Kitchen islands are incredibly versatile pieces of furniture that make a great addition to any kitchen. They provide additional storage and workspace, can be used as extra eating areas, and add an aesthetically pleasing element to your space. Whether you opt for a custom-made island or choose one off the shelf, having an island in your kitchen is sure to enhance its overall functionality and appeal [1].
Advantages of Having a Kitchen Island:
- Extra Counter Space – A kitchen island offers extra counter space for prepping meals and other tasks, making it easier to get the job done quickly;
- Increased Storage – Not only does an island provide more counter space, but it also gives you additional storage in the form of cabinets and/or drawers. This is perfect for storing any large or bulky items that may not fit elsewhere;
- Additional Eating Area – If your kitchen is small or lacks a breakfast nook, an island can be used as another eating area instead of having to use the dining room table all the time;
- Maximizing Efficiency – An island helps you to maximize efficiency in the kitchen as it can act as both a workspace and an eating area, making it easier to multitask;
- Aesthetic Appeal – Kitchen islands come in all shapes, sizes, colors, and materials, so you’re sure to find one that suits your style. Having an island adds visual interest to the room and can be used as a focal point for the design of your space [2];
Disadvantages of Having a Kitchen Island:
- Cost – Depending on what type of island you choose, they can be fairly expensive and may not fit into everyone’s budget;
- Space Limitation – If your kitchen is already small, adding an island may make it feel even more cramped and cluttered;
- Installation – If you’re opting for a large, stand-alone island, it may require major installation which can be time-consuming and costly;
- Lack of Mobility – Because islands are typically stationary pieces of furniture, they lack the mobility of other smaller kitchen items such as carts or tables which makes them less versatile when it comes to rearranging your space;
- Maintenance – Islands also require maintenance to keep them looking their best; this includes regular dusting and cleaning as well as oiling the countertop surfaces periodically to prevent cracking or discoloration;
Main Elements of a Kitchen Island
A kitchen island is a great way to add extra storage and workspace to your kitchen. It can also act as additional seating for friends and family when entertaining. To create the perfect kitchen island, there are a few key elements that you should consider:
- Counter Top: Kitchen islands come in many shapes, sizes, and materials. Choose a countertop material that fits with your overall kitchen design scheme—granite, laminate, wood, or marble all work well, depending on the style of your space;
- Cabinets & Drawers: Additional cabinets or drawers can be added to any kitchen island for extra storage or organization. You can easily customize the cabinets by adding knobs and handles with unique finishes to match the rest of your kitchen;
- Seating: Depending on the size and shape of your island, seating can be added in a variety of styles, such as stools or chairs. Choose comfortable seats that will fit well around the perimeter of the island;
- Appliances: If you have enough room, add an extra sink or cooktop to your kitchen island for convenient food preparation and cleanup. This is especially helpful if you entertain often or have multiple cooks in the kitchen at once;
- Lighting: A kitchen island should have adequate lighting to help provide illumination while working and cooking. Consider adding overhead pendant lights or sconces around the perimeter of the island to spotlight specific areas for meal prep;
- End Panel: If you want to give your kitchen island a more polished look, consider adding an end panel. This can be done with matching cabinetry or a contrasting material such as butcher block or stone;
With the right combination of elements, you can create a kitchen island that meets all of your needs and adds extra style and function to your space. Have fun with the design and make sure it is something you love!
10 Creative Kitchen Island End Panel Ideas For Your Inspiration
1. Waterfall Edge
A waterfall edge is a clean and modern look that adds texture to the end panel of your kitchen island. It creates an interesting visual interest, as well as allows for easy access to the counter surface. This clean-cut design pairs beautifully with natural stone countertops or colorful glass backsplashes, making it perfect for a contemporary-style kitchen.
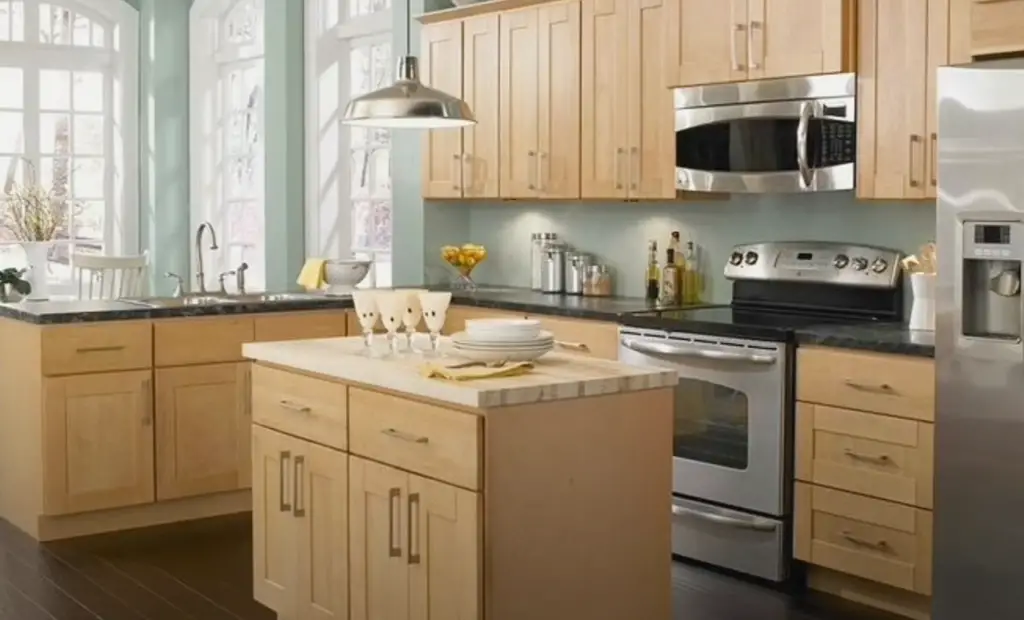
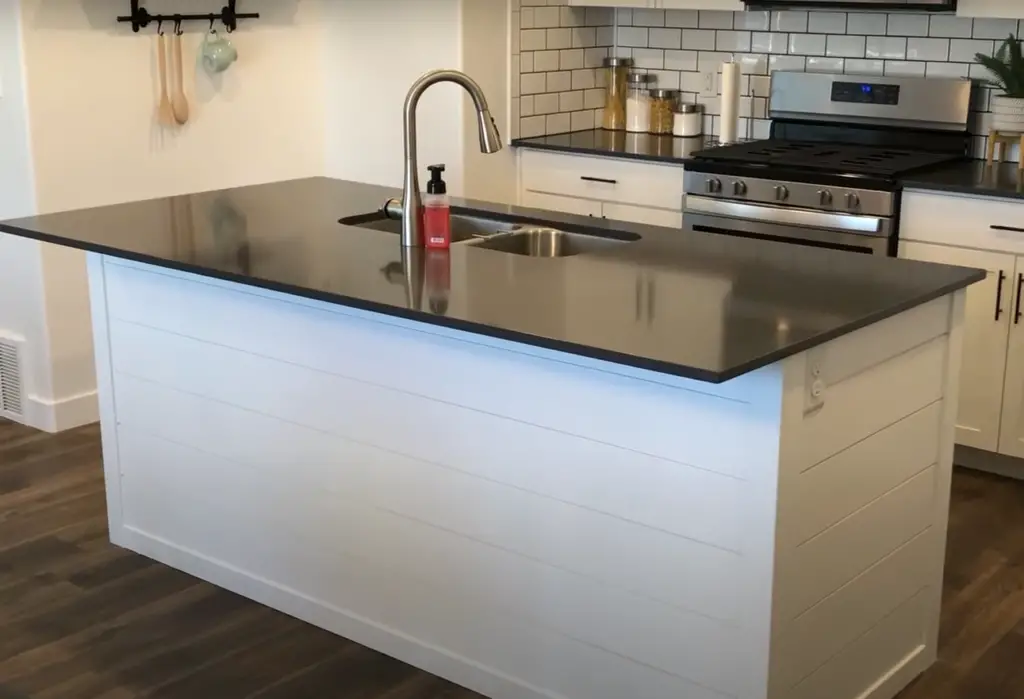
2. Paneled Sides
If you’re looking for a more traditional look, consider paneled sides for your kitchen island end panel. This timeless style is perfect for a classic or farmhouse-style kitchen, and it creates a beautiful contrast with modern elements like stainless steel appliances.
3. Open shelving
If you want to maximize the storage space in your kitchen, adding open shelving to the end panel of your island is a great way to do it. You can use the top shelf for display items, and the bottom shelves for storing kitchen essentials like dishes, spices and cookware.
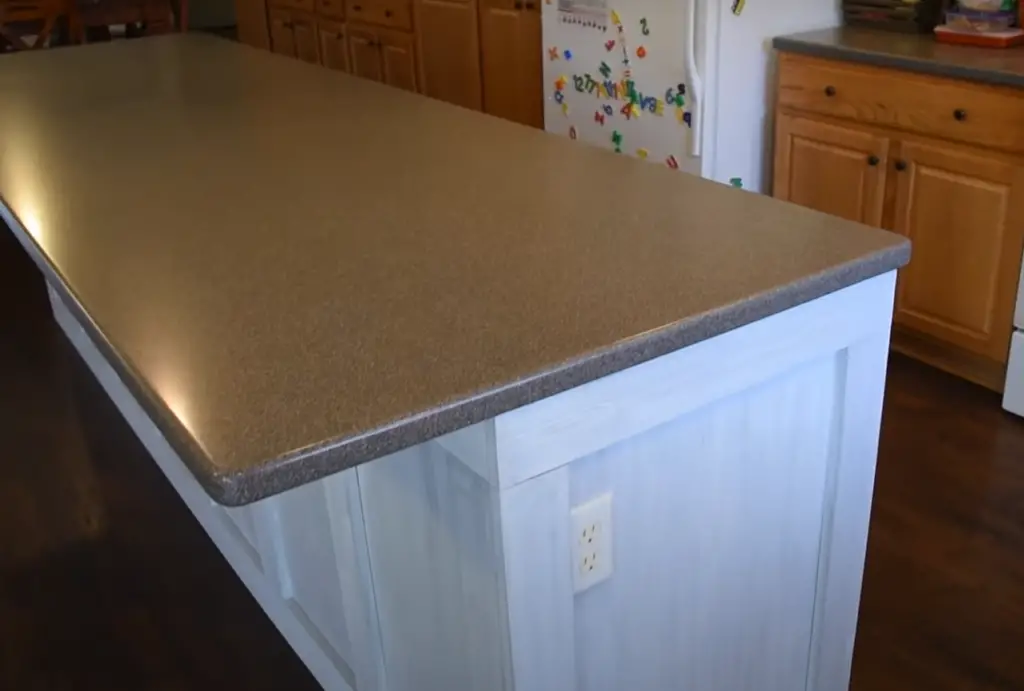
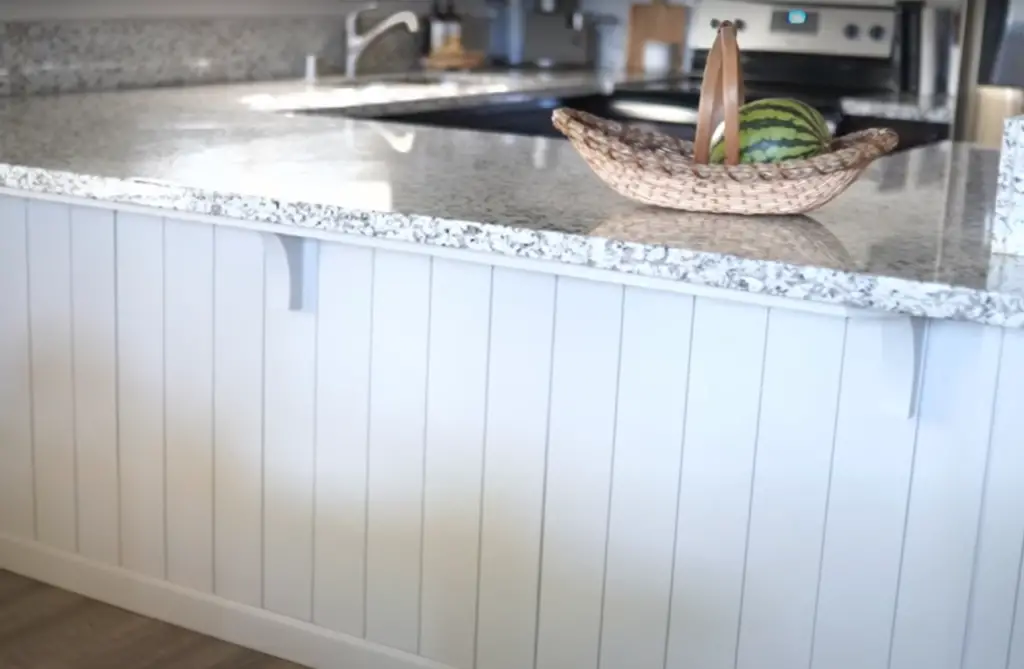
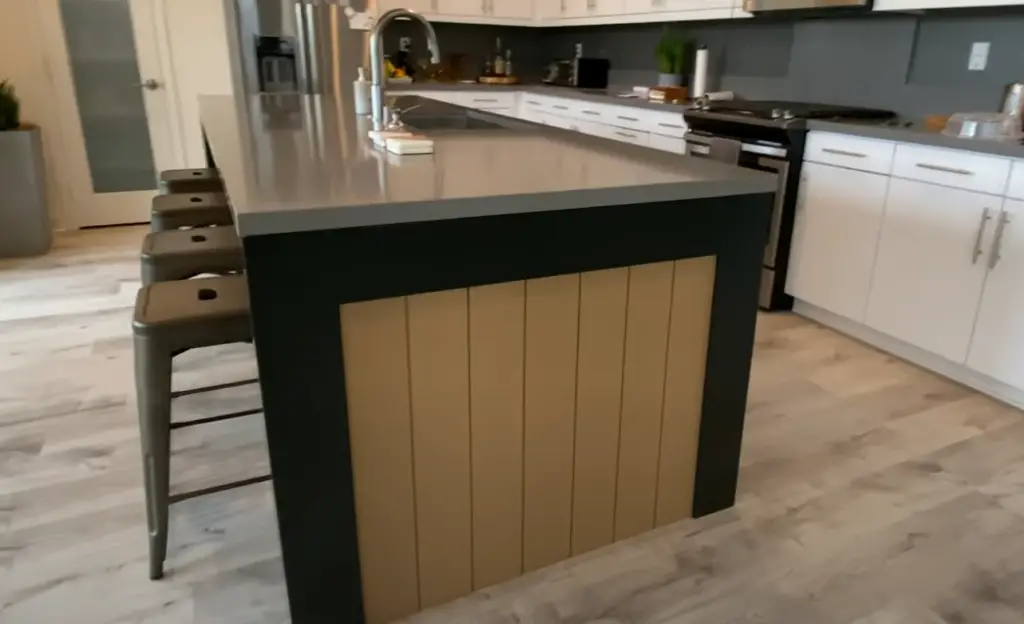
4. Beadboard Finish
Beadboard is another classic style that adds texture and depth to an end panel. It looks great with both modern and traditional kitchens, and it’s easy to clean and maintain. Plus, it pairs well with other wood elements like cabinets or floors.
5. Reclaimed Wood
Reclaimed wood adds character to any kitchen island end panel, as each piece is unique with its own story and texture. It’s also a great way to add warmth and texture to a contemporary kitchen, as the rustic look can be balanced out with modern elements like stainless steel appliances. Plus, it’s environmentally friendly – you’re recycling wood that would otherwise have been discarded!
6. Appliances Integration
If you’re looking for a way to blend appliances into the design of your kitchen island, try adding them to the end panel. This is a great way to utilize space without compromising on style – you can choose from different styles and finishes to match the rest of your décor. Plus, it’s a great way to hide away any unsightly clutter that might be cluttering up your counters [3].
7. Tile Accent
Tiles are an easy and affordable way to add texture and color to your kitchen island end panel. You can use ceramic, glass, or stone tiles in various sizes and shapes for an eye-catching design. They’re also highly durable and easy to clean, making them a great choice for busy kitchens.
8. Metal Accent
Adding metal accents to your end panel is a great way to add texture and dimension, as well as an industrial touch that looks great with modern décor. You can choose from wrought iron, copper, or stainless steel, depending on the look you’re going for. Plus, it’s an easy way to give your kitchen a quick update without spending too much money or time.
9. Fabric-Wrapped Panel
If you want something truly unique, try fabric-wrapping your kitchen island end panel. You can get creative with patterns and colors, creating an eye-catching design that stands out in any space. This is also a great option if you’re looking for a softer, more inviting look.
10. Mirrored End Panel
Adding a mirrored end panel is a great way to add an air of elegance and sophistication to your kitchen island. The reflective surface adds dimension, as well as the illusion of extra space in the area. Plus, it’s easy to keep clean – all you need is some glass cleaner!
How to Build a Custom Kitchen Island Back Panel?
Materials & Tools
To build a custom kitchen island back panel, you will need:
- Plywood boards;
- Table saw;
- Circular saw;
- Miter saw;
- Sander;
- Wood glue;
- Nails or screws;
- Finishing supplies (stain, sealant, etc.);
- Optional: decorative trim pieces and molding;
Such materials and tools are readily available at any home improvement store or online.
Step 1: Measure the Space and Cut the Lumber to Size
Measure the space where you plan to put the custom kitchen island back panel. Take accurate measurements of both the width and height, as these will determine how much lumber you need to buy. Use a circular saw or table saw to cut your pieces of lumber according to these dimensions. Make sure all four pieces are the same size for a uniform look. Be sure to wear safety glasses when using either of these power tools!
Step 2: Assemble the Frame and Attach it to the Wall
Once you have all four pieces of lumber cut, it’s time to assemble the frame. Glue each joint and use a cordless drill to secure them with nails or screws. Make sure that everything is flush and square before attaching it to the wall. Use a level to make sure it is even before inserting mounting screws into the studs.
Step 3: Add Finishing Touches
Now that your custom kitchen island back panel frame is attached to the wall, it’s time for the finishing touches! You can choose from many different finishing materials such as wood stain, paint, sealant, etc., depending on the look you are going for. If you want to add some extra flair, consider adding trim pieces or molding around the edges of the frame.
Step 4: Last Steps
Once you have finished the finishing touches on your custom kitchen island back panel, make sure to seal it with a waterproof sealant. This will keep the wood from warping or splitting due to humidity and water damage. Finally, enjoy your new custom kitchen island back panel! It’s a great way to add extra style and function to any kitchen [4].
FAQ
What do you put on the back of an island in the kitchen?
There are many options for what to put on the back of an island in the kitchen. Popular choices include a backsplash, decorative tile, wallpaper, or even open shelving. Depending on your preferences and budget, you may want to select materials that coordinate with the style and colors of the rest of your kitchen. You can also opt for a more practical option like stainless steel or butcher block countertops. Ultimately, it’s up to you to decide what looks best in your space!
How do you attach an island back panel?
Attaching an island back panel typically involves using adhesive and mechanical fasteners. First, you’ll want to make sure the panel is securely attached to the wall studs or other support structures in the wall. Once that’s done, you can use construction adhesive to attach the panel to the back of your island. Finally, for extra stability, you can add screws or nails through the top and bottom edges of your panel into the wood frame of your island. This will provide a more secure connection so that your island won’t shift or move over time.
Do I need a backsplash behind my kitchen island?

What is a counter overhang?
A counter overhang is an extension of the countertop that hangs over the edge of the island or other support structure. Counter overhangs are often used when seating on an island to make eating or working more comfortable. They can also be used to add visual interest or create extra storage space underneath them. When installing a counter overhang, make sure the supports are strong enough to hold the weight of any objects placed on top of it.
What is a waterfall countertop?
A waterfall countertop extends beyond the edge of an island or cabinet, creating a “waterfall” effect. This style adds a modern and contemporary look to your kitchen and can be used in both islands and open-concept kitchens. When installing a waterfall countertop, make sure you use the proper adhesives and fasteners so that it doesn’t become loose over time. Additionally, keep in mind that this type of installation may require additional support structures for stability.
What should you not do with a kitchen island?
It’s important to consider the functionality of a kitchen island when deciding what to do with it. For example, you should never use an island as a bar or dining table. These activities require more space and stability than an island can provide. Additionally, you should not use an island for food preparation or as storage for fragile items like dishes or glassware, as these can become damaged if dropped on the floor. Finally, you should avoid putting heavy appliances on your island unless it is designed to support them.
Do you put baseboards on the kitchen island?
Baseboards are typically not used on kitchen islands, as they can make the island look bulky and take away from its overall aesthetic. Additionally, baseboards can interfere with the functioning of appliances or other items that may be placed on the island. If you do decide to add baseboards to your island, make sure they’re properly secured so they don’t become loose over time.
What is a bullnose countertop?
A bullnose countertop is a rounded edge along the front of an island or cabinet top that gives it a more finished look. This style is often used in modern and contemporary kitchens for an extra touch of sophistication. When installing a bullnose countertop, make sure you use appropriate adhesives and fasteners to secure it in place. Additionally, be sure that the edge of your countertop is thick enough to provide adequate support for any items placed on top of it.
What should not be placed on kitchen counters?
Kitchen counters should not be used for activities that could damage the countertop or surrounding walls, such as cutting food with a knife. Additionally, you should avoid placing hot pans directly on the countertop, as this can cause staining and discoloration. Finally, items like laundry detergent, cleaning products, and paint should never be left out on kitchen counters due to their potential hazard of coming into contact with food or other items in your kitchen.
Should you put your cooktop on your island?
Cooktops can be placed on islands, but this should only be done if the island is designed to support them. If you choose to install a cooktop on your island, make sure it is properly secured to prevent any accidental tipping or spills. Additionally, consider installing a vent hood above the cooktop to help reduce smoke and odors in your kitchen. Lastly, make sure there is enough space around the unit for easy access and food preparation when using the cooktop.
Should a kitchen island be fixed to the floor?
Kitchen islands typically do not need to be fixed to the floor, as they are usually designed to be portable. However, if your island is particularly large or heavy, it may require additional support structures for stability. Additionally, if you choose to install a cooktop on your island, make sure that it is properly secured with appropriate adhesives and fasteners so it doesn’t become loose over time. Finally, when installing a waterfall countertop or a bullnose edge around the top of an island or cabinet, make sure the supports are strong enough to hold the weight of any objects placed on top of it.
Useful Video: Kitchen Island Remodel Update DIY
Conclusion
There are different ways to design a kitchen island end panel and there are many factors to consider when deciding which design is best for your space. Customizing the end panel of a kitchen island can make it more functional, attractive, and practical. Whether you choose to go with an ornate carved design or a modern, sleek style, remember that careful consideration of the materials and layout will ensure that your finished product is both attractive and practical. With some creativity and planning, you can transform the look of your kitchen island end panel into something truly unique.
References:
- https://www.singerkitchens.com/what-is-a-kitchen-island-and-why-you-need-one-a-designers-guide/
- https://francinimarble.com/blog/articleid/115/kitchen-islands-pros-and-cons
- https://carlaaston.com/designed/5-creative-kitchen-island-end-panels-ideas-for-inspiration
- https://plankandpillow.com/how-to-build-a-custom-kitchen-island-back-panel/