There may come a time when you need to tighten the nut on your kitchen faucet. Perhaps the handle has become loose and is no longer staying in place, or maybe the water pressure has decreased and you want to give it a quick fix. Whatever the reason, it’s not difficult to do – as long as you know where to find the nut! This article will show you where to find the nut and how to tighten it up so your kitchen faucet is running like new again.
What is a Kitchen Faucet Nut?
A kitchen faucet nut is a small, round nut typically made of metal that attaches the main body of the faucet to the sink. It helps hold the faucet in place and can be tightened or loosened depending on how securely you need it attached to the sink.
Kitchen faucet nuts are usually made of brass, bronze, or other metals and can be found underneath the sink in most homes. The effective models come with a rubber gasket to help keep the nut from loosening over time due to water pressure or other factors.
Tools You Need to tighten a Kitchen Faucet Nut under a Sink
In order to tighten a kitchen faucet nut under a sink, you will need the following tools:
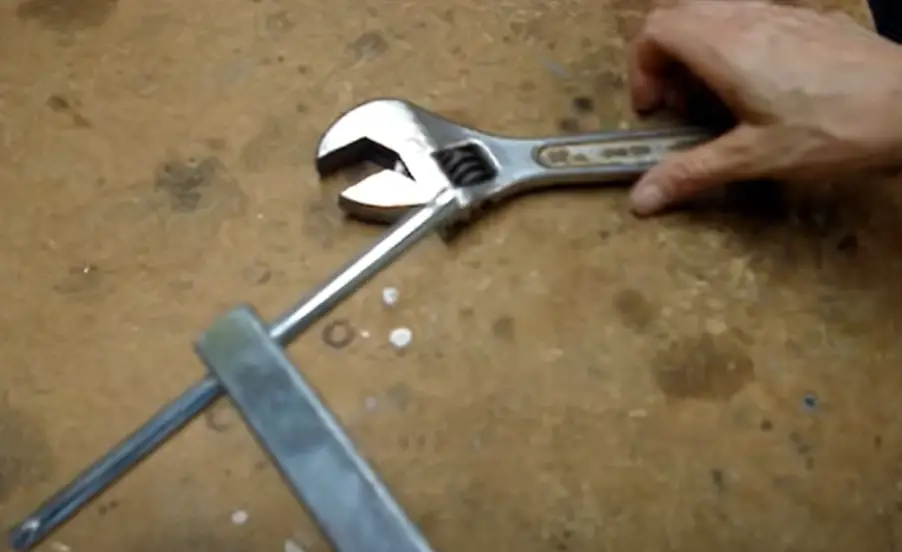
- Adjustable wrench or pipe wrench
- Replacement washer (if necessary)
- Plumbing tape
- Screwdriver
An adjustable wrench or pipe wrench is used to loosen and remove the nut from its position. A replacement washer may be necessary if the existing one is damaged or worn out. Plumbing tape is used to ensure a water-tight seal of the connection, and a screwdriver will help with loosening any screws that need to be removed [1].
4 Steps For Tightening Kitchen Faucet Nuts Under A Sink
Step 1. Empty The Shelves Below The Sink To Maximize Your Working Space
Before you begin, it is important to make sure that the shelves below the sink are empty so that you can easily access the faucet nut. This step helps to give you more room and allows for a successful overall experience.
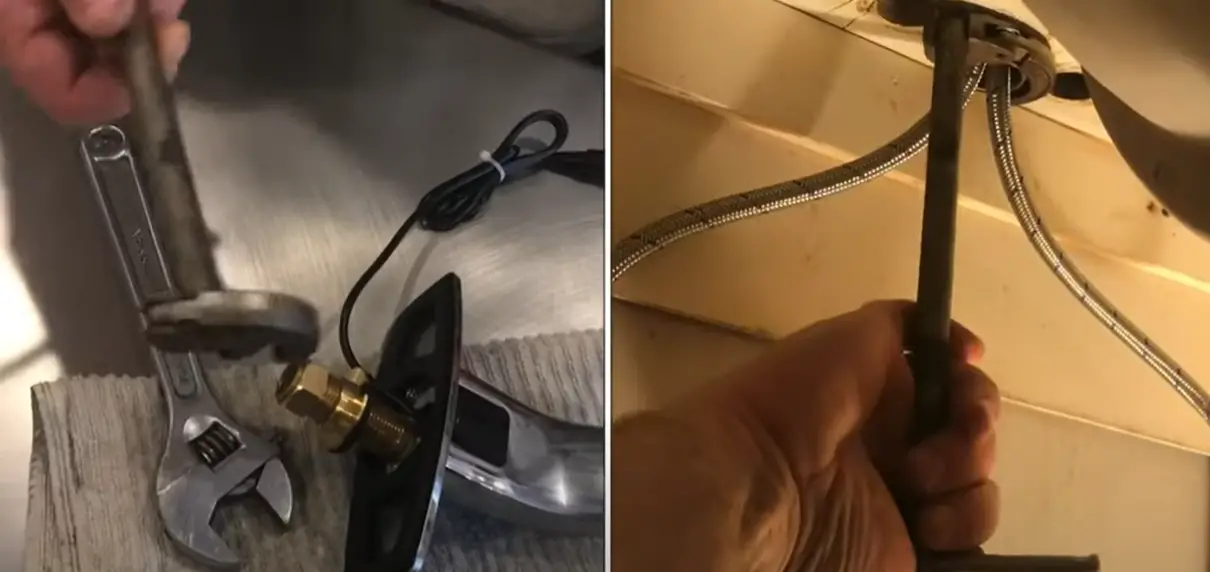
Step 2. Locate The Faucet Nut And Place A Wrench On It
The next step is to locate the faucet nut which is usually on the underside of the top part of your kitchen sink or in-between two pipes. Once you have found this place, put a wrench on it and hold it in place firmly.
Step 3. Tighten Your Nut Gently With The Wrench
Now that your wrench is attached, turn gently clockwise with small movements which will help to tighten the nut. If you are finding it difficult then use a pair of pliers as this may give you more control and grip.
Step 4. Test Out Your Faucet Nut And Repeat As Needed
Once your nut is tightened, test out your sink by turning on the water and checking for any drips or leaks. If you find any then repeat steps 1-3 and try again until you get the desired result.
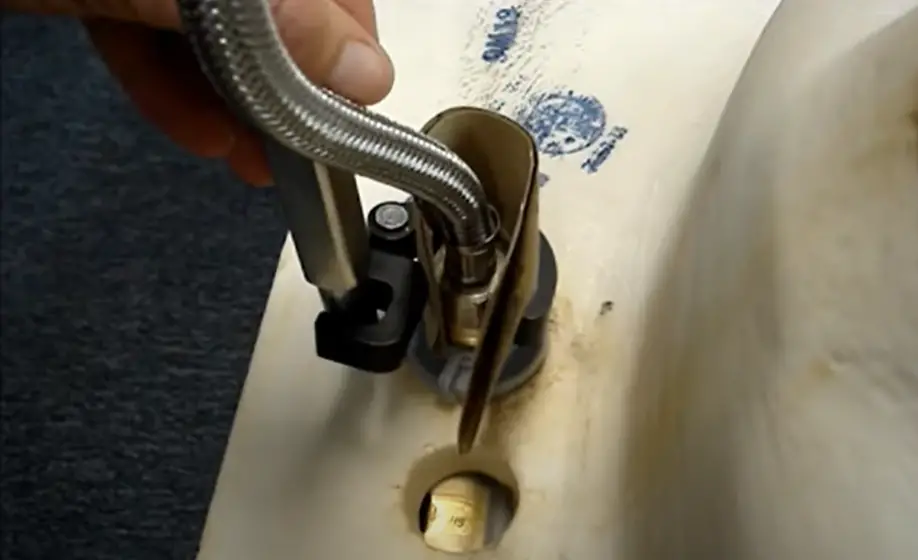
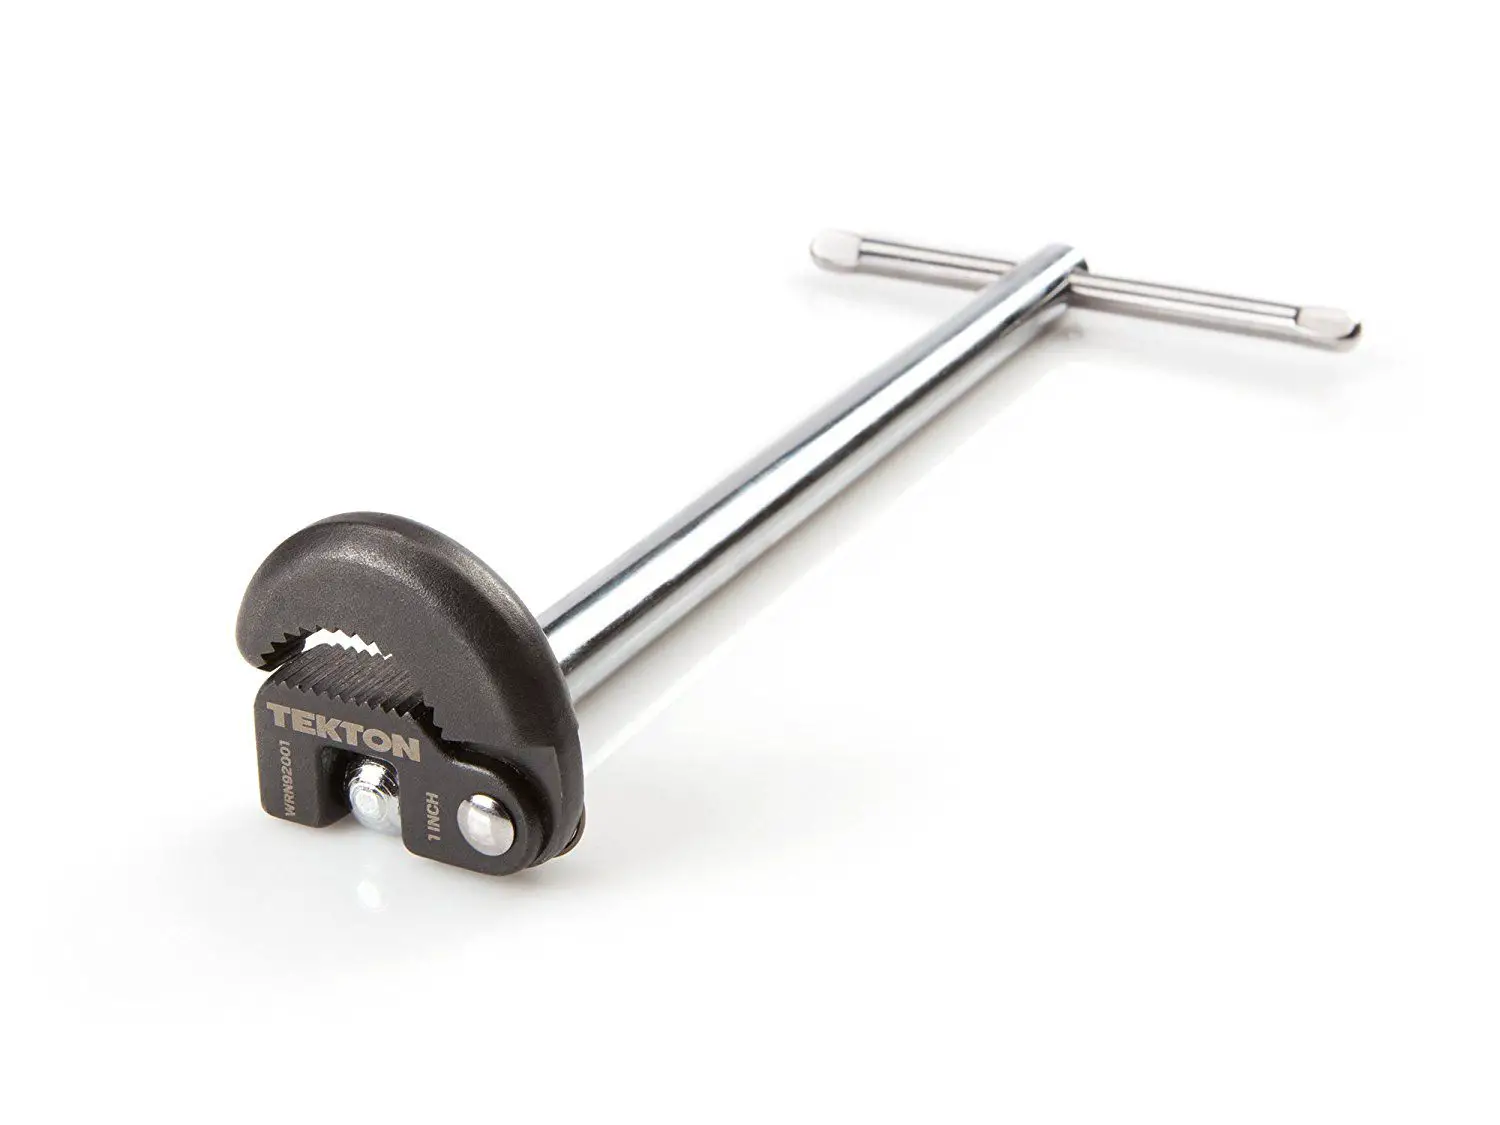
How To Use A Basin Wrench?
The best way to tighten a kitchen faucet nut under the sink is by using a basin wrench. A basin wrench is long and slender with adjustable jaws at one end, which helps get into tight spaces easily. Before you begin, make sure to turn off the water supply from the valves below the sink. Place a bucket beneath the pipes and faucet in case of any water leakage during your work. Put on gloves for protection as well.
To use a basin wrench properly, place it over the nut you want to loosen or tighten (depending on what you need). Adjust its jaws so that they fit snugly around the nut and hold it firmly in place. With both hands on the handle, adjust the grip and turn it counterclockwise to loosen the nut. To tighten, move it in a clockwise direction. Once the nut is tight enough, remove the wrench and check for any leaks or drips from the faucet. If everything looks okay, you have successfully tightened your kitchen faucet nut under the sink.
How to use a Kitchen Faucet properly?
A kitchen faucet is a popular addition to any modern kitchen. It can provide an easy way to access water and make washing dishes and other tasks easier. However, improper use of a kitchen faucet can lead to problems such as leaks or even flooding. To ensure that your kitchen faucet is used properly and safely, here are some tips:
- Before using your kitchen faucet, make sure that the shut-off valves under the sink are turned off.
- Ensure that all connections between the water lines and the faucet are tight. Loose connections can cause water leakage or flooding in your kitchen.
- If you need to tighten a nut at the base of your kitchen faucet, locate the nut on the underside of the sink and use an adjustable wrench to reach it securely before tightening it. Be sure not to overtighten the nut, as this can cause damage to the faucet.
- To reduce the risk of flooding, never leave the kitchen faucet running when you are not using it.
- When cleaning your kitchen sink, be sure to check for any signs of water leakage around the edges of the sink and also inspect all connections between pipes and taps for tightness.
- Regularly inspect your kitchen faucet for signs of wear or damage such as cracks in its body or a loose handle and replace these parts if needed.
How to choose the right kitchen faucet?
A kitchen faucet is one of the most important parts of the kitchen. It is used to provide a steady stream of water for cleaning, washing, and other tasks. When choosing the right kitchen faucet, you should consider not only the style but also its features such as flow rate, material, finish, and installation type.
The most common types of faucets are single-handle pull-down or pull-out sprayers, two-handle widespread faucets, and wall-mounted pot fillers. The single-handle pull-down or pull-out sprayer is the most popular type and allows for great flexibility when it comes to adjusting the water temperature and flow. Two-handle widespread faucets are also available and have separate handles for cold and hot water. Wall-mounted pot fillers provide convenience when filling up a large pot but can take up valuable counter space.
The kitchen faucets can be made of different materials such as stainless steel, brass, and bronze. Each material has its own characteristics that can affect the overall look of your kitchen. Stainless steel is the most common type and is usually resistant to rust and corrosion. Brass has a natural golden luster that adds sophistication to any kitchen while bronze provides a more classic feel with its deep patina finish.
Choosing the kitchen faucets you should also consider their dimensions. The right kitchen faucet should fit your countertop space and provide the functionality you need without taking up too much room. The average width of the faucet should be between 7 inches and 9 inches. The length of the faucet should be between 8,5 inches to 9,25 inches [4].
How to Tighten a Kitchen Faucet Nut Under a Sink: Step-by-Step Guide
Tightening a kitchen faucet nut under the sink is essential to prevent leaks and maintain the faucet’s stability. To assist you in this task, we’ve created a step-by-step guide with multiple columns to outline the key instructions and considerations for tightening a kitchen faucet nut.
| Step | Procedure | Tools Required | Time Required | Difficulty Level |
|---|---|---|---|---|
| 1 | Clear the area under the sink to provide easy access to the faucet connections. | None | 2 minutes | Easy |
| 2 | Identify the nut that secures the faucet to the countertop or sink. | Flashlight (if needed) | 2 minutes | Easy |
| 3 | Use an adjustable wrench or pliers to reach and tighten the faucet nut clockwise. | Adjustable wrench or pliers | 5 minutes | Moderate |
| 4 | Check for any additional nuts or fasteners securing the faucet and tighten them if necessary. | Adjustable wrench or pliers | 5 minutes | Moderate |
| 5 | Inspect for any water leaks around the faucet connections and address them if present. | None | 5 minutes | Easy |
Explanation of the Table:
- Step: Lists the sequential steps for tightening a kitchen faucet nut under the sink.
- Procedure: Provides a brief description of what to do in each step.
- Tools Required: Lists the necessary tools for each step of the process.
- Time Required: Indicates the estimated time needed for each step.
- Difficulty Level: Rates the difficulty of each step, with “Easy” indicating simple tasks and “Moderate” for slightly more complex actions.
By following these detailed instructions and considering the tools required, time involved, and difficulty level, you can confidently tighten the kitchen faucet nut under your sink, preventing potential leaks and ensuring the faucet remains securely in place.
FAQ
How do you tighten a faucet underneath?
Tightening the faucet nut underneath a sink is not difficult. The first step is to turn off the water supply to the sink. Then, you’ll need a wrench that fits snugly around the nut so it can be tightly secured. You will also need some plumber’s tape. Once you have these tools, you should place a bucket or container beneath the sink to catch any excess water and put on rubber gloves for protection.
Remove the existing faucet parts and inspect them for damage or corrosion. If there are any issues, replace them before proceeding further. Next, wrap some plumber’s tape around the threads of the new faucet nut before screwing it onto the pipe below your sink. Make sure that you do not over-tighten the nut, as this can cause damage to the plumbing system.
Once you have secured the nut in place, turn on the water supply and check for any leaks or other issues before using your sink again. Finally, make sure that you clean up any excess water or debris from around the area so you don’t have to worry about it later. With these simple steps, you should be able to tighten a kitchen faucet nut under a sink without too much difficulty.
What tools do I need to tighten my kitchen faucet?
For this job, you will need a wrench that fits snugly around the nut, plumber’s tape, and rubber gloves. You may also need a bucket or container to catch any excess water while you work. Once you have these items in hand, follow the steps outlined above to tighten your kitchen faucet nut.
Can I do this job myself?
Yes! With the right tools and some basic knowledge of plumbing systems, anyone can learn how to tighten a kitchen faucet nut under a sink. However, if you are feeling uncertain about attempting this task on your own, it is always best to consult with a professional plumber before proceeding.
What should I do if leaks are coming from my faucet?
How do you remove a kitchen faucet nut?
Removing a kitchen faucet nut is much like tightening it. First, turn off the water supply to the sink and gather the necessary tools (wrench, plumber’s tape, rubber gloves). Then place a bucket or container beneath the sink to catch any excess debris or water. Finally, use a wrench to loosen and remove the existing faucet nut before replacing it with a new one. Make sure you securely tighten it in place before turning on your water supply again.
How do you tighten a faucet screw?
Tightening a faucet screw is similar to tightening a nut. Start by turning off the water supply and gathering the necessary tools. Then place a bucket or container beneath the sink to catch any excess debris or water. Once you have done this, use a wrench to securely tighten the faucet screw in place before turning on your water supply again. Make sure that you do not over-tighten the screw as this can cause damage to your plumbing system.
What tool tightens a sink tap?
The tool that tightens a sink tap is called a wrench. This wrench should fit snugly around the nut so it can be securely tightened in place. Additionally, you will need some plumber’s tape to wrap around the threads of the new faucet nut before screwing it onto the pipe beneath your sink. Finally, make sure to turn off your water supply and wear rubber gloves for protection while tightening the faucet nut.
Can I tighten a kitchen tap without any tools?
No, it is not recommended to attempt to tighten a kitchen tap without any tools as this can cause damage to both the plumbing system and the faucet itself. To properly secure the faucet nut, you will need to use a wrench to achieve the right amount of tightness.
What size are faucet nuts?
Most standard faucet nuts are approximately 0,5 inches in size. However, it is important to check the specific measurements of your nut before attempting to tighten it as different types and brands may vary in size. Additionally, some models may also require a special wrench or adjustable pliers for secure installation.
Why is my faucet leaking underneath?
If your faucet is leaking underneath, there are several possible causes. Start by examining the nut and pipe beneath your sink to make sure they are securely tightened. If the nut is not properly tightened, use a wrench to tighten it further until the leak stops. However, if there is still an issue after tightening the nut, it may be necessary to replace various faucet parts to fix the underlying problem. In this case, consulting with a professional plumber would be highly recommended.
What to use as an alternative to a wrench?
If you do not have a wrench available, adjustable pliers or a special tool may be used as an alternative. However, it is always best to use the correct tools to ensure the nut is tightened properly and securely in place. If the nut is over-tightened, this can lead to further damage to your plumbing system so caution should be taken when using alternative tools.
What is the best brand for kitchen faucets?
The best brand of kitchen faucets depends on the individual’s needs and preferences. Some popular brands include Kohler, Moen, Delta, and American Standard. It is important to research each brand thoroughly before purchasing features such as durability, finish options, and water consumption can vary significantly among models. Additionally, it is always recommended to consult with a professional plumber for advice and installation instructions.
How can I access the kitchen faucet nut under the sink?
To access the kitchen faucet nut under the sink, you’ll typically need to crawl under the sink and locate the nut that secures the faucet to the countertop. Use a flashlight if necessary to get a clear view.
What should I do if the faucet nut is hard to reach?
If the faucet nut is difficult to reach due to limited space, consider using a basin wrench. This specialized tool is designed to reach tight spaces and make the job easier.
How do I use a basin wrench to tighten the faucet nut?
To use a basin wrench, place its jaws around the faucet nut and adjust it to grip securely. Then, turn the wrench clockwise to tighten the nut or counterclockwise to loosen it. The extended handle of the wrench allows for better leverage in tight spaces.
Can I tighten the faucet nut by hand?
In some cases, you may be able to hand-tighten the faucet nut if it’s accessible and not overly tight. However, it’s generally recommended to use a wrench or a basin wrench for a more secure and effective tightening.
What should I do if the faucet is still loose after tightening the nut?
If the faucet remains loose after tightening the nut, you may need to check if there are additional mounting points or screws that need attention. Sometimes, there are multiple fasteners securing the faucet to the countertop or sink.
Are there any precautions I should take before tightening the faucet nut?
Before tightening the faucet nut, turn off the water supply to the faucet to prevent any leaks or water damage. Additionally, check for any potential electrical connections under the sink if your faucet has a built-in electrical component.
Can I use any lubricants when tightening the faucet nut?
Using a lubricant like plumber’s grease or silicone lubricant on the threads of the faucet nut can make it easier to tighten. This can also help prevent future corrosion and make it simpler to remove the nut if needed.
How tight should I make the faucet nut?
Tighten the faucet nut snugly but avoid over-tightening, as this could damage the faucet or the countertop. Refer to the manufacturer’s instructions for specific torque recommendations, if available.
What do I do if the faucet nut is corroded or damaged?
If the faucet nut is corroded or damaged, you may need to replace it with a new one. It’s essential to ensure a secure connection to prevent leaks and maintain the faucet’s stability.
Is it necessary to check for leaks after tightening the faucet nut?
Yes, it’s advisable to turn on the water supply and check for any leaks after tightening the faucet nut. If you notice any leaks, make further adjustments or consider replacing any damaged components to prevent water damage and wastage.
Useful Video: jycuBxtT1k4
Conclusion
Tightening a kitchen faucet nut under a sink is a relatively simple task that can easily be accomplished with some basic knowledge of plumbing systems and the right tools. Before attempting this job yourself, double-check that the nut is securely in place and use a wrench to tighten it further if needed. If you experience any further issues with your faucet, it may be necessary to consult a professional plumber for assistance. By following these steps, you can ensure that your kitchen faucet remains safe and secure.
References
- https://www.kibiusa.com/how-to-tighten-kitchen-faucet/
- https://www.protoolreviews.com/how-to-remove-tighten-under-sink-kitchen-faucet-nuts/
- https://www.thespruce.com/how-to-use-a-basin-wrench-2718720
- https://www.build.com/how-to-choose-a-kitchen-faucet/a21