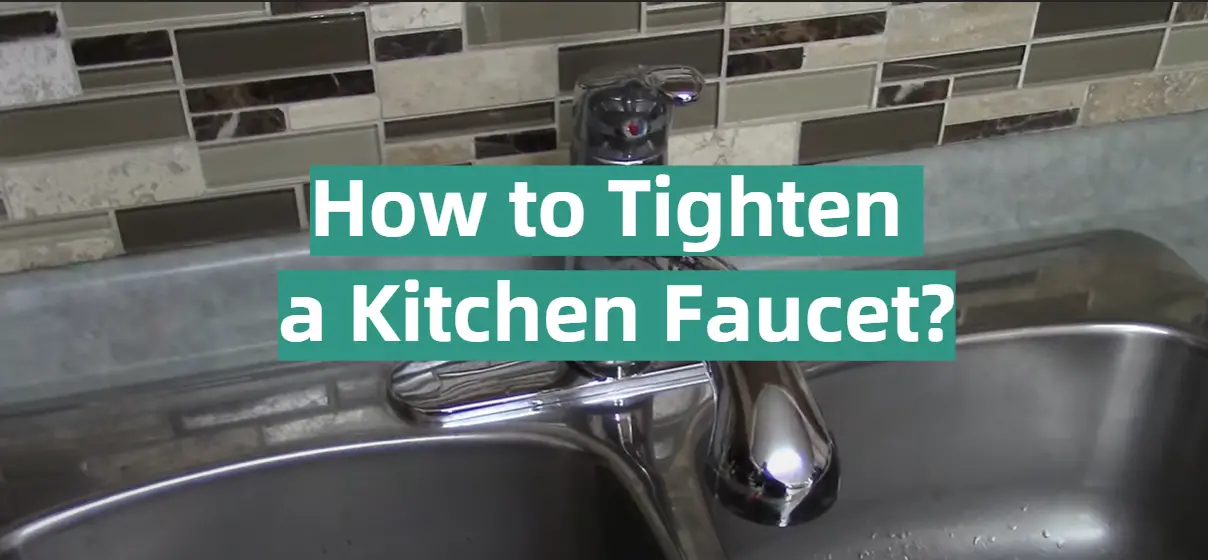
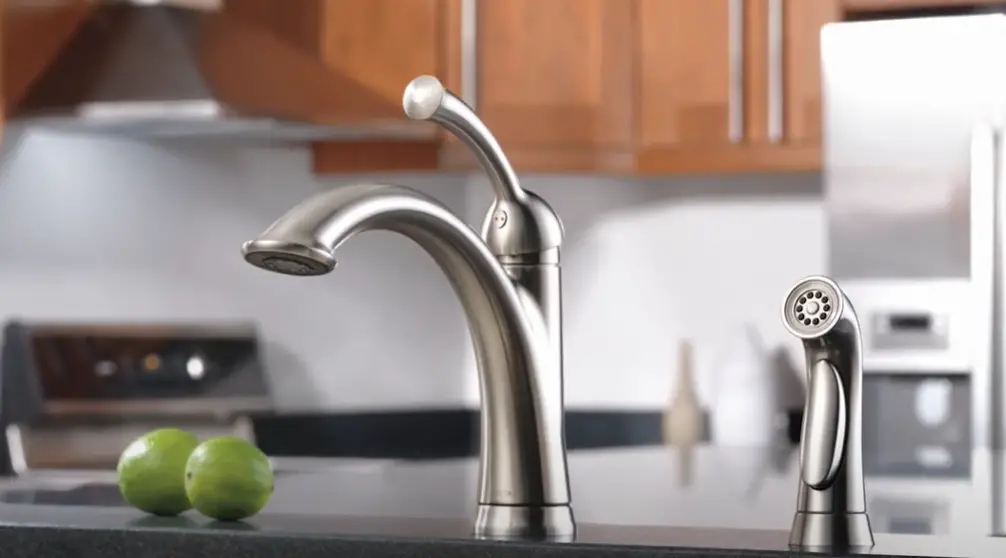
If your kitchen faucet is loose, it can be a real pain. Not only is it annoying to have to keep tightening it, but it can also lead to leaks and other problems. This article will give you some tips on how to tighten a kitchen faucet. It will also provide some useful tips on how to fix loose kitchen faucets. So, if your kitchen faucet needs some TLC, read on for the best tips and tricks!
How to choose the right kitchen faucet?
When it comes to kitchen faucets, there are several different options available. The most important thing to consider when looking for the right one is whether it will fit your sink and countertop. You should also take into account the height of the faucet and any other features you may require such as a sprayer or a longer spout. The average size of a kitchen faucet is 7-15 inches in length, although some models may be taller or shorter.
Another factor is the type of finish you are looking for, from chrome to brushed nickel or oil-rubbed bronze. The most durable models are usually made of brass.
You should also consider the water pressure and any other features such as a pull-down sprayer, pot filler, soap dispenser, and more. A pull-down sprayer is a great option as it can help you easily reach all areas of the sink. A pot filler is an excellent choice if you need to fill large pots. This detail can save you a lot of time in the kitchen [1].
What Are The Causes of A Wobbly or Loose Faucet?
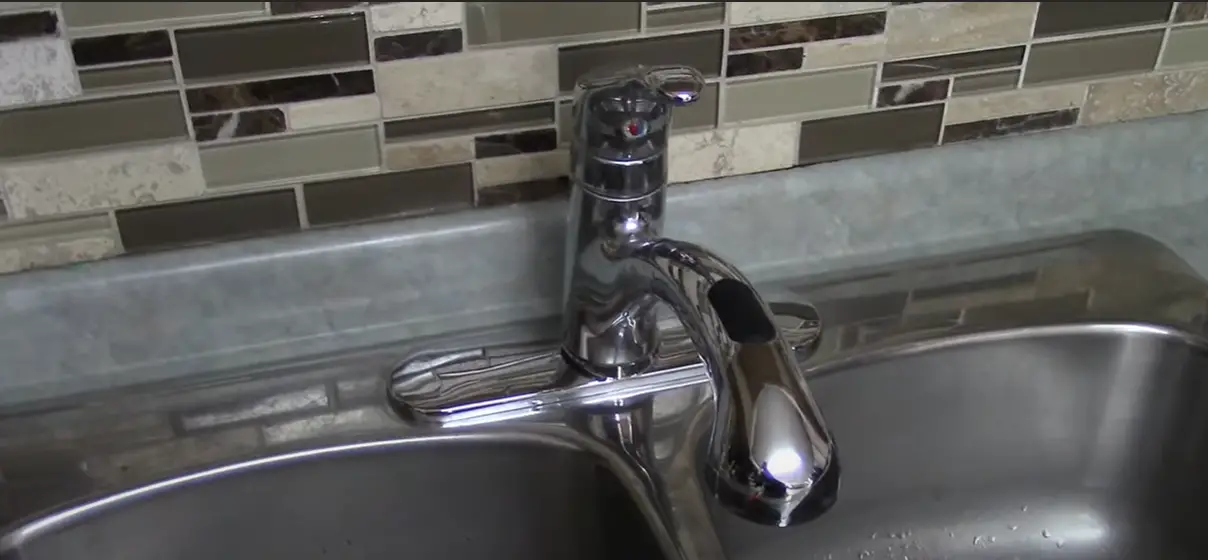
A kitchen faucet is an important part of any kitchen and it fulfills a myriad of tasks. It offers convenience, gives a nice aesthetic to the kitchen, and of course, provides water. That’s why it’s important to make sure that your faucet is in good working condition. Unfortunately, due to wear and tear or incorrect installation, a kitchen faucet can become loose or wobbly over time.
There are several causes of a shaky or loose kitchen faucet. A loose mounting nut is usually the culprit as it may have been installed incorrectly in some way or simply has come undone over time due to use. If the problem has not been identified correctly, then further damage might occur; such as stripping of threads within the nut itself! Therefore, you should take action at once by identifying the cause and rectifying the issue promptly.
What tools do you need to tighten a wobbly faucet?
Tightening a loose kitchen faucet is a relatively simple repair that requires only basic tools. You’ll need an adjustable wrench, pliers, a screwdriver, and some lubricant.
These instruments can be found in almost any hardware store. Before you begin, make sure that the water supply to the faucet has been shut off.
7 Easy Steps to Fix Loose Kitchen Faucets Base at Home
Step 1: Empty everything under the kitchen sink cabinet.
In order to fix the loose kitchen faucet, you need to have room and freedom to move around. Start by emptying everything in or under the kitchen sink cabinet for easier access. Make sure that there is no risk of damaging any of your items stored in the cabinet when moving them out.
Step 2: Turn off the water valves
Before you attempt to fix your loose kitchen faucet, make sure that the water valves are off. This will prevent any possible leaks from occurring during the process of tightening the faucet base. To turn off the water valves, simply turn the knobs to the left until they can’t be turned anymore.
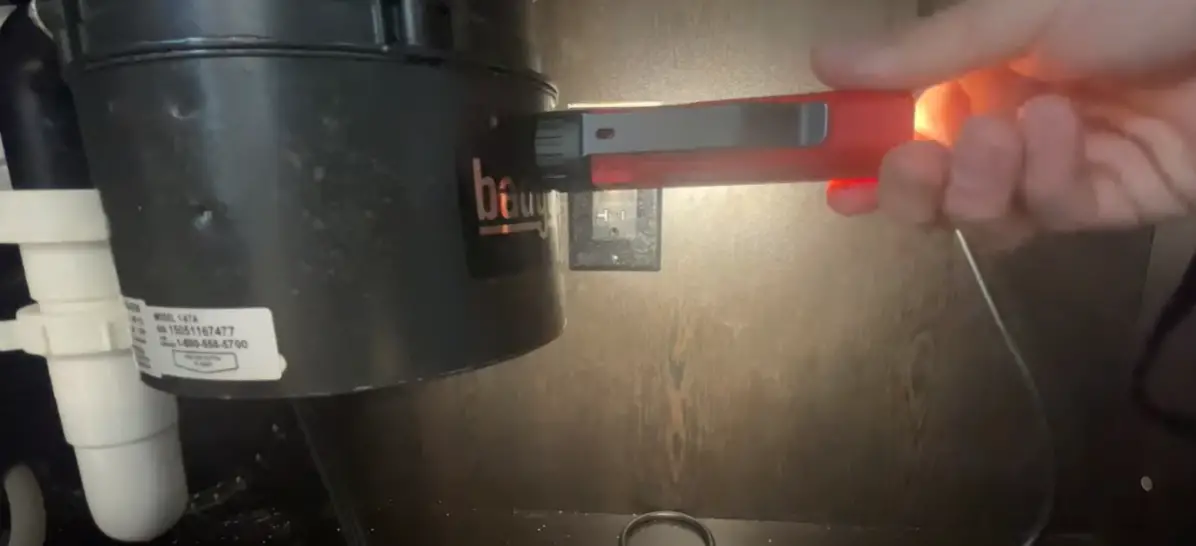
Step 3: Slide under the sink and find the nut
Crawl under the sink and find the nut that is holding the faucet base in place. This nut is usually located at the bottom of the faucet and should be easily accessible.
Step 4: Set the basin wrench to the right size
Once you find the nut, set the basin wrench to match its size. Make sure that it is not too loose or too tight so that it can properly fit around the nut. On average, the basin wrench will be 4-6 inches long and will work for most standard nut sizes.
Step 5: Time to tighten the nut
Once your basin wrench is set to the right size, it’s time to tighten the nut. Make sure that you are using a counter-clockwise motion when tightening and don’t over-tighten as this could strip the nut threads. Use just enough force so that the faucet base is no longer loose.
Step 6: Check that the faucet base is tight
Once the nut is tightened, check that the faucet base is tight by applying a bit of force to it. If it doesn’t move, then you have successfully tightened the loose faucet.
After making sure that the faucet is secure and tight, put everything back in place under your kitchen sink cabinet.
Step 7: Turn the water supply back on and restore the items you brought out
Turn the water supply back on and test out your newly tightened faucet. If all is good, then you have successfully fixed your loose kitchen faucet! Restore the items you brought out from under the sink cabinet to their proper places before closing up for good.
With these 7 easy steps, you can easily tighten a loose kitchen faucet base in no time! Just remember to turn off the water valves and practice caution when loosening or tightening the nut with a basin wrench [2].
How to Tighten a Loose Kitchen Faucet Handle at Home?
One of the most common issues homeowners face with kitchen faucets is a loose handle. If your kitchen faucet handle has become loose and you’re not sure how to fix it, don’t worry – you can easily tighten up your looser kitchen faucet at home without any complex tools or professional help.
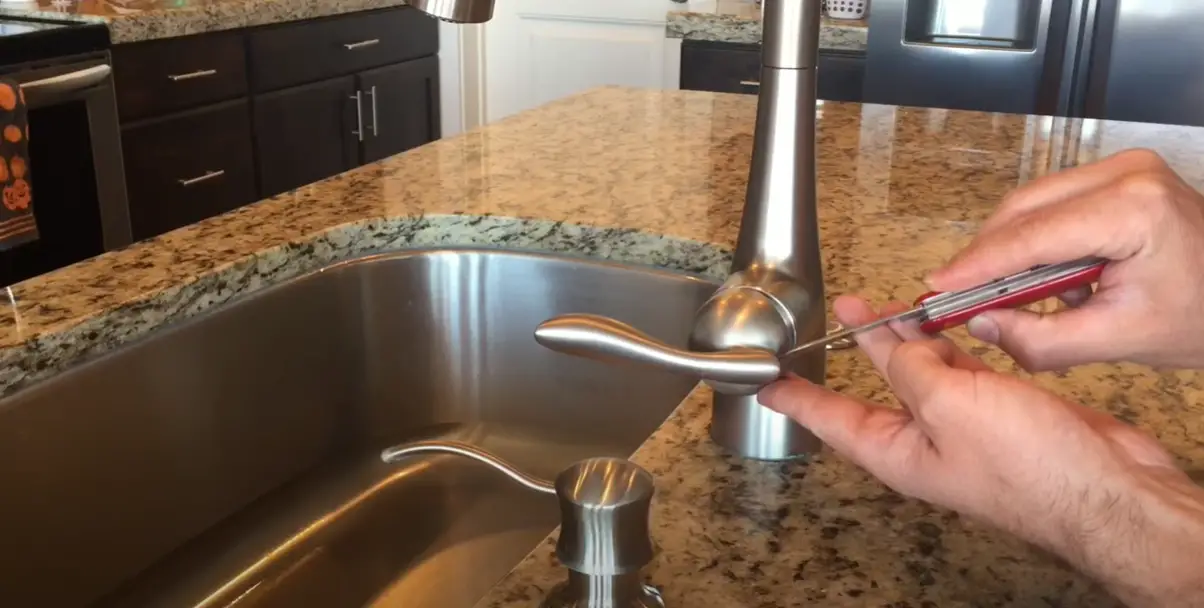
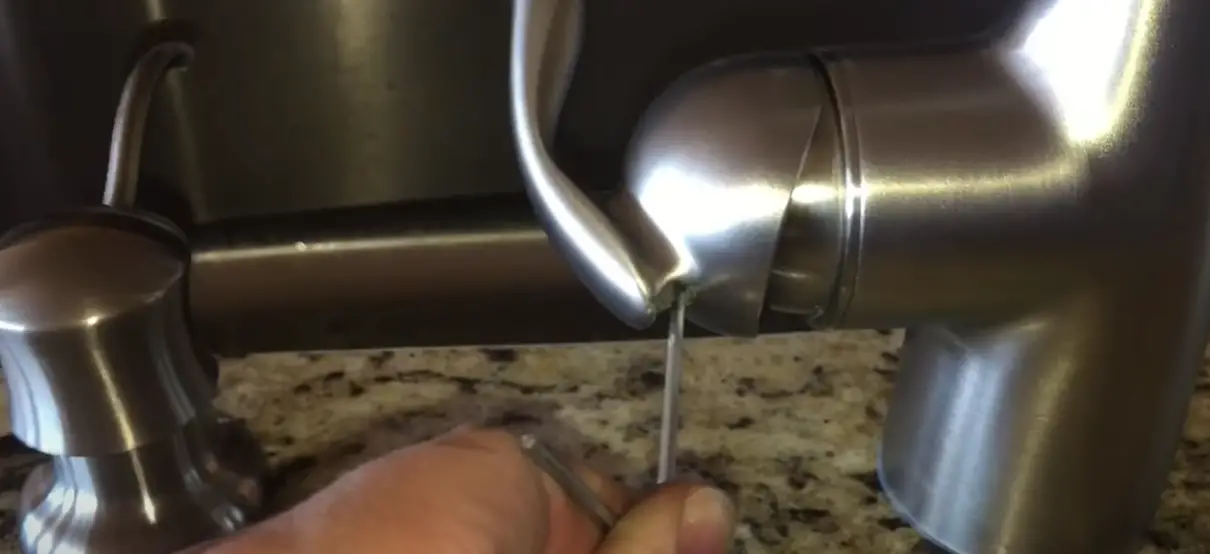
Once you’ve identified the type of faucet, use an appropriate tool to tighten up your loose kitchen faucet handle. For compression-style faucets, you can simply tighten the screws on each side of the handle using a flathead screwdriver. If your faucet is a cartridge style, first use pliers to loosen any clips that are holding the cartridge in place before adjusting it with an adjustable wrench. Finally, if you have a ball-type faucet, use an adjustable wrench to loosen and tighten the collar nut located at the base of the handle.
Once you’ve tightened up your loose kitchen faucet handle, test it out to ensure that it’s working properly and there are no leaks. If everything checks out, congratulations! You have successfully fixed your loose kitchen faucet at home.
How to maintain a Kitchen Faucet?
A leaky kitchen faucet can be a minor annoyance or a major inconvenience. If you’re dealing with a loose or leaking kitchen faucet, don’t despair – there are some simple steps you can take to tighten it up.
The first step is to shut off the water supply valve near the sink. To remove the handle, unscrew its top cap and use a screwdriver to remove any screws that may be holding it in place. Once the handle is removed, use an adjustable wrench or pliers to loosen the packing nut behind it. This will allow you to access and inspect the valve stem underneath.
You’ll also need to check for any damage or corrosion on this part of your faucet. If any damage is found, you’ll want to replace the valve seat and/or stem hardware with new parts.
If everything looks good, you should be able to enjoy a leak-free kitchen faucet once again! Proper maintenance such as regularly checking for loose nuts and screws, along with properly lubricating O-rings and other moving parts will help ensure the long-term performance of your kitchen faucet. With a little effort, you can keep your kitchen faucet in top condition and enjoy years of trouble-free operation [3].
Best places for kitchen faucets
When it comes to kitchen faucets, there is no one-size-fits-all solution. Different types of faucets are suitable for different kitchens and needs. For example, if you have a single bowl sink, then a pull-down sprayer or wall-mount faucet may be best. If you have a double bowl sink, then a high arc swivel spout would work best. It’s important to think about your specific needs when selecting the right kitchen faucet for your home.
Before choosing the right place for kitchen faucets you should consider such factors as:
- The type of sink
- The size and shape of the countertop or basin
- If there is enough clearance for a high arc spout
The size and shape of the countertop or basin are also important for determining the placement of a faucet. A countertop or basin that is too small will not accommodate a high arc spout, while a larger one might require multiple faucets to be installed in order to provide adequate water flow and pressure.
The clearance for a high arc spout is another factor that should be taken into consideration. If there is not enough clearance for the faucet, then it could end up being installed too close to the countertop or basin. This can make it difficult to access and use, so it’s important to measure the clearance before making a purchase.
How to Tighten a Kitchen Faucet: A Step-by-Step Guide
A loose kitchen faucet can be a nuisance, but tightening it is a simple DIY task. To help you complete this task successfully, we’ve created a step-by-step guide with multiple columns to outline the key instructions and considerations for tightening a loose kitchen faucet.
| Step | Procedure | Tools Required | Time Required | Difficulty Level |
|---|---|---|---|---|
| 1 | Turn off the water supply to the faucet. Locate the shutoff valves under the sink and close them. | Adjustable wrench or pliers | 5 minutes | Easy |
| 2 | Inspect the faucet base to identify the mounting nut or screws that secure it to the countertop. | Flashlight (if needed) | 2 minutes | Easy |
| 3 | Use the appropriate tool (adjustable wrench or pliers) to tighten the mounting nut or screws clockwise. | Adjustable wrench or pliers | 3 minutes | Easy |
| 4 | Check for any additional nuts or fasteners on the faucet’s underside and tighten them if necessary. | Adjustable wrench or pliers | 2 minutes | Easy |
| 5 | Turn the water supply back on by opening the shutoff valves and test the faucet for stability. | Adjustable wrench or pliers | 2 minutes | Easy |
Explanation of the Table:
- Step: Lists the sequential steps for tightening a loose kitchen faucet.
- Procedure: Provides a brief description of what to do in each step.
- Tools Required: Lists the necessary tools for each step of the process.
- Time Required: Indicates the estimated time needed for each step.
- Difficulty Level: Rates the difficulty of each step, with “Easy” indicating simple tasks.
By following these straightforward instructions and considering the tools required, time involved, and difficulty level, you can confidently tighten your loose kitchen faucet and prevent further wobbling or movement, ensuring your faucet functions properly.
FAQ
How can I make my kitchen faucet tighter?
If you have a loose kitchen faucet, there are several steps you can take to tighten it. First, inspect the nuts and bolts that hold the faucet in place. If these are secure and tight, then move on to checking if the retaining nut or cap is properly secured. It may need to be tightened or replaced with a new one for the proper functioning of your faucet.
Finally, inspect the interior components of your faucet such as valves and cartridges. If these parts have become corroded or worn out from age, they may need to be replaced. This will ensure that your faucet functions properly and is securely held in place.
How do I keep my faucet handles tight?
The best way to keep your faucet handles tight is to check them periodically and inspect them for any signs of wear or damage. If needed, you can use a wrench to tighten the screws that hold the handle in place. This should be done every 3-4 months as part of regular maintenance for your kitchen faucet.
In addition, it’s important to regularly lubricate the parts that are exposed to water such as the O-rings and washers. This will help ensure that they continue working properly and don’t become loose due to corrosion or age. Finally, make sure that all components such as nuts and bolts are securely tightened to maintain a tight grip on the handles of your kitchen faucet.
Can a loose faucet handle cause a leak?
Yes, a loose faucet handle can cause a leak. This is because the washer may not be making a proper seal with the faucet body, causing water to escape through the joint. In addition, if the screws that hold the handle in place are loose or worn out then this can also contribute to a leaky faucet. Therefore, it’s important to regularly inspect your kitchen faucet and all of its components for signs of wear or damage so you can make any necessary repairs or replacements before it becomes an issue.
What is the most common cause of a leaky faucet?
The most common cause of a leaky faucet is worn-out or damaged washers. Over time, these parts become brittle and worn down due to constant exposure to water and can no longer make a proper seal with the faucet body. Therefore, it’s important to regularly inspect your kitchen faucet for any signs of wear or damage so you can make necessary repairs as soon as possible. If you notice that your washer needs to be replaced then do so immediately in order to prevent any further damage from occurring.
What causes the faucet handle to be loose?
The most common cause of a loose faucet handle is simply worn and tear. Over time, the screws that hold the handle in place can become loose due to constant use or age. Additionally, if you have an older model faucet then the interior components such as valves and cartridges may be worn out or corroded, which can also cause the handle to be loose. It’s important to check these parts regularly so you can make any necessary repairs or replacements before it becomes an issue.
What tool is needed for loosening and tightening faucets?
The most commonly used tool for loosening and tightening faucets is a wrench. A wrench can be used to tighten or loosen the screws that hold the handle in place. Additionally, it can also be used to inspect other parts of the faucet such as the washer, O-rings, and valves for any signs of wear or damage so you can make necessary repairs or replacements before it becomes an issue. It’s important to always use the proper tools when working on your kitchen faucet in order to ensure that it works properly and safely.
What causes a faucet handle to become hard to turn?
A faucet handle may become hard to turn due to sediment buildup inside the pipes. Over time, dirt and other deposits can build up inside the pipes and cause them to become clogged or blocked which makes it difficult for water to pass through. Additionally, some faucets have an internal part called a cartridge that controls the flow of water and this can also become worn out or broken, making it difficult for you to turn the handle.
Why is my kitchen faucet still loose after tightening it?
If your kitchen faucet remains loose after attempting to tighten it, there might be underlying issues. It’s essential to identify and address the root cause for a secure and long-lasting fix.
Can I use a wrench to tighten a kitchen faucet?
Yes, you can use an adjustable wrench or a basin wrench to tighten the nut or mounting hardware securing the faucet. Be cautious not to over-tighten, as it could damage the faucet or plumbing.
What should I do if the faucet handle is still wobbly after tightening?
If the faucet handle remains wobbly, inspect the faucet’s interior components. You may need to disassemble it, check for damaged parts, and replace any worn or broken pieces.
Are there special considerations for tightening a single-handle faucet versus a double-handle faucet?
The basic process for tightening a faucet is similar, but the specific steps may vary depending on the faucet type and brand. Consult the faucet’s user manual for model-specific instructions.
Is it necessary to turn off the water supply before tightening a kitchen faucet?
Yes, it’s advisable to turn off the water supply to your faucet before attempting any repairs or maintenance. This prevents accidental water flow and ensures your safety.
How often should I check and tighten my kitchen faucet?
Regularly inspect your faucet for signs of looseness. Depending on usage and the quality of your faucet’s installation, you may need to tighten it every few months to maintain its stability.
What are common causes of persistent faucet looseness despite tightening?
Common causes include worn-out components, damaged threads, or improper installation. If repeated tightening doesn’t resolve the issue, consider consulting a professional plumber for a thorough inspection and repair.
Useful Video: How to fix loose Kitchen Faucet. DIY
Conclusion
Kitchen faucets are an important part of any kitchen and can make a big difference in the overall look and feel of your space. Fortunately, with a few simple tools and some patience, you can easily fix loose kitchen faucets yourself. By following these tips on how to tighten a kitchen faucet, you’ll be able to get back to cooking without interruption or worry. With just a little effort, you’ll have your kitchen running like new in no time! Be sure to take safety precautions when tackling any plumbing project and if you have any doubts or need further assistance, contact a professional.
References
- https://www.build.com/how-to-choose-a-kitchen-faucet/a21
- https://kitcheninfinity.com/home-diy-project-how-to-tighten-kitchen-faucet-easily/
- https://www.scottenglishplumbing.net/blog/5-tips-for-maintaining-your-faucet