
Installing a kitchen faucet with a sprayer is an easy and relatively inexpensive way to update your kitchen. Not only does it add convenience, but it also gives the room a fresh look. With just a few simple tools and some basic knowledge of plumbing, you can complete this project in no time! This guide will walk you through the step-by-step process for installing a new kitchen faucet with a sprayer. Before getting started, make sure that all necessary supplies are on hand so that everything runs smoothly.
Before You Begin
Before beginning, it’s important to make sure you have all the necessary parts and tools for the project.
You’ll need a basin wrench, adjustable pliers, screwdriver or drill (depending on what type of mounting system your faucet requires), a pair of channel-lock pliers, and new faucet supply lines. In addition, you should have a bucket or container handy to catch any water that may spill out during the installation process. [1]
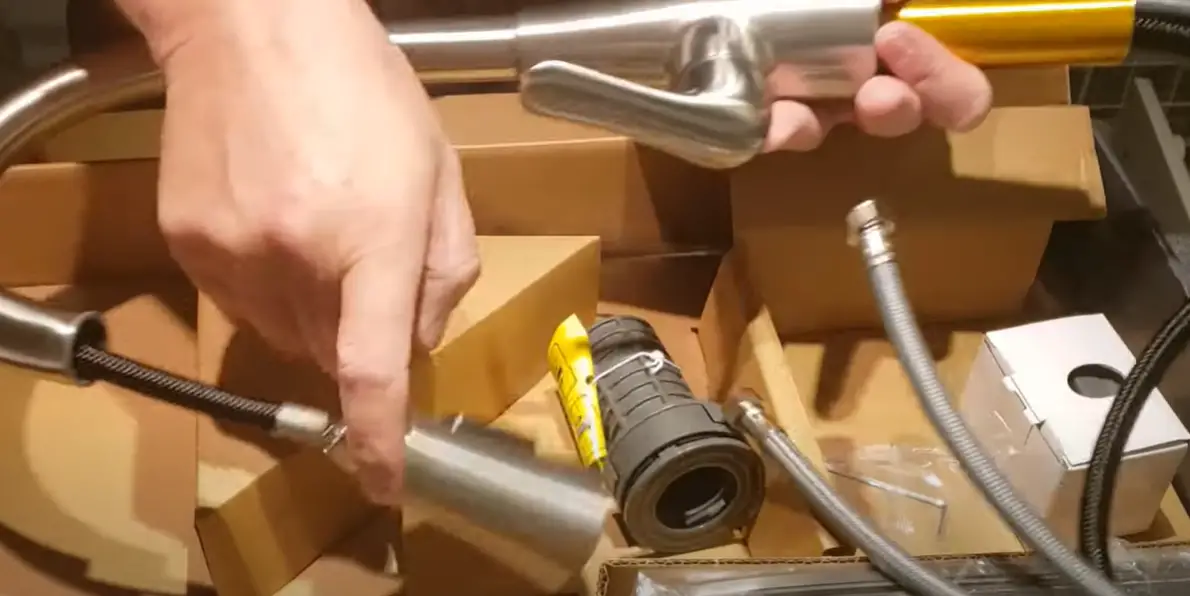
Understand Parts of a Kitchen Sink Sprayer
Before attempting to install a new kitchen faucet and sprayer, it is important to understand the components of the system and how they fit together. The base of the faucet attaches directly to the sink with screws. This usually requires drilling holes into the sink, so make sure you have the correct measurements and a drill before starting work.
The sprayer is then connected to the faucet with a long hose. This hose may be made of metal or rubber and will usually have a connection where it attaches to the sink wall. There should also be an adjustable nut that allows you to secure the assembly firmly in place.
Once all the parts have been identified and assembled, the kitchen sink sprayer can be mounted to the sink. This is usually done using a series of bolts and nuts that attach to the base of the faucet and secure it in place. Make sure you have all of these tools on hand before beginning installation.
Finally, it is important to check the pressure of the water coming out of the kitchen faucet sprayer. If too much or too little pressure is detected, then an adjustment may need to be made in order for it to work properly. [2]
What You’ll Need
- Basin wrench
- Adjustable pliers
- Screwdriver or drill
- Channel-lock pliers
- New faucet supply lines
- Bucket or container
- Drilling equipment (if needed)
- Faucet and sprayer assembly
- Water supply line
- Adjustable nut and bolt set
Evaluate Your Sink’s Existing Mount and Mounting Holes
Before you begin, evaluate your sink’s existing mount and mounting holes. Depending on the type of sink you have, you may need a special adapter to complete this project.
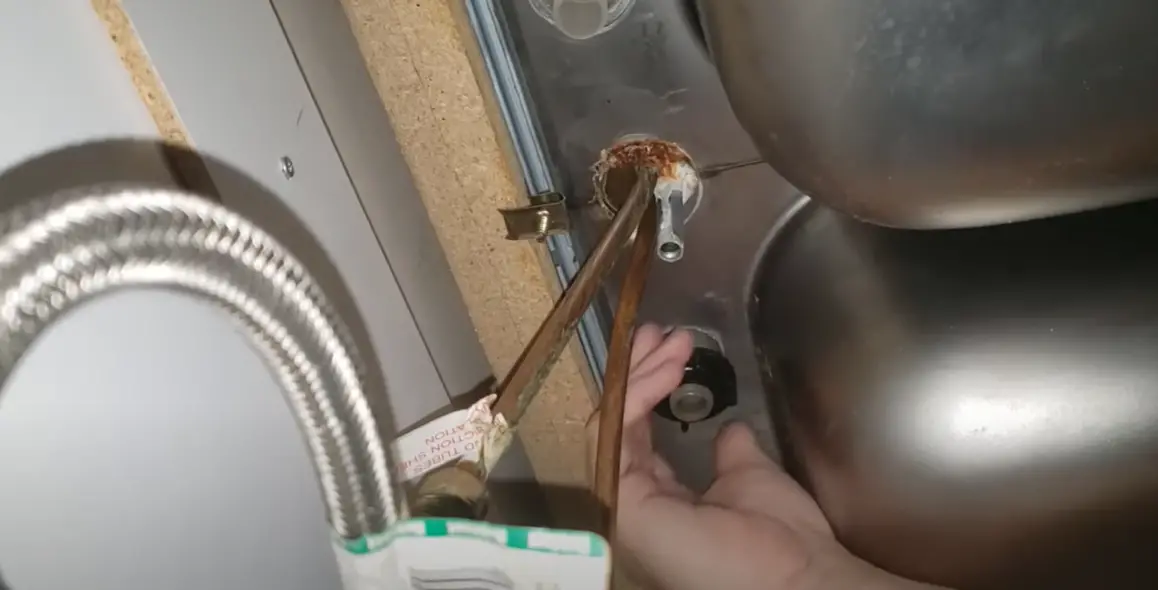
Turn off the Water Supply
The first step in installing a kitchen faucet with a sprayer is to turn off the water supply. Remove any old hardware, such as an existing faucet or handles, and locate the shutoff valves under the sink. Turn both valves clockwise until they stop turning to completely shut off the water flow.
Prepare the Mounting Hole
To install a kitchen faucet with a sprayer, you will first need to prepare the mounting hole. This involves removing any existing faucet and cleaning out excess grout or caulk from around the edges of the mounting hole. Make sure that the surface is clean and dry before proceeding.
Assemble the Spray Hose and Sprayer Nozzle
- Unscrew the aerator from the spout of your faucet and set aside.
- Take the assembled spray hose and attach one end to the bottom of the faucet, using an adjustable wrench.
- Connect the other end of the spray hose to the nozzle, then tighten it with the adjustable wrench.
- Place the aerator back onto the spout and tighten it with your hand.
- Turn on the water to check for leaks, then turn off when finished testing.
- Attach the spray nozzle onto the hose and tighten with an adjustable wrench.
Thread the Spray Hose Into the Mounting Hole
Once the new faucet has been installed, the next step is to thread the spray hose into the mounting hole. Locate the mounting hole at the bottom of your faucet and carefully guide the spray hose into it. Make sure that it is correctly threaded so that it does not come loose when you turn on the water. Once the spray hose has been securely threaded, you can turn on the water and test for leaks.
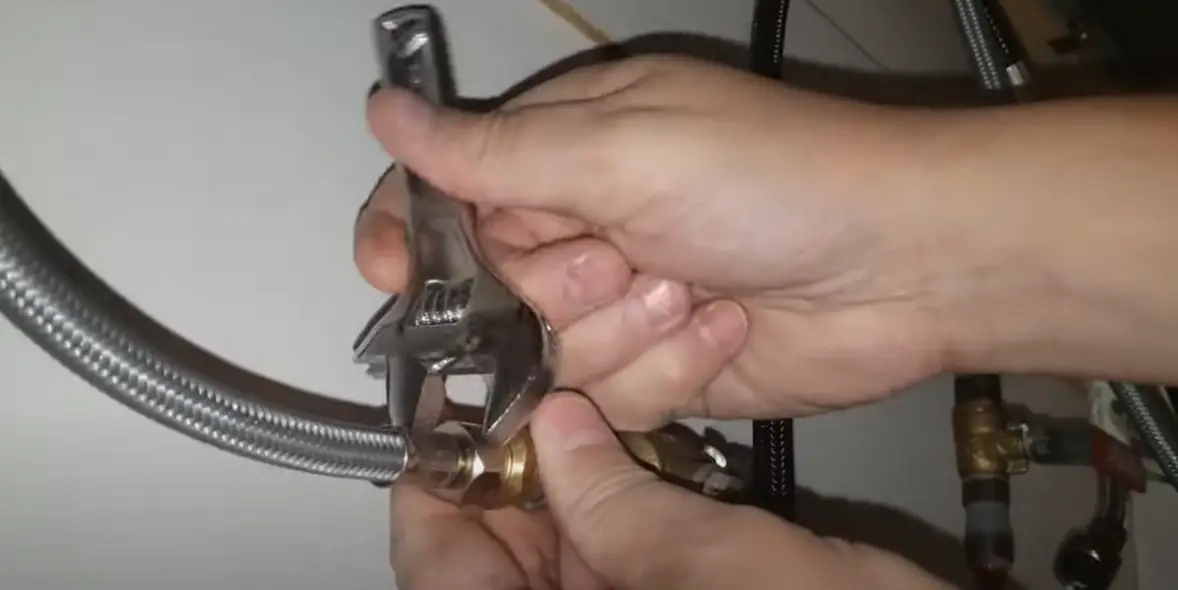
Connect the Spray Hose to the Water Diverter
Connect the female end of the spray hose to the water diverter. The water diverter is typically located in the center of the faucet underneath where the handle will be installed.
- Tighten with a wrench to secure it in place, making sure not to overtighten as this could cause damage.
- Connect the male end of the spray hose to a separate water line mounted near the sink.
- Use the same wrench to tighten it into place and ensure that there are no leaks in either connection point.
- Turn on both water supplies and check for any leaks or dripping from the connections.
- If everything is secure, turn off both water supplies and proceed to the next step.
- Install the faucet handle, ensuring that all of the pieces are securely in place.
- Make sure to check for any leaks or dripping after installation is complete.
- Now you can attach the sprayer attachment to the end of the hose and secure it with the supplied hardware.
- Test out the sprayer to make sure it is working properly and there are no leaks.
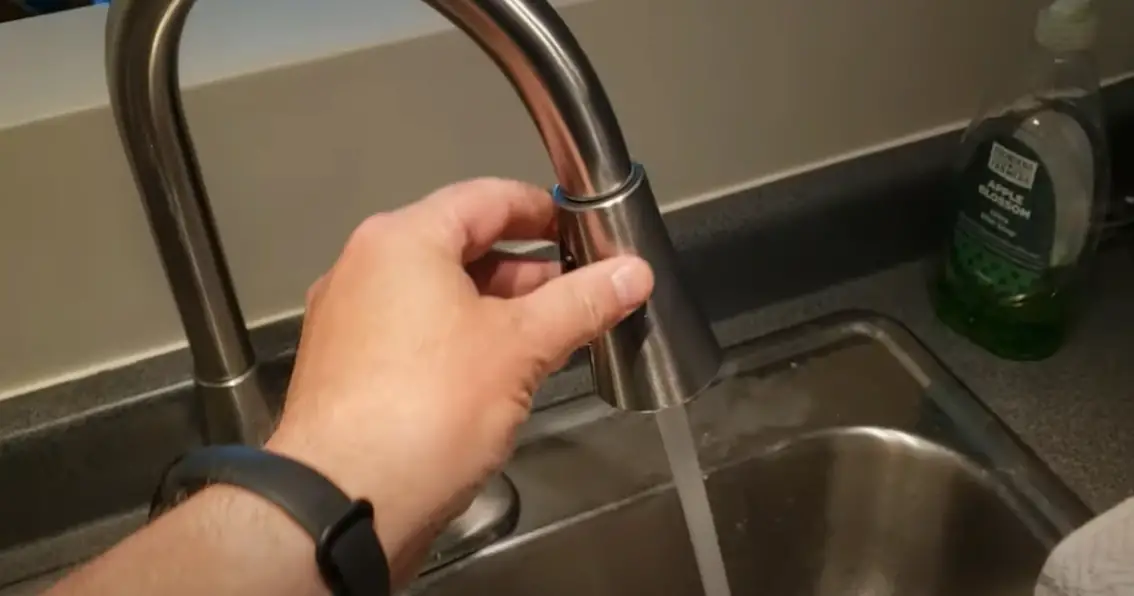
Turn the Water Supply Back on and Test
Once the faucet is installed and all of the connections are secure, it’s time to turn the water supply back on. Turn both valves going into the wall clockwise until they stop. Once this is done, you can then open up the new kitchen faucet with a sprayer and make sure that it works properly. If all is good, you can then turn on the sprayer and make sure that it works properly as well. Once everything is tested and working, you can now enjoy your new kitchen faucet with a sprayer! [3]
Tips For Installing A Spray Kitchen Faucet
- Consider the size, type and layout of your kitchen before purchasing a new faucet. Make sure it is compatible with the existing sink holes, as well as any other appliances or fixtures in the area.
- Take measurements when installing a spray kitchen faucet to ensure proper fitment and that all components are within reach.
Shut off the water supply before beginning the installation process to avoid any potential damage from water leakage or over-tightening. - Carefully follow all the instructions provided by the manufacturer when installing a spray kitchen faucet, paying special attention to diagrams and figures for reference.
- Use a basin wrench to avoid damaging the faucet and to ensure proper fitment when attaching it to the sink.
- Secure all connections with plumber’s tape before turning on the water supply and testing for leaks.
- Make sure to check out additional accessories such as a side spray or soap dispenser which may be necessary when installing a spray kitchen faucet. [4]
Installing a Kitchen Faucet With Sprayer
If you’re looking to upgrade your kitchen faucet with a sprayer, here’s a comparison of common installation steps, precautions, and tools required for a successful installation.
| Common Installation Steps | Precautions | Tools Required |
|---|---|---|
| Shut off the water supply | Ensure both hot and cold water supplies are turned off to prevent any water flow during installation. | Adjustable wrench, bucket, and rags. |
| Remove the old faucet | Carefully disconnect and remove the existing faucet, making sure to clean the sink area thoroughly. | Adjustable wrench, bucket, rags, and putty knife. |
| Install the new faucet | Follow the manufacturer’s instructions for attaching the new faucet to the sink, ensuring a secure fit. | Plumber’s tape, adjustable wrench, and a basin wrench. |
| Connect the sprayer | Attach the sprayer hose and secure it according to the faucet’s instructions, avoiding kinks or tangles. | Plumber’s tape, adjustable wrench, and pliers. |
| Test for leaks | Turn on the water supply and check for any leaks, ensuring a proper and watertight installation. | N/A |
Explanation of the table:
This table provides a comparison of common installation steps, precautions, and tools required for installing a kitchen faucet with a sprayer. It covers essential steps such as shutting off the water supply, removing the old faucet, installing the new faucet, connecting the sprayer, and testing for leaks. Following these steps and precautions, along with using the required tools, will help you complete the installation successfully.
FAQ
How does a sprayer connect to a faucet?
A sprayer typically connects to a faucet with a hose. The end of the hose should have a fitting that screws into the base of the faucet. The other end of the hose should have a fitting that attaches to the sprayer head.
Do you have to install a sprayer on the kitchen faucet?
The answer is Yes, it’s important to have a sprayer on the kitchen faucet. Installing one can be an easy job, but it’s important to follow the steps carefully.
Can you install a kitchen faucet yourself?
Yes, it is possible to install a kitchen faucet with a sprayer yourself. However, before attempting to do so, it is important to have the right tools and materials for the job. This includes, but is not limited to, an adjustable wrench, plumber’s tape, pipe cleaner, shut-off valves, and the proper size faucet for the sink.Once you have gathered all of the necessary tools and materials, you can begin the installation process.First, turn off the water supply to the sink and disconnect the old faucet from the sink. Next, you will need to remove the mounting hardware from the sink before installing the new faucet. Once the old faucet is removed, install the new one. You may need to adjust the size of the holes in the sink and make sure all nuts, washers, and other pieces are securely in place. Once the faucet is firmly mounted to the sink, attach the hot and cold water supply lines to the appropriate valves. If a sprayer is included, then you can attach it as well.
Finally, turn the water back on and test the faucet.
How does the sprayer work on a kitchen faucet?
The sprayer typically works by diverting water from the faucet spout to the sprayer head. The sprayer head contains a spray nozzle which can be switched between two settings. The spray setting produces a wide, powerful stream of water for rinsing dishes and cleaning countertops. The stream setting produces a more focused, powerful jet of water for filling pots and other containers.
Do you need to turn off water to change the sink sprayer?
Yes, it is necessary to turn off the water supply before replacing or installing a kitchen faucet. The shut-off valves are generally located under the sink. Sometimes it is necessary to turn off the main water supply and drain the pipes before you can begin working in order to prevent any water from flowing out of the faucet.
How do you install a simple kitchen faucet?
Installing a kitchen faucet with sprayer is an easy project that even novice do-it-yourselfers can complete successfully. This guide will help you install a simple, 1-handle kitchen faucet with a sprayer in just a few steps.
- Start by turning off the water supply to your kitchen sink. This can usually be done by turning the shutoff valves located underneath the sink counter or behind the wall.
- Unscrew the old faucet using an adjustable wrench and disconnect it from the hot and cold water lines by unscrewing the nuts that hold it in place.
- Remove any old plumber’s putty or caulk around the sink opening.
- Insert the new faucet into the sink opening and attach it to the water lines using the included nuts and washers.
- Place plumber’s putty or caulk around the base of the faucet and tighten the mounting nuts underneath the sink to secure it in place.
- Connect the sprayer hose to the faucet and secure it with the included nut and washers.
- Turn the water supply back on and test for any leaks.
- If there are no leaks, you’re done!
What are the three types of faucet control?
When choosing a kitchen faucet there are three types of control to consider: single-handle, double handle and deck mounted.
Single-handle faucets are an all-in-one unit, with a single handle to control both temperature and flow. They are the most common type of kitchen faucet and are generally less expensive than double-handle faucets.
Lastly, deck-mounted faucets are installed directly onto the counter top and require a single hole for installation.
Do I need to put plumbers putty under the faucet?
Yes, you need to put a layer of plumbers putty under the faucet before you install it. This will create a watertight seal, preventing water from leaking out of the base. Make sure to apply the putty in a thin, even layer so it will easily stay in place. After applying the putty, smooth it out with your fingers, so there are no ridges or bumps.
Why does water come out of the faucet with a sprayer?
A kitchen faucet with a sprayer is an incredibly useful tool for washing dishes, filling pots and pans quickly, and cleaning hard-to-reach areas. The sprayer is made up of a small hose attached to the faucet and a nozzle at the end which jets water out in a spray pattern. Installing a kitchen faucet with a sprayer is not difficult, but does require some basic plumbing skills.
What are the basic steps for installing a kitchen faucet with a sprayer?
The basic steps for installing a kitchen faucet with a sprayer are as follows:
1. Turn off the water supply to the sink.
2. Disconnect the old faucet, if applicable.
3. Insert the new faucet’s components through the mounting holes in the sink.
4. Secure the faucet with a mounting nut or plate.
5. Connect the water supply lines to the faucet.
6. Install the sprayer hose through the appropriate mounting hole.
7. Attach the sprayer to the hose and secure it.
8. Turn on the water supply and test the faucet and sprayer for leaks.
How do I ensure a watertight connection between the faucet and the sink when installing a kitchen faucet with a sprayer?
To ensure a watertight connection, use a rubber gasket or a bead of plumber’s putty between the faucet and the sink. Secure the faucet in place with a mounting nut or plate to create a sealed connection.
What is the proper method for connecting the sprayer hose to the faucet when installing a kitchen faucet with a sprayer?
When connecting the sprayer hose to the faucet, typically, you will need to attach it to the sprayer nipple on the faucet. Use an adjustable wrench or pliers to secure the connection. Make sure it’s tight enough to prevent leaks but not over-tightened.
What steps should I follow to test the faucet and sprayer for leaks after the installation process?
After installation, turn on the water supply and test the faucet and sprayer for leaks. Check for any water drips or moisture around the connections, the base of the faucet, and the sprayer. If you notice any leaks, tighten the affected connections or make necessary adjustments.
Are there specific precautions to take during the installation of a kitchen faucet with a sprayer to prevent potential issues or leaks?
To prevent issues or leaks during installation, turn off the water supply, make sure all connections are secure, and check for any visible signs of leaks. Take your time to follow the manufacturer’s instructions and consult a professional if you encounter any difficulties during the installation process.
Useful Video: How To Install A Kitchen Faucet – Glacier Bay Mckenna Pull Down Kitchen Faucet Install
Conclusion
Installing a kitchen faucet with sprayer is not an overly complicated task, but it does require some basic plumbing knowledge. It can be done in a couple of hours with the right tools and parts, as well as detailed instructions. With some patience and attention to detail, you can have your new faucet up and running in no time. Be sure to check for any leaks before you put everything back together, as this will help ensure your new faucet will last for years to come.
References
- https://www.thespruce.com/installing-a-kitchen-sink-sprayer-2718817
- https://faucetlist.com/blogs/buying-guides/how-to-install-a-kitchen-faucet-with-pull-down-sprayer-video-guide
- https://www.wayfair.com/sca/ideas-and-advice/renovation/how-to-install-a-sink-sprayer-T5389
- https://www.homedit.com/install-your-kitchen-faucet/