If you have a leaky Moen kitchen faucet, don’t panic. Fixing it is actually quite simple and can be done with just a few basic tools. In this guide, we will walk you through the steps of repairing your Moen kitchen faucet so that you can get back to using it without any leaks or drips.
Reasons Why A Moen Kitchen Faucet May Be Leaking
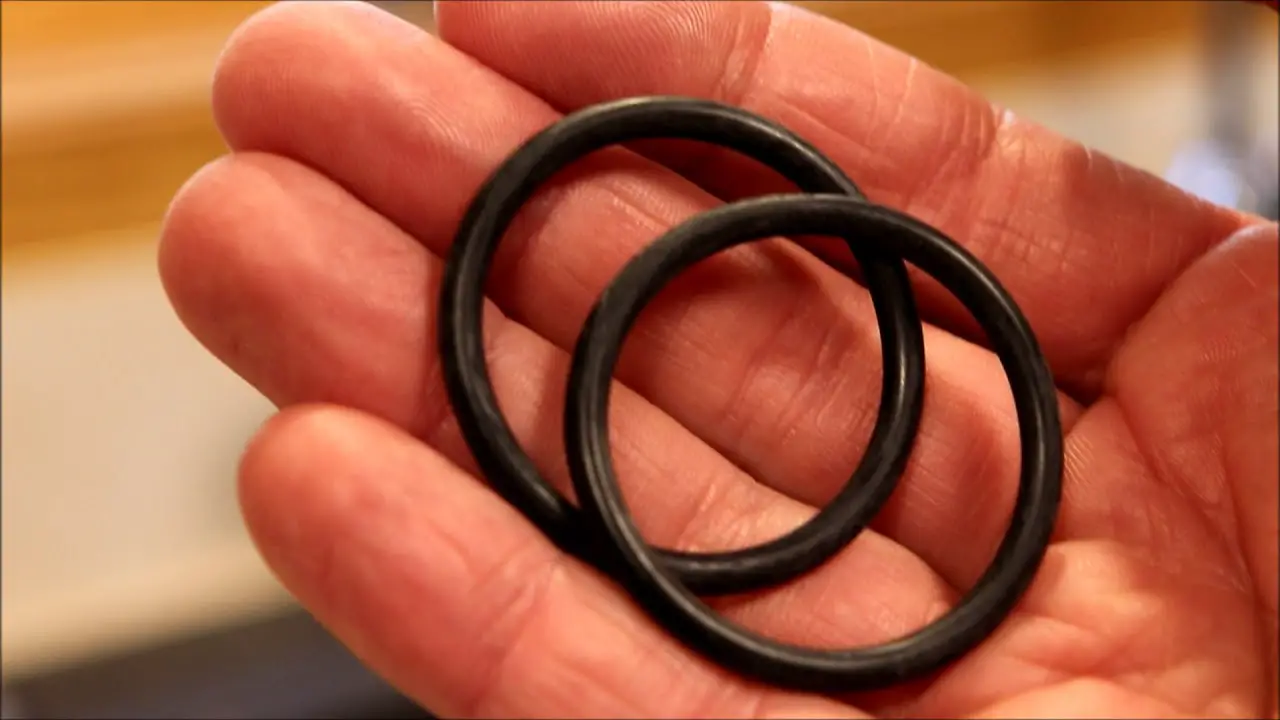
There are a few reasons why your Moen faucet may be leaking. The most common is due to an issue with the O-ring or cartridge, which could have become worn out over time. Additionally, it’s possible that the handle assembly on your faucet could be loose or damaged, causing water to leak from the faucet. [1]
Step-By-Step Instructions To Repair A Leaking Moen Kitchen Faucet
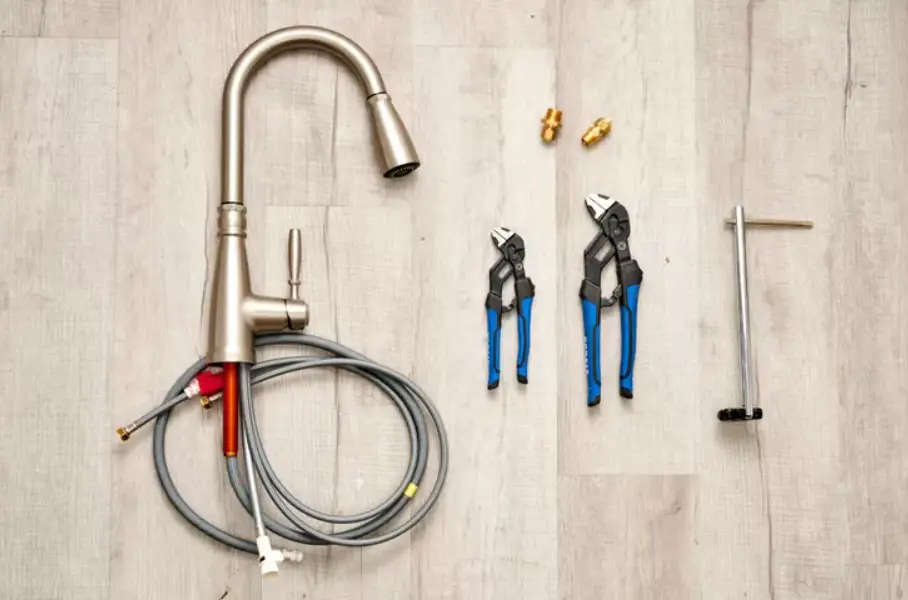
Let’s take a closer look at the leaky Moen kitchen faucet repair process.
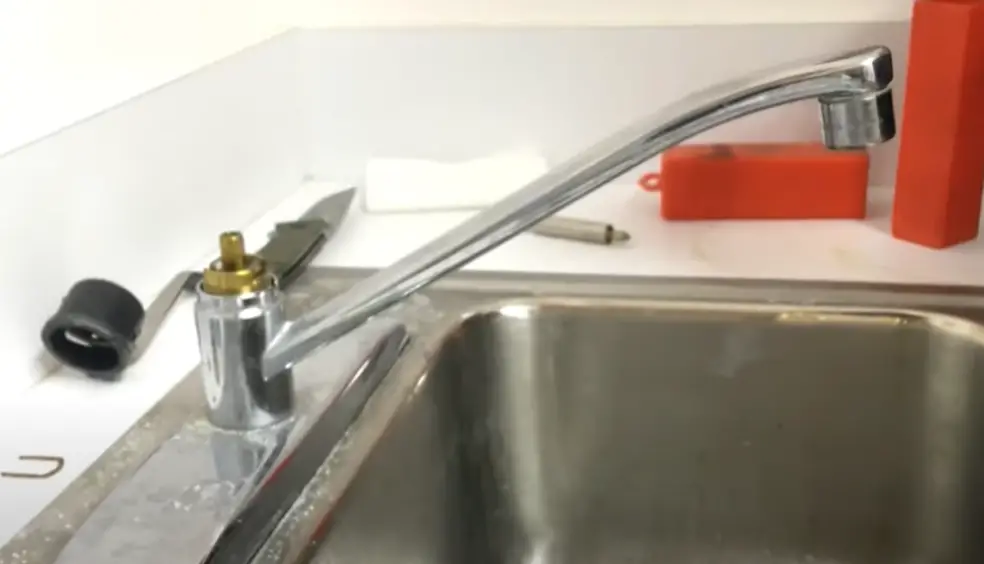
Begin Moen Kitchen Faucet Repair By Disassembling The Faucet
- Start by disconnecting the water supply lines leading to the faucet and turn off both valves.
- Place a large bucket underneath the sink, as water may drip out while disassembling the faucet.
- Use an adjustable wrench or pliers to loosen and remove the nut holding on the sprayer hose.
- Unscrew the handle and remove it from the faucet, if needed.
- Remove the escutcheon (the metal plate behind the handle) to access the rest of the faucet components.
- Use a screwdriver to loosen and remove any visible screws securing the valve stem in place.
Servicing The Cartridge, O-Rings And Gaskets
If you’ve determined that the source of your leaky Moen kitchen faucet lies in a faulty cartridge, O-rings or gaskets, then it’s time to replace them. Before beginning this process, make sure to turn off the water supply valves located behind the sink. Once done, remove the handle and access the cartridge. Moen cartridges are generally held in place using a retainer clip, so you’ll need to remove it with a pair of needle-nose pliers before removing the old cartridge. Make sure to also check for any debris or buildup that could have caused the leak before popping in your new cartridge. After the new cartridge is installed, make sure that the O-rings and gaskets are replaced as well. Once done, reassemble the faucet and test for any leaks from your newly serviced parts. If you find that your Moen kitchen faucet is still leaking, then it may be time to call a plumber for more serious repairs.
You May Have To Replace The Valve Seats
If the leak persists after replacing the O-rings and seals, you may need to replace the valve seats and springs. The valve seat is a metal or plastic washer located inside the faucet that is held in place by a spring. If either of these parts are worn out or damaged, it can cause a leak. To replace the valve seat and spring, you’ll need a special tool known as a “valve seat wrench.” Once you’ve removed the old parts, install the new valve seat and spring. Then reassemble the faucet and turn on the water to test it for leaks. If everything is working properly, your Moen kitchen faucet should no longer be leaking. [2]
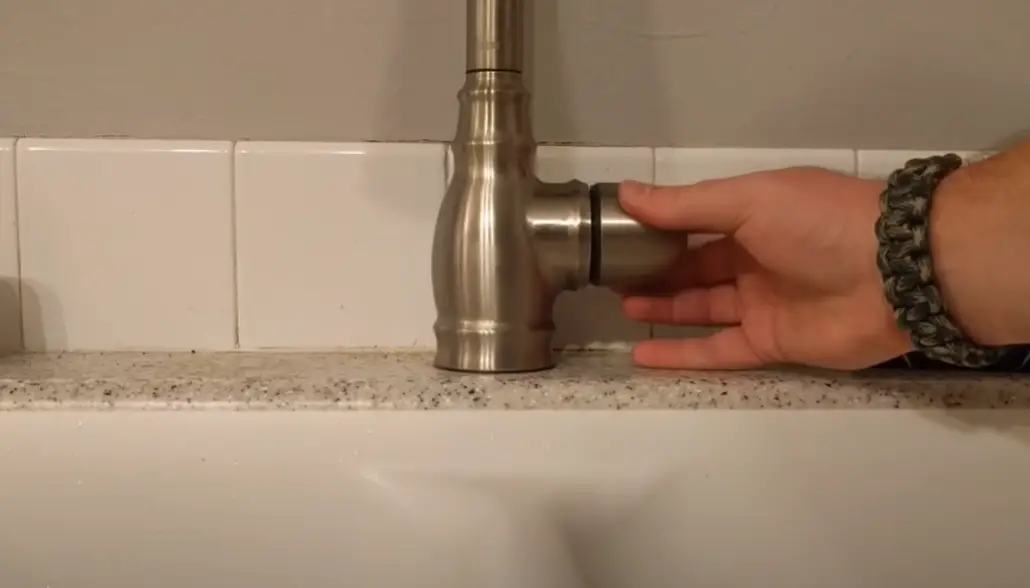
Moen Kitchen Faucet Leaking At Base
If your Moen kitchen faucet is leaking at the base, the first step is to determine where the leak is coming from. Is it from the handle, spout, or a hose? If the leak is coming from one of these three sources then you will need to replace the handle, spout, or hose in order to stop the leak.
If the leak is coming from around the base of the faucet, then it may be due to a faulty O-ring on the stem assembly. To replace this part you will first need to remove the handle and take off any decorative trim pieces in order to access the nut that holds together the stem assembly. Once the nut is removed, you can replace the O-ring and reassemble the faucet.
If your Moen kitchen faucet is leaking from the side of the spout, then it might be due to a loose packing nut or cracked escutcheon. To fix this you will need to loosen the packing nut and replace the escutcheon. Once that is done, you can reassemble the faucet and the leak should be gone.
Tips For Fixing A Leaky Moen Kitchen Faucet
- Check and tighten the base of the faucet: Make sure that the base is tightly connected to the sink. If your faucet has been leaking, there could be a small gap in between the sink and the faucet itself, or it could just need tightening. You can use a wrench or pliers to do this.
- Check the O-ring and cartridge: The O-ring is a small rubber ring which seals the connection between the handle of your faucet and its base, while the cartridge (found beneath the handle) works to control water flow.
If either of these components are worn or damaged, they may need replacing. - Replace the aerator: The aerator is a small piece of metal or plastic which screws onto the end of your faucet and helps to reduce water pressure. It can become clogged or stopped up over time, causing leaks.
Unscrew it and clean it out before replacing it back onto the faucet. - Make sure the washer and valve seat are in working order: The washer is a small disc which seals the connection between the stem of your faucet and its base, while the valve seat sits beneath it and controls water flow. If either part is worn or damaged, they may need to be replaced.
- Replace the entire faucet: If all of the above methods fail to fix your leaking faucet, it may be time to replace the whole thing. Make sure you buy a compatible faucet and follow the instructions carefully when installing it in order to ensure everything is properly connected. [4]
Fixing a Leaky Moen Kitchen Faucet
A leaking Moen kitchen faucet can be an annoying issue, but it’s often fixable. Here’s a comparison of common causes, troubleshooting, and solutions for fixing the leak.
| Common Causes | Troubleshooting | Solutions |
|---|---|---|
| Worn O-Ring | Inspect for a dripping handle. Check the faucet base for moisture. | Replace the O-ring. Apply plumber’s grease for smooth operation. |
| Loose Cartridge | Feel for a loose handle. Listen for water leaking under the sink. | Tighten the cartridge. Check for damaged parts and replace if necessary. |
| Faulty Cartridge | Listen for continuous dripping. Check for irregular water flow. | Replace the cartridge with a Moen-specific replacement part. |
Explanation of the table:
This table provides a comparison of common causes of a leaky Moen kitchen faucet, troubleshooting steps to identify the issue, and corresponding solutions. Whether it’s a worn O-ring, a loose cartridge, or a faulty cartridge, understanding these issues and applying the right fixes can help you resolve the faucet leak.
FAQ
How do you fix a leak at the base of a Moen kitchen faucet?
If your Moen kitchen faucet is leaking from the base, there are a few steps you can take to fix it. First, make sure that any gaskets or seals connected to the faucet are properly aligned and secure. If they seem loose, tighten them with a pair of pliers. If the gaskets or seals are worn out, you may need to replace them.You can also try replacing the aerator, which is a small circular device that fits over the end of the faucet and helps regulate the flow of water. In many cases, this can be done simply by unscrewing it and replacing it with a new one. Finally, if the leak persists after changing the gaskets and seals and replacing the aerator, it may be time to replace the entire faucet.
Why is my Moen kitchen faucet leaking?
Moen kitchen faucets are popular amongst homeowners due to their reliability and durability. However, they can still suffer from wear and tear over time, resulting in a leaking faucet. Common causes of leaks include worn out seals or gaskets, corroded parts, loose connections, or improper installation. It is important to identify the source of the leak and take steps to fix it quickly.
How do you stop a Moen single handle faucet from leaking?
When it comes to fixing a leaky Moen single handle faucet, the most important thing you need to do is locate the source of the leak. Common sources of leaks on Moen single handle faucets are O-rings, valve seats, and seals.
Once you have located the source of the leak, you can address it in three different ways: replacing parts, tightening parts, or lubricating them. Here’s an overview of each approach:
- Replacing Parts
- Tightening Parts
- Lubricating Parts
No matter what approach you take to fixing your Moen single handle faucet leak, make sure you take safety precautions and follow the manufacturer’s instructions carefully.
How do you remove a Moen single handle kitchen faucet cartridge?
Removing a Moen single handle kitchen faucet cartridge is not difficult but does require some patience. Before starting, make sure to turn off the water supply for both hot and cold water lines. Once the water supply has been shut off, use a flathead screwdriver to remove the plastic button cap in the center of the faucet handle.
Then use a Phillips screwdriver to unscrew the faucet handle and remove it from the base of the sink. You should then be able to carefully pull out the metal retainer clip, which holds in place the Moen single handle kitchen faucet cartridge. Once you have the clip removed, simply slide out the old cartridge and replace it with a new one. Reinstall the retainer clip, handle, and plastic button cap in the same order as they were removed. Finally, turn on the water supply to ensure your new Moen single handle kitchen faucet cartridge is working properly. If all goes well, you should now have a functional and leak-free kitchen faucet.
How do I fix the water flow on my Moen kitchen faucet?
If your Moen kitchen faucet is leaking or flowing too slowly, there are a few ways you can try to fix the issue yourself. The first step is to check for any clogs in the aerator. The aerator is located at the end of the faucet spout and is designed to break up the water stream and introduce air, creating a steady flow. If the aerator is clogged, you can remove it by twisting it off with pliers and then clean out any debris or sediment that may be causing the blockage. Another potential issue could be a worn-out cartridge. A worn cartridge will affect the flow of water and can cause a leak. If this is the case, you will need to remove and replace the cartridge with a new one. Lastly, if your faucet has an adjustable flow restrictor, it may be set too low and limiting the water pressure. This can be adjusted easily by turning the knob or screw located at the end of the spout.
How do you replace the O-rings on a Moen single lever kitchen faucet?
The O-rings on a Moen single lever kitchen faucet can become worn over time and should be replaced to prevent further leaking. Fortunately, it is relatively easy to replace the O-rings in a Moen single lever kitchen faucet. Here are the steps you need to take:
- Turn off the water supply to the faucet.
- Unscrew the handle of the faucet and remove it from the base.
- Use a flathead screwdriver or needle nose pliers to carefully remove the old O-ring from inside the handle.
- Replace with a new O-ring, making sure that it is positioned correctly and seated completely within the handle.
- Replace the handle, and secure it with screws or bolts.
- Turn on the water supply to the faucet and test for leaks.
How do I identify my Moen faucet model?
In order to do a successful repair on your Moen kitchen faucet, you must first identify the model of your particular faucet. This can typically be done by looking at the side or top of the actual faucet and locating a series of numbers and letters in a specific pattern. If this is not available, then you may need to look for the Moen logo, which is printed on every unit, or turn off the water supply and remove the handle, where you should be able to locate an identification number.
Can Moen faucets be repaired?
Yes, most Moen faucets can be repaired quite easily. You just need to identify the problem and then take the right steps to fix it. Common problems with Moen kitchen faucets include leaks, clogs, incorrect installation, and worn-out parts. Depending on the issue, you may be able to repair your faucet yourself with just a few tools.
What is the most common cause of a leaky faucet?
The most common cause of a leaky faucet is worn washers, seals, or O-rings. These components are located in the valve stem at the base of the faucet and should be replaced as soon as possible to prevent further damage and water waste. In order to fix the problem, you will need to purchase new parts for your Moen kitchen faucet. It is important that you use only genuine Moen replacement parts that are designed specifically for your model of faucet. Before beginning any repair work on a Moen kitchen faucet, it is essential that you turn off the house’s main water supply by turning its shutoff valve clockwise until it stops completely. Once the main water supply is shut off, you can begin to disassemble the faucet so that you can access the valve stem and replace the worn washers, seals, or O-rings.
Why does my Moen faucet keep running?
Moen faucets can start leaking for several reasons. One of the most common causes is a worn-out cartridge, which controls the flow and temperature of the water. Another cause could be a worn-out O-ring, which helps create a seal to keep the water from flowing out. The last possible cause is that your faucet may need readjustment due to wear and tear over time. No matter what the cause, fixing a leaky Moen kitchen faucet doesn’t have to be complicated or expensive. With a few simple tools and some easy steps, you can repair it in no time!
What are the potential causes of a leak in a Moen kitchen faucet, and how can I diagnose the issue?
A leaky Moen kitchen faucet can be caused by various factors, such as worn-out O-rings, damaged cartridges, loose connections, or a faulty aerator. To diagnose the issue, you can start by inspecting these components for signs of wear or damage and tighten any loose connections.
How do I fix a leaking Moen kitchen faucet with a loose or damaged O-ring?
To fix a leaking Moen kitchen faucet with a loose or damaged O-ring, turn off the water supply, disassemble the faucet handle and spout, and locate the O-ring. Replace the damaged O-ring with a new one, reassemble the faucet, and ensure all connections are snug. Turn on the water supply and check for leaks.
What steps should I follow to repair a Moen kitchen faucet with a leaky cartridge or valve?
If your Moen kitchen faucet has a leaky cartridge or valve, begin by turning off the water supply. Remove the faucet handle, access the cartridge, and replace it with a new one following the manufacturer’s instructions. Reassemble the faucet, turn on the water supply, and check for any remaining leaks.
Are there common issues with Moen kitchen faucets that cause leaks near the base, and how can I address them?
Leaks near the base of a Moen kitchen faucet can be caused by worn-out spout O-rings or loose spout connections. To address these issues, disassemble the faucet, replace the O-rings, and ensure all connections are tightened securely. This should stop the leaks.
What should I do if my Moen kitchen faucet continues to leak even after attempting these fixes?
If your Moen kitchen faucet still leaks after attempting O-ring or cartridge replacement, it’s advisable to consult a professional plumber or contact Moen’s customer support for further assistance. There may be more complex issues that require professional expertise to resolve.
Useful Video: How to fix Moen kitchen faucets
Conclusion
If you have a leaky Moen kitchen faucet, the best course of action is often to call in a plumber. If it’s something that you feel comfortable tackling yourself, then there are a few steps to take before getting started: Identify the model and serial number of the faucet; purchase any necessary parts; turn off the water supply; disassemble and inspect the faucet for damage; replace any broken or worn-out components; reassemble the faucet correctly (taking special care with gasket placement); test for leaks by turning on the water supply. With proper preparation and attention to detail, fixing a leaky Moen kitchen faucet can be done without calling in an expert.
References
- https://www.instructables.com/Leaky-Moen-Kitchen-Faucet-Repair/
- https://www.hunker.com/12234697/how-to-fix-a-leaking-moen-kitchen-faucet
- https://www.rooterguard.com/2020/08/19/how-to-fix-a-moen-kitchen-faucet-that-drips/
- https://solutions.moen.com/Article_Library/Kitchen_Faucet%3A_Leaking_From_The_Spout