Your kitchen faucet is one of the most important appliances in your home. It’s responsible for bringing water to your sink, so if it’s not working properly, you’re going to have a tough time getting things done. In this article, we’ll provide some tips on how to fix a kitchen faucet that’s not working properly. We’ll also answer some common questions that people have about this subject. So don’t wait any longer – read on for information on how to get your kitchen faucet up and running again!
How to Fix a Kitchen Faucet
Having a faucet not working in your kitchen can be incredibly frustrating. Whether it’s leaking, sputtering, or just plain won’t turn on, the problem needs to be fixed as soon as possible. Fortunately, there are a few simple steps you can take to troubleshoot and fix the issue quickly and easily:
- First off, check if the faucet is clogged with debris. If so, use a small brush and running water to clear out any blockages that may be causing the issue. You may also want to try using baking soda and vinegar to unclog any stubborn build-up of material inside the pipes;
- Next, check for moisture around the base of the faucet. This could be a sign that something is wrong with the O-rings or gaskets, which are common causes of leaking and sputtering. To fix this, you can replace these parts yourself with some pliers and a wrench;
- Finally, make sure that your water supply is connected correctly to the faucet. If it’s not tight enough, you might need to tighten the connection using an adjustable wrench. Also, check if there are any kinks in the lines or other issues preventing water from flowing properly;
Method 1. Setting up for Repair Work
Before you can start on any of the steps below, you’ll need to turn off the water supply to your faucet. This will depend on the type of faucet you have, so make sure you check the manufacturer’s instructions before attempting this. If your faucet is an older model with a single handle, there may be a toggle in the middle of two valves. Make sure to disconnect both valves and then shut off the main water supply as well.
Locate the leak
Once the water is off, you can begin to locate the leak. Pay close attention to any areas that are wet or damp. You may need to remove a few parts of your faucet in order to access the source of the problem. If the area around your faucet is extremely wet, take steps to dry it up as soon as possible – a wet surface can lead to further damage and additional repair costs down the line.
Turn the faucet’s water supply off
Once you have identified the source of the leak, it’s time to turn off the water supply again. Make sure you check your manufacturer’s instructions for this step as well and remember to disconnect both valves if applicable. This will help prevent any more water from entering the area where the repair work is taking place.
Turn the faucet on to relieve the water pressure
Before you start to work on the faucet, it’s important to turn it on for a few moments. This will help relieve any built-up water pressure that could interfere with the repair process. Make sure you are standing away from the faucet while this is taking place and avoid getting any water or debris in your eyes. Once all of the built-up pressure has been released, it’s time to move on to the next step!
Cover the sinkhole with a strainer to catch small parts
Now that the pressure has been released, it’s time to cover the sinkhole with a strainer. This will help you keep small parts from falling down the drain and provide easier access for any repair work you may have to do. Make sure the strainer is securely in place before moving on to the next step.
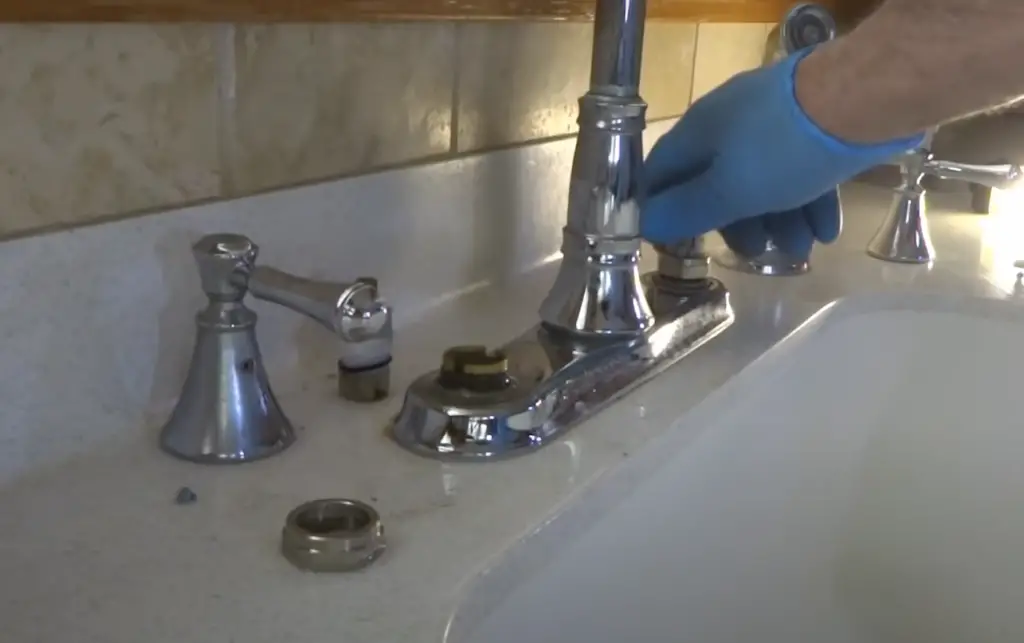
Gather your tools and supplies
Now it’s time to gather all of your tools and supplies needed for the repair job. Depending on what kind of faucet you have and what type of problem you are trying to fix, this list may vary greatly. You should also make sure that all of your tools are clean and dry before use – dirty tools can cause further damage or even contribute to additional problems down the line.
Label and take pictures of the faucet as you remove parts
As you start to take apart the faucet and remove parts, it can be helpful to label them or even take pictures of where they belong. This will help you keep track of each piece and make reassembling the faucet much easier in the end. Make sure all labels are clear and easy to read – this will save you time and frustration when it comes time to put everything back together.
Pour some vinegar into a container to clean the faucet parts
Once you have all of your tools and supplies ready, it’s time to begin the actual repair work. Pour some vinegar into a container, and then use an old toothbrush or rag to gently scrub any dirt, grime, or other buildups from each faucet part. This will help ensure that all parts are clean before reassembling them – which can go a long way towards preventing further problems in the future.
Method 2. Fixing a Ball Faucet
If the sink faucet in your kitchen is a ball faucet, then you may need to take some steps to repair it. This type of faucet has a handle that controls a single stem instead of two as with washer-type faucets.
Use an Allen wrench to remove the handle
To access the stem, you will have to remove the faucet handle. You can do this by using an Allen wrench and unscrewing the screws that hold it in place. Then you’ll be able to lift off the handle and expose the ball underneath.
Tighten the adjusting ring to fix leaks in the handle’s base
The ball should be surrounded by an adjusting ring. If there is a leak at the base of the handle, you can try tightening this to see if it fixes the problem.
Remove the cap by turning it counterclockwise
The ball should have a cap on the top. Unscrew this by turning it counterclockwise. You may need to use some force but it should eventually come loose.
Take out the metal ball and replace it if it’s damaged
When you remove the cap, you will be able to access the metal ball. It may be damaged or worn out, in which case you will need to replace it with a new one.
Replace the rubber rings and springs under the ball
Underneath the metal ball should be two rubber rings and a spring. If either of these is worn out, you will need to replace them before reassembling the faucet.
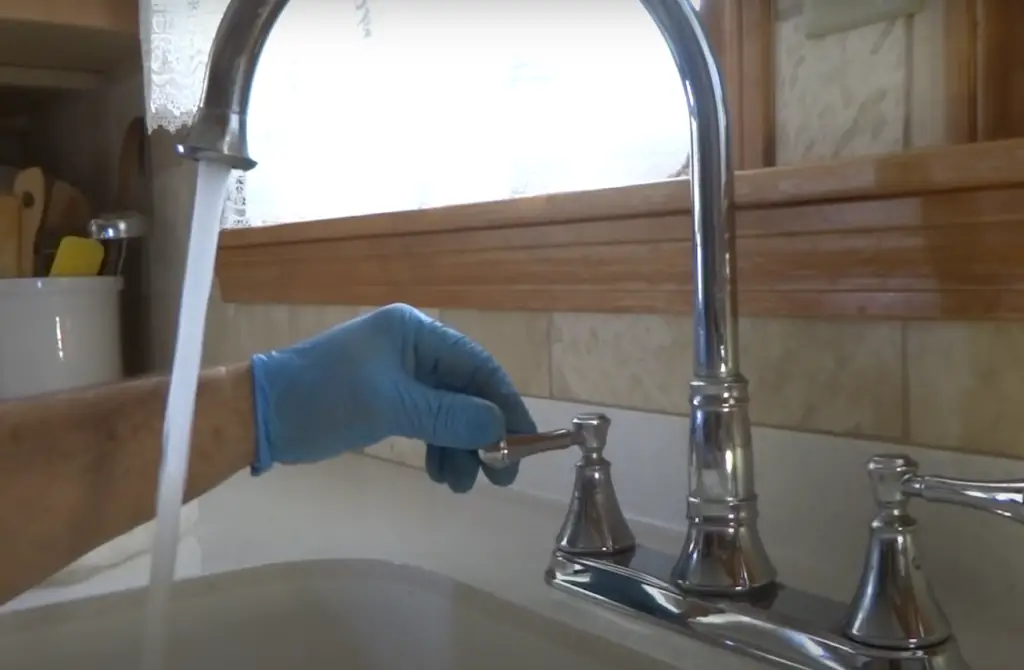
Reassemble the faucet
Once you have replaced any damaged parts, you can begin reassembling your faucet. Simply put the ball and cap back in place, tighten the adjusting ring and replace the handle. Test it out to make sure it’s working properly before using it again.
Method 3. Repairing a Cartridge Faucet
If your kitchen faucet has a cartridge faucet, it means there is a single handle or knob that controls both the hot and cold water. It must be disassembled to fix any problems you may have with it.
Pry the handle’s cap off with a knife
Look for a small, round cap located at the top of the handle. It should be easy to pry off with a knife or screwdriver. Once you have it off, use an adjustable wrench to remove the handle screw and take off the handle.
Use an Allen wrench to remove the handle
If you have an Allen wrench, insert it into the hole at the base of the handle. Turn counterclockwise and remove the Allen screw from underneath. With that out of the way, pull off the handle and unscrew its sleeve using a Phillips head screwdriver.
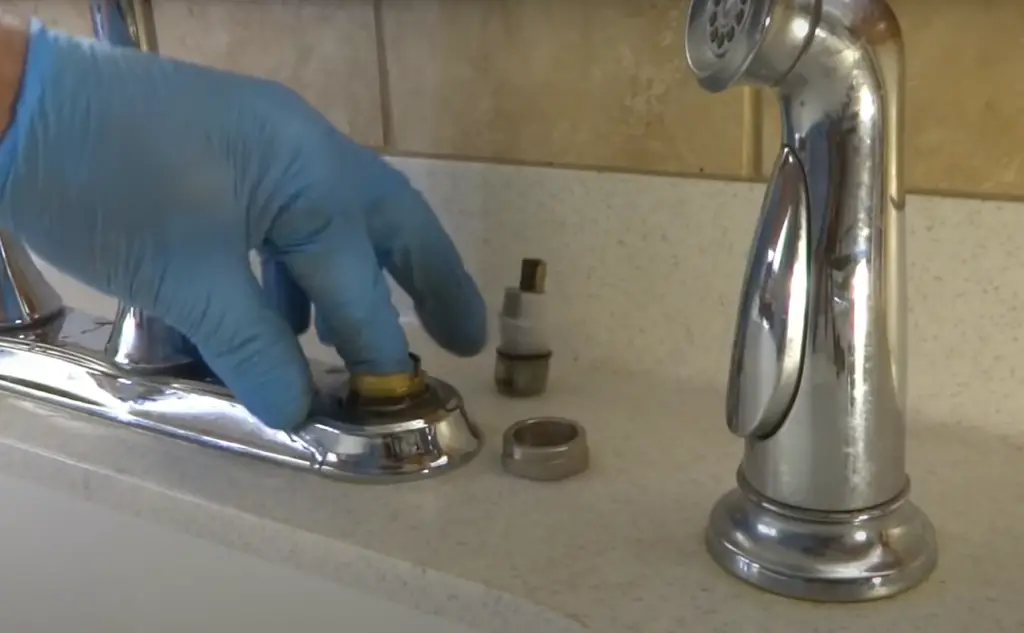
Remove the dome assembly by hand
Once you’ve taken off the handle and its sleeve, you should be able to pry off the dome assembly with your hands. This will reveal a cylinder that contains the cartridge and other internal mechanisms.
Unscrew the metal handle adapter with a screwdriver
The metal handle adapter is typically located at the top of the cylinder. Use a Phillips head screwdriver to unscrew it and carefully pull out the cartridge.
Use pliers to remove the retainer nut
At the base of the cartridge, you’ll find a retainer nut. Use pliers or an adjustable wrench to unscrew it and carefully remove the cartridge from its housing.
Lift the retainer clip with pliers
Once the cartridge is out, you’ll be able to see a retainer clip. Use pliers or another small tool to carefully lift it off and set it aside.
Twist the cartridge with pliers to remove it
Now that the retainer clip has been removed, you can twist the cartridge with a pair of pliers to take it out. This will reveal the O-ring which needs to be replaced if it is worn or damaged.
Place the new cartridge in the faucet
Take the new cartridge and place it into the faucet, making sure to align it correctly. Once you’ve done that, use pliers or an adjustable wrench to replace the retainer nut.
Method 4. Fixing a Ceramic Disc Faucet
Ceramic disc faucets are one of the most common types out there. If you have one, it’s likely that a part of the mechanism has worn down and needs to be replaced. Here is how you can fix your ceramic disc faucet.
Remove the screw cover with a knife
Using a small knife, carefully remove the screw cover that is located in the handle of your ceramic disc faucet. Make sure you don’t damage it since you may need to replace it later.
Use an Allen wrench to remove the handle
Once the screw cover is removed, you’ll need to use an Allen wrench to loosen and remove the handle. Be careful not to apply too much force as this could damage the faucet.
Twist off the metal cap with pliers
After you’ve removed the handle, you’ll see a metal cap. Using a pair of pliers, carefully twist off the metal cap and set it aside. You should now be able to access the cartridge inside your ceramic disc faucet.
Use a screwdriver to remove the disc cartridge
Grab your screwdriver and gently pry out the disc cartridge. It should come out easily with a bit of pressure. Once it’s removed, you can inspect it for any signs of wear and tear or damage. If you find any, you’ll need to replace the cartridge in order to fix your ceramic disc faucet.
Replace the rubber seals in the cartridge
Before you can replace the cartridge, it’s important to make sure that all of the rubber seals inside are still in good condition. If they’re worn down or damaged, you’ll need to replace them before re-installing the cartridge.
Replace the o-rings on the plastic disc
Most ceramic disc faucets will also have plastic discs with O-rings on them. Before you reinstall the cartridge, make sure to check and replace any worn down or damaged o-rings on the plastic disc. This is important for ensuring that your faucet works properly.
Clean the holes in the faucet with vinegar
Before you replace the cartridge, it’s important to make sure that all of the holes in the faucet are clean. Use a cloth and some vinegar to get rid of any debris or dirt that may be blocking the hole.
Reassemble the faucet
Once you’ve cleaned and replaced any worn-out parts, it’s time to reassemble the faucet. Start by replacing the cartridge, then put back on the plastic disc and o-rings. Next, replace the handle and screw cover before turning on the water to test your newly repaired ceramic disc faucet.

Method 5. Repairing a Spout Faucet
If you’re having trouble getting your kitchen faucet spout to work, the following steps will help you identify and fix the problem.
Twist the handle to remove it
The first step is to twist the handle off of your faucet. This can be done with a pair of pliers or simply by twisting it counter-clockwise and lifting it away from the base. Be sure to remove any hardware that may come loose during this process.
Remove the o-rings to fix a base leak
Once the handle is off, you should be able to access the o-rings at the base of the faucet. These are rubber rings that seal in water and contain pressure. If these become loose or worn out, they can cause a leak. Replacement o-rings are readily available online or at your local hardware store.
Lubricate replacement o-rings with plumber’s grease
Once you have the replacement o-rings, it’s important to lubricate them with the plumber’s grease before fitting them back onto your faucet. This will ensure a secure fit and help prevent future leaks or problems.
Clean the diverter valve with vinegar
If your faucet is having trouble diverting water between the showerhead and sink, it may be due to a blocked or clogged diverter valve. To fix this, you can clean the valve with a mixture of vinegar and warm water. Put the solution in a spray bottle and apply it directly to the valve. Let it sit for up to 10 minutes before rinsing away with cold water. [1]
FAQ
Why did my kitchen faucet suddenly stop working?
There could be a number of reasons why your kitchen faucet stopped working suddenly. It’s possible that there might have been a blockage in the pipes or that something is impeding the flow of water to it. Another potential issue is worn out parts like seals, O-rings, and cartridge valves. Finally, it could also be due to low water pressure from the main line. [2]
Why is there no water coming out of my kitchen faucet?
If you’re dealing with a kitchen faucet that isn’t giving out any water, there are several possible causes. Your first step should be to check the shutoff valves under the sink – if these are turned off or partially closed, it could prevent water from flowing out of the tap. If they appear to be open, then it could mean that the supply tube is clogged, in which case you’ll need to clear it before any water can flow through. It’s also possible that your water pressure is too low due to a variety of reasons including a blocked aerator or loose connections at either end of the supply line. If all else fails and none of these solutions work, then you may need to contact a licensed plumber to inspect the problem further. [3]
Once you have addressed any potential issues with the water supply, it’s time to take a look at your faucets themselves. In some cases, faulty valves may be preventing water from flowing through – these can usually be replaced with new ones fairly easily. It’s also worth checking for loose connections or corrosion around the base of the tap which could indicate that parts need replacing. If all else fails and you can’t seem to find any underlying problems with your setup, then it might be time to purchase a brand-new kitchen faucet altogether!
How do you fix a faucet that won’t turn on?
If your kitchen faucet won’t turn on, there are a few things you can try to get it back in working order.
First, make sure the water is still running in your house. If not, then you may have an issue with the main water supply or water pressure. Check other faucets throughout your house to make sure the issue isn’t widespread.
Next, check underneath your sink for any visible leaks or damage that may be interfering with the flow of water. Also, inspect all hoses and connections leading from the pipes to the faucet itself to ensure they’re secure and connected properly.
If everything looks good under the sink, then you should check inside your faucet. Most single-handle faucets have a small cap on the side that you can unscrew to access the valve cartridge. Make sure this is in good condition and not blocked or clogged with mineral deposits.
If everything looks okay there, then it may be time to replace your faucet entirely. Consider bringing in a professional plumber to help you with this if you’re unsure of how to do it yourself.
Keeping up with regular maintenance and cleaning can go a long way toward preventing problems like these from happening down the line. Follow the manufacturer’s instructions for any cleaning solutions they recommend, and make sure all hoses are secure and free of blockages or debris.
Why would only one faucet stop working?
First, it could be a sign that your plumbing system is unbalanced. This can happen if the water pressure coming out of one faucet is higher than the other. This can cause an imbalance in the amount of water flowing through each faucet and eventually lead to one not working properly. If this is the case, you may need to adjust the valves on both sides of your sink or install a pressure-balancing valve near your faucet.
Finally, another common cause for one faucet not working is a worn-out diverter valve. The diverter valve helps control water flow between two sources – like when you switch from using hot water to cold water. A faulty diverter valve could be causing your faucet to only work intermittently or not at all. To fix this issue, you’ll need to replace the valve. [4]
If none of these solutions seem to be helping, then it may be time to consider replacing your kitchen faucet altogether. With the right tools and knowledge, this is a relatively straightforward job that you can tackle yourself. However, if you ever feel unsure about doing it yourself, then it’s always best to call in a professional plumber for help.
Useful Video: Kitchen Sink Faucet No Water FREE QUICK FIX
Conclusion
In conclusion, there are a variety of reasons why only one of your kitchen faucets may not be working. The good news is that with some troubleshooting and the right parts, you should be able to fix the issue on your own – or at least identify what needs to be done in order to get it fixed correctly. If all else fails, don’t forget to call in an experienced plumber who can help diagnose and resolve any issues that you may have with your kitchen faucet.
Good luck and happy plumbing!
References:
- https://www.wikihow.com/Fix-a-Kitchen-Faucet
- https://www.heritageplumbinggroup.com.au/no-water-coming-out-of-the-tap/
- https://projectperfecthome.com/water-isnt-coming-out-of-faucet/
- https://goldenrulephc.com/blog/what-to-do-if-your-faucet-stops-working