Are you considering painting your kitchen cabinets, but are unsure of how to go about it? Pressed wood kitchen cabinets can be a great choice for your home – they are affordable and durable. However, they can also be challenging to paint properly. This guide will walk you through the entire process of painting your kitchen cabinets so that the result looks professional and polished.
What Is Pressed Wood?
Pressed wood is a type of manufactured wood that is created by bonding together small pieces of wood and other materials under pressure. The process results in a composite material that is stronger than the individual parts and has numerous applications, from furniture to construction.
Pressed wood products are composed of chips or flakes of wood that have been glued and compressed together with an adhesive binder such as resin, wax, or glue. This mixture forms a dense material that can be very strong depending on the type and amount of pressure applied during manufacturing.
Pressed wood is generally cheaper than solid wood, making it a popular choice for homeowners who are looking to save money without sacrificing quality or aesthetic appeal. It is also highly water-resistant, which makes it ideal for use in wet or humid environments such as kitchens and bathrooms. Additionally, pressed woods are less vulnerable to warping or cracking over time compared to solid woods.
Finally, pressed wood products are available in a variety of thicknesses and sizes, allowing for reliable customization for any project. Overall, pressed wood is an affordable and durable option that can provide many years of service when properly cared for [1].
Why Are Pressed Wood Kitchen Cabinets so Popular?
Pressed wood kitchen cabinets are a popular choice for many homeowners because they offer a variety of advantages. They are lightweight, easy to install, and can be painted or stained to match any decor. Additionally, pressed wood is typically more affordable than solid wood cabinets, making them an economical option.
Pressed wood kitchen cabinets are an excellent choice for any homeowner who is looking for an affordable, durable, and stylish solution. With their versatility and affordability, they are a great way to ensure that your kitchen looks beautiful while staying within budget. Plus, they offer the ultimate convenience since they can be easily installed with minimal effort. Whether you’re remodeling or just updating your current space, pressed wood kitchen cabinets are sure to bring plenty of style and function into your home.
Equipment and Materials You’ll Need To Paint Pressed Wood Cabinets:
- Paint and primer: The type of paint you use is not as important as its quality of it. Choose a high-quality, oil-based paint that is specifically designed for use on cabinets. You’ll also need to purchase a quality primer if you plan on painting over the existing finish or painted cabinets;
- Sandpaper: Sanding is an essential step in prepping surfaces before painting them. Depending on the condition of your cabinets and the finish they have, you may need different types of sandpapers including rough grits (180 or higher) for removing the old finish, medium grits (120–180) for smoothing wood grain, and fine grits (220 or higher) for polishing wood surfaces;
- Putty knife: Use a putty knife to remove any dirt, debris, or loose paint from the cabinets;
- Painting supplies: You’ll need some basic painting supplies including drop cloths, painter’s tape, brushes and rollers, and lint-free rags;
- Protective gear: Wear protective gloves to keep your hands safe while preparing the surface for painting. Also wear a face mask when sanding, as it will help protect you from breathing in any dust particles that get airborne during this process;
- Sealer or varnish (optional): If you want to add extra protection to your newly painted cabinet surfaces, consider applying a sealer or varnish after the paint is dry. This will provide additional protection and help extend the life of your painted cabinetry;
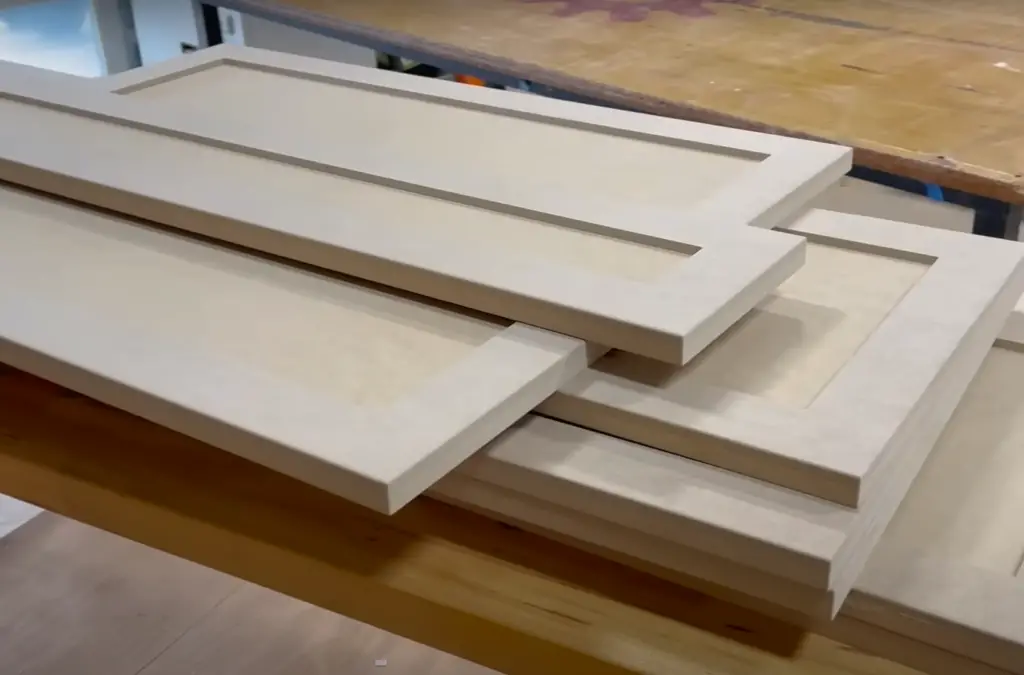
Steps On How To Paint Pressed Wood Kitchen Cabinets
Prepare yourself
Before you begin to paint, make sure that you have the right tools and materials. You will need a small paintbrush, painter’s tape, sandpaper, latex primer, and latex paint in whatever color you choose. Make sure your workspace is well-ventilated with plenty of natural light or adequate task lighting.
Wear thick gloves, a respirator, and an eye shield
As with any painting job, it is important to protect yourself. Wear thick gloves that will prevent your hands from getting covered in paint or other material. Wear a respirator to protect your lungs and an eye shield to keep particles of dust and paint out of your eyes.
Arrange your painting materials
Inspect the surface of the cabinets and make sure that they are free of dirt, dust, grease, and debris. Use a vacuum cleaner or clean cloth to remove any foreign particles. Next, use painter’s tape to mask off any areas you do not want to be painted.
Detach each component
Take off all of the cabinet doors, drawers, and shelves. This will make it easier to paint each component separately and ensure that you get an even finish. To do this, unscrew the hinges and other hardware from the cabinets. Then put all of the hardware to one side and store it in a safe place.
Fill up the holes
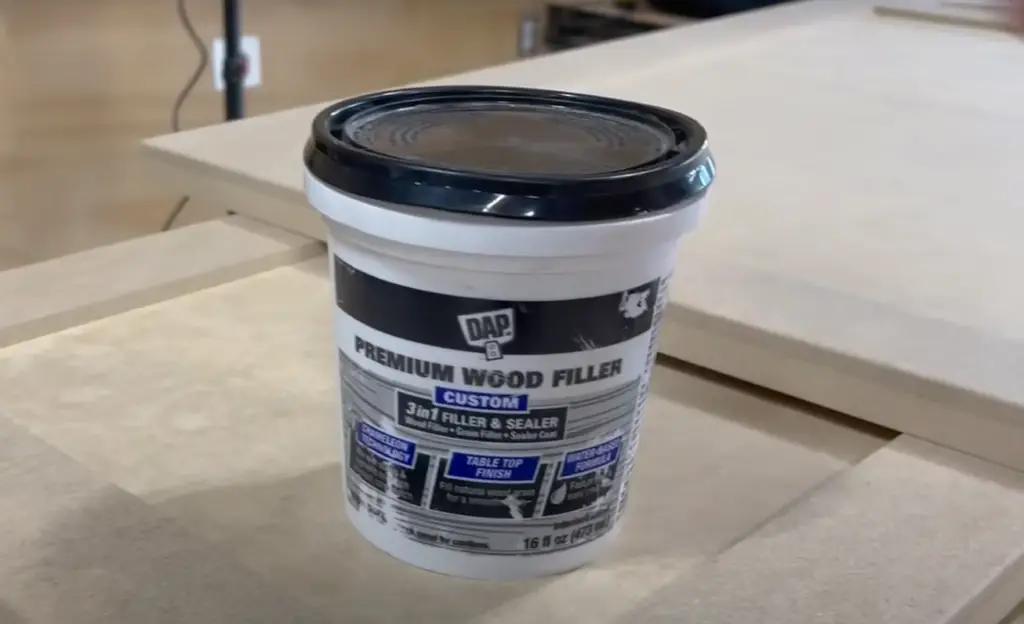
Use a putty knife to fill any holes or dents with wood filler. Allow the filler to dry and then sand it down until it is smooth. This procedure will help to create an even surface for the paint and ensure that the cabinets look flawless when you are finished.
Sand down the surface
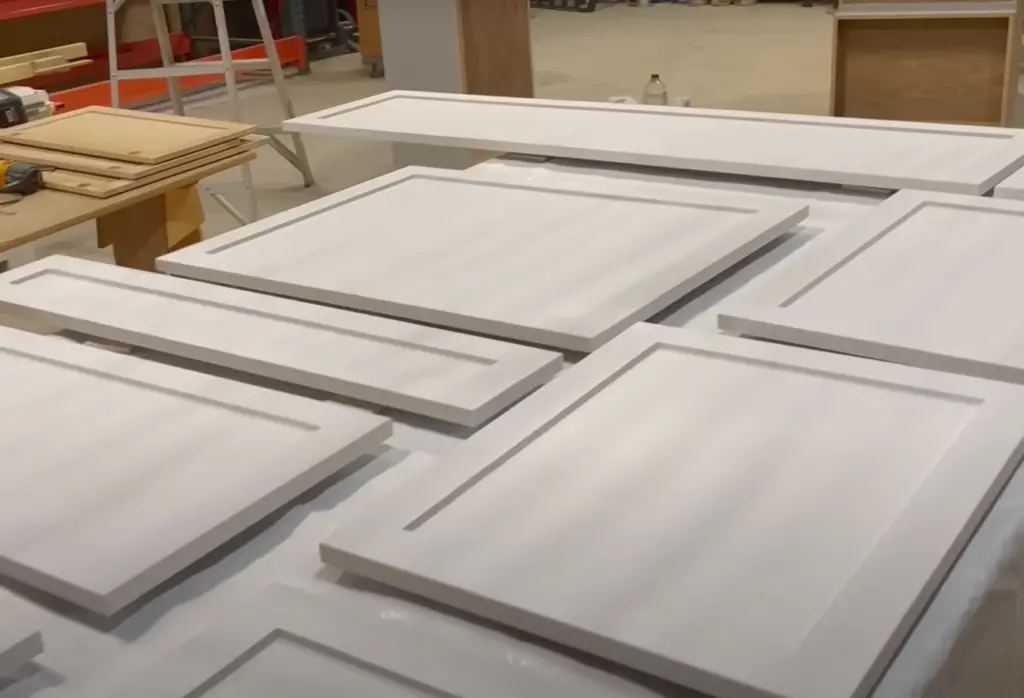
Once all of the hardware has been removed and the holes have been filled, use a piece of fine-grit sandpaper to lightly sand down each component. This will help to create a smooth surface for painting and also remove any existing paint or varnish from the wood. Make sure to wipe away any dust after you have finished.
Clean and apply an oil-based primer
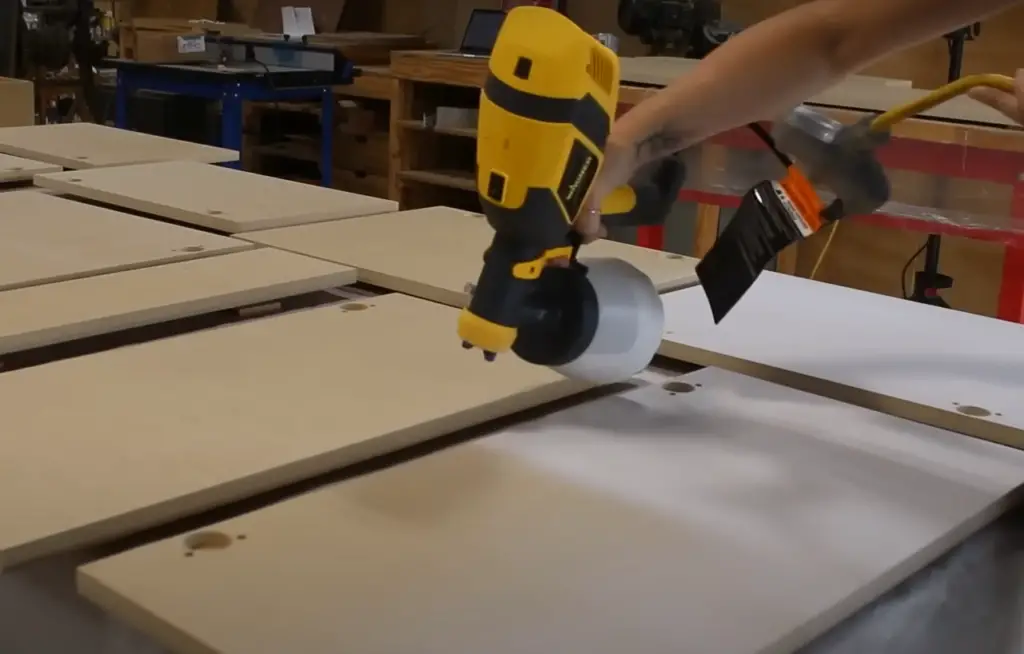
Clean the cabinets with a damp cloth to remove any residue or dust. Then apply an oil-based primer and use a small brush to make sure that it penetrates all of the grooves. Allow this to dry before beginning the next step.
Paint with latex paint
Now you can begin painting! Use a small brush or roller to apply as many coats as necessary until you have achieved your desired color. Make sure not to overload the brush or roller and only paint one direction at a time to avoid any drips or smudges. Once each coat has dried, inspect for any unevenness and fix it if needed.
Apply a protective finish
The last step is to apply a protective finish such as polyurethane or lacquer. This will help to protect the paint and keep it looking fresh for years to come. Apply one or two coats of the protective finish with a brush, making sure that each coat has dried before you begin the next one.
Reattach hardware
Once you are satisfied with the finish, reattach all of the hardware to the cabinets. Make sure that all of the screws and hinges are tightened securely and then enjoy your newly painted kitchen cabinets [2]!
Important Safety Considerations for Painting Pressed Wood Kitchen Cabinets
Here are some important safety considerations to keep in mind when painting pressed wood kitchen cabinets:
- Wear protective gear when painting pressed wood kitchen cabinets. This includes safety glasses, gloves, and a respirator to protect against paint fumes;
- Make sure the area you are working in is adequately ventilated to reduce the risk of breathing in paint fumes or other hazardous materials released during painting;
- Avoid using aerosol sprays when painting your pressed wood kitchen cabinets as they may release hazardous chemicals into the air and cause potential health risks if inhaled over extended periods;
- Use low-VOC paints that emit fewer toxins into the air to reduce your exposure to potentially harmful vapors while painting your kitchen cabinets;
- Always follow manufacturer instructions for the proper use and application of paints and finishes on your pressed wood kitchen cabinets;
- Avoid using solvents or other chemical-based cleaners to clean up paint spills or splashes as they can be hazardous if inhaled, ingested, or come into contact with your skin;
- Make sure the area is well-ventilated when you are finished painting and allow plenty of time for the paint to dry before putting items back inside the cabinets;
- Be aware that some paints may contain lead and should not be used in high-traffic areas such as kitchens where children are present;
- If you are working with an older home, it is a good idea to have professional testing done to ensure that there is no lead present in the paint that you are using;
- Always dispose of paint and other chemicals responsibly by taking them to a hazardous materials disposal center or following local regulations for their safe disposal;
Follow these safety considerations when painting pressed wood kitchen cabinets and keep your home safe and healthy [3]!
Benefits of Painting Pressed Wood Kitchen Cabinets
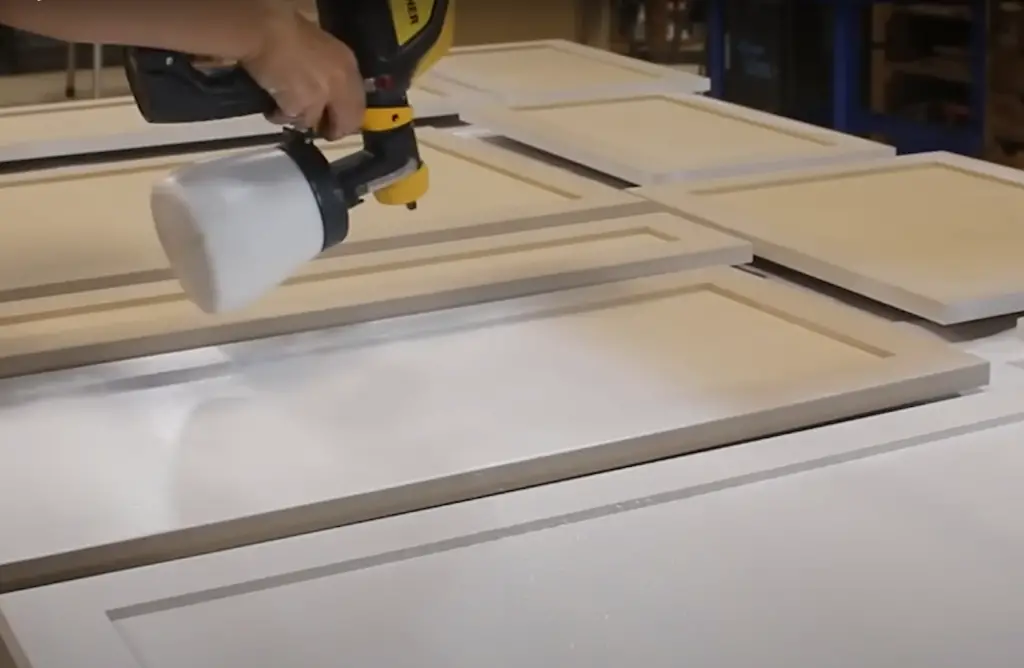
Painted kitchen cabinets can enhance the look and feel of any kitchen. Pressed wood kitchen cabinets are ideal for painting as they provide a smooth surface that is easy to work with. Painting pressed wood kitchen cabinets provides several benefits, including:
- Increased Durability – Paint forms a protective coat on your pressed wood cabinet surfaces that helps keep them looking like new for longer;
- Improved Appearance – Painting your cabinets can transform their look, giving them a professional finish and making them look brand new again;
- Protection from Wear and Tear – A fresh coat of paint will protect your cabinets from daily wear and tear, ensuring they remain vibrant and beautiful for years to come;
- Easy Maintenance – Since paint creates a barrier between your cabinets and dirt, grease, and food particles, they are easier to clean;
- Unlimited Color Options – With paint you have an endless selection of colors to choose from, allowing you to create the exact look and feel you’re after in your kitchen;
- Personalization – Painting is an easy way to customize the look of your cabinets and make them unique to your home or design style;
- Cost Savings – Painting is often more cost-effective than replacing old cabinets with new ones;
Painted pressed wood kitchen cabinets can add a touch of beauty and personality to any space while also providing additional durability, protection, and ease of maintenance that plain wood cabinets simply cannot provide. With the right preparation and paint selection, you can give your kitchen a whole new look without breaking the bank [4].
FAQ
How do you paint over pressed wood?
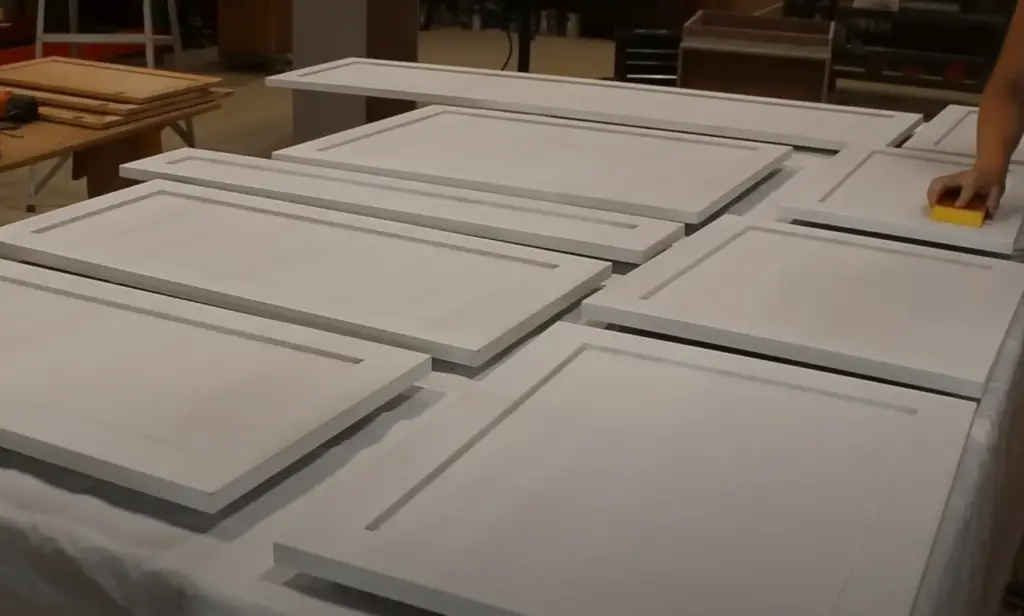
Painting over pressed wood is possible, but there are certain steps you need to take to ensure the best outcome. First, it’s important to clean and sand the surface of the pressed wood before painting. This will help remove any dirt or debris on the surface and make it easier for the paint to adhere. Once the surface has been cleaned and sanded, use a primer before painting with your chosen paint color.
Can I paint directly on laminate cabinets?
No, you should not paint directly on laminate cabinets. While it is possible to paint over laminate surfaces, the results may not be satisfactory. It’s best to start with a good primer before painting. This will help with color adhesion and make it easier for the paint to stick to the surface. Additionally, you should use oil-based paint when painting laminate cabinets as this type of paint has better adhesion and durability than water-based paints. Once your primer and paint have been applied, finish off by applying a clear coat or varnish for added protection from wear and tear. Following these steps will help ensure the successful painting of your laminate cabinets.
Can I use chalkboard paint on pressed wood?
Yes, you can use chalkboard paint on pressed wood. But it’s important to note that the surface needs to be clean, sanded, and primed before applying the chalkboard paint. This will help ensure proper adhesion of the paint and better coverage when writing with chalk. After painting, wait at least 24 hours for the surface to dry completely before using any type of chalk. Once everything is ready, your new pressed-wood chalkboard should be ready for use!
What kind of paint do you use on pressed wood?
When painting pressed wood, you can use either acrylic or latex paint. Acrylic paints are water-based and easy to clean up while latex paints can be more durable with better resistance to fading over time. Make sure to also choose a high-quality paint that is specifically designed for outdoor or indoor use depending on where the pressed wood will be located. Finally, always apply at least two coats of paint and a clear protective finish such as polyurethane or lacquer when finished painting. This will help ensure your beautiful painted pressed-wood surface lasts for years to come!
Can I paint MDF?
Yes, you can paint medium-density fiberboard (MDF). As with any other type of wood, it’s important to first sand and cleans the surface to create a smooth, even finish. Once the MDF is prepped, you can apply a primer before painting with your desired paint color. Make sure to follow all instructions provided by both the primer and paint manufacturer when applying each product. After the paint has been applied, it’s recommended to seal the MDF with several coats of polyurethane or lacquer for added protection from wear and tear.
Can you paint kitchen cabinets made of particle board?
Yes, you can paint kitchen cabinets made of particle board. As with any other type of wood, it’s important to first sand and cleans the surface to remove dirt and debris. Once the particle board is prepped, use a primer before painting with your desired paint color. Additionally, you may want to consider using oil-based paints for lasting durability and better adhesion on particle board surfaces. After the paint has been applied, finish off by applying several coats of polyurethane or lacquer for added protection from wear and tear.
Are particle boards and pressed wood the same?
No, particle board and pressed wood are not the same. Particle board is made from small pieces of wood that have been glued together while pressed wood is made from larger pieces of wood that have been bonded together under high pressure. Both types of material can be used for various applications, but their differences need to be taken into account when working with them. Pressing wood will usually require more specialized tools and finishing techniques than particle board to create a beautiful final product. Additionally, particle board surfaces should always be primed before painting since it tends to absorb paint unevenly due to their porous surface.
On the other hand, pressing wood may only require light sanding or cleaning before painting depending on the desired finish and type of paint being used. Overall, both particle board and pressed wood to have their own set of advantages and disadvantages when it comes to painting, so be sure to do your research before starting any project. This should help you get started on a successful painting of your pressed wood or particle board projects.
How do you prep a pressboard for painting?
To prepare a pressboard for painting, first, start by sanding down the surface to create an even and smooth finish. Make sure to use 220-grit sandpaper to remove any dirt or debris before painting. Next, wipe away all dust with a damp cloth and allow the pressboard to dry completely before applying primer. Finally, apply two coats of paint using your desired color and finish off with a clear protective finish like polyurethane or lacquer for added protection from wear and tear.
How to decorate the above kitchen cabinets?
There are several ways to decorate kitchen cabinets made of particle board or pressed wood. One way is to simply paint the cabinets in a contrasting color that compliments the rest of the room’s décor. Alternatively, you could use stencils and other decorative elements such as wallpaper, veneers, or textured finishes to create a unique look on your kitchen cabinets. Additionally, you could add hardware like handles and knobs for an extra touch of style and functionality. Finally, consider adding accessories such as door knobs or pulls to give your cabinets that extra bit of personality.
What color do cabinets go with gray walls?
When it comes to pairing cabinets with gray walls, there are many options. If you want a light and airy look, consider choosing white wood cabinets or painted cabinets in a light shade of gray. Alternatively, if you’d like to create a more dramatic look, dark wood cabinets or painted cabinets in shades of black or navy blue can help create contrast against the gray walls. Additionally, pops of color such as yellow, green, or teal can be used for an unexpected splash of color that adds visual interest to your kitchen design. Ultimately, the type and color of cabinetry you choose will depend on your style preference and the overall aesthetic of your home.
Useful Video: How to Paint Pressboard Cabinets || Pressboard Cabinet Makeover!
Conclusion
Painting pressed wood kitchen cabinets takes some time and effort, but the results can be stunning. With a few basic supplies and tools, you can breathe new life into your kitchen cabinets in no time. The key to successful painting is taking the necessary steps to ensure proper adhesion and coverage of the paint so that it will last for years to come. Careful surface preparation and quality products are essential for achieving a professional-looking finish, so don’t skimp on these items if you want durable, long-lasting results. With a little patience and dedication, you can give your kitchen cabinetry an entirely new look with just a few strokes of a brush.
References:
- https://www.choicecabinet.com/blog/how-to-paint-compressed-wood-kitchen-cabinets/
- https://www.impressiveinteriordesign.com/how-to-paint-pressed-wood-kitchen-cabinets/
- https://booth7.com/safety-precautions-kitchen-cabinet-painting/
- https://www.paintersinphilly.com/content/why-paint-cabinets-how-to-paint-cabinets-and-the-benefits-of-painting-cabinets





Leave a Reply