It’s happened to all people. You’re in the middle of cooking dinner, and the kitchen faucet handle comes loose in your hand. Suddenly, water is spraying everywhere and you don’t know what to do! Don’t worry – this blog post is here to help. It will provide you with quick and easy tips on how to tighten a kitchen faucet handle so that you can get back to cooking without any drama.
What Are Faucet Types?
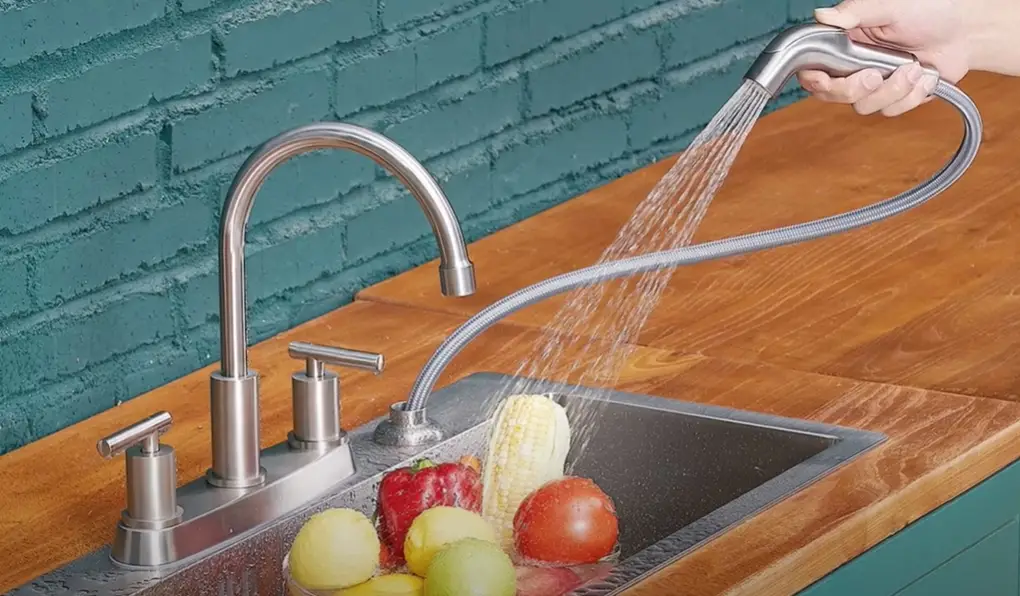
There are two types of faucets used in the kitchen: compression and cartridge. Compression faucets contain two handles – one for hot water, the other for cold – that open and close to control the flow of water. The benefits of this type of faucet are its simplicity and affordability. Cartridge faucets, on the other hand, have a single lever handle that controls both hot and cold water. While more expensive than compression, cartridge types tend to be more reliable and easier to maintain.
Kitchen faucets are usually made of metal, such as stainless steel, brass, or chrome. But regardless of the material used, all faucets have similar components that can wear out and need to be tightened from time to time. Kitchen faucets are constructed with a handle connected to a stem that controls the flow of water. The stem is attached to a valve seat, which in turn is connected to the main faucet body [1].
Types of Kitchen Faucet Handles
The type of handles used on kitchen faucets varies, depending on the make and model. Some have a traditional handle with screws that can be tightened using a screwdriver or Allen wrench. Others are designed with plastic knobs or buttons that must be turned to lock them into place.
To determine which type of handle you have, look at the back of the faucet and locate a set screw. If there is one, it means your handle has screws that need to be tightened or loosened. To choose the right type of faucet handle, you should consider some factors:
The size and shape of the handle: Some handles are large, while others are small. If you have a small kitchen faucet, then it is best to choose a smaller handle. The average size of a handle is usually around 0,74 inches. However, some faucets may require a larger handle if they are made of heavier materials.
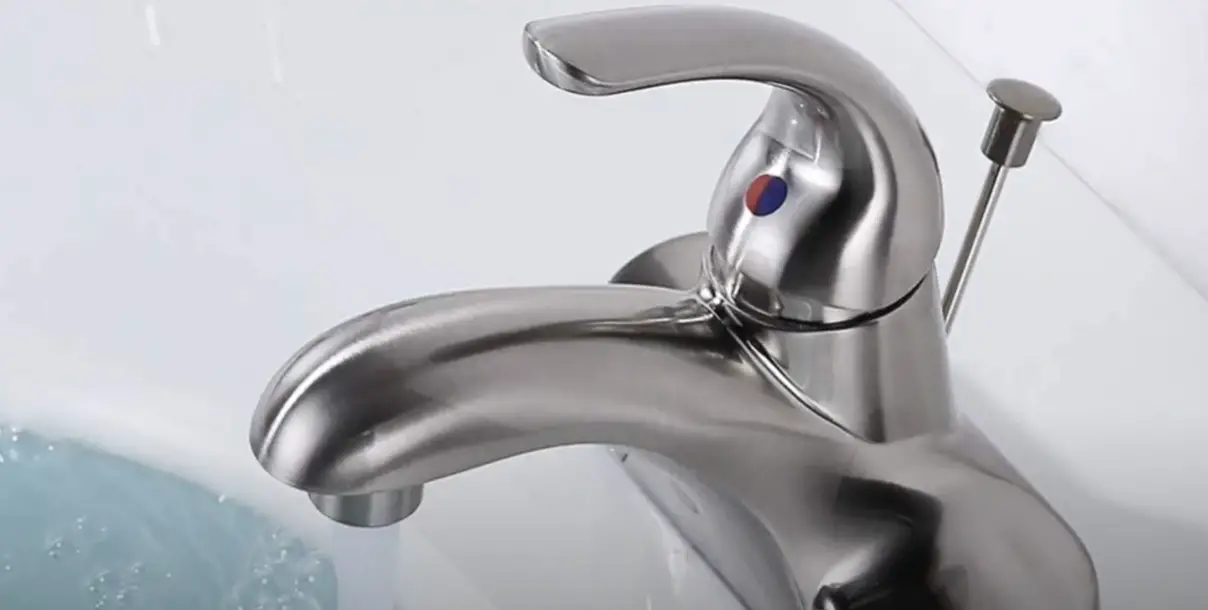
The style of the handle: Faucet handles come in various styles such as classic, modern, and industrial. Classic handles are usually round with a single prong and can be adjusted easily. Modern handles are usually cylindrical and often have more than one prong. Industrial styles are usually larger and sturdier to withstand more use. Depending on your personal preference, pick out a handle that best suits the overall look of your kitchen.
The material of the handle: The most common materials used for faucet handles are brass, chrome, and stainless steel. Brass tends to be the most durable, but it can also be quite expensive. Chrome is less expensive and more corrosion-resistant than brass but still has a good look. Stainless steel is the most affordable option, but it may not last as long as the other materials.
The ease of installation: Some handles require more complicated installation than others because of their design or the type of material used. If you are not sure about your ability to install the handle, then it is best to hire a professional plumber to do the job for you. However, for installation, you should prepare such tools as a screwdriver, pliers, and an Allen wrench. Be ready to use them properly to avoid potential damage.
The type of faucet(compression or cartridge): This can determine the type of handle that is needed. For instance, compression faucets tend to require a traditional handle with screws, while the cartridge type usually needs a plastic knob or button.
Your budget: Depending on the type of handle you choose, it can range in price from 10 dollars to 50 dollars. For example, brass handles tend to be more expensive than chrome. So, it is important to consider your budget before making a purchase.
Your preferences: Ultimately, the handle you choose should reflect your style preferences. If you prefer a traditional look, for example, you may opt for a metal handle. But if you want something more modern and stylish, then a plastic knob or button may be the best option [2].
How to Tighten a Kitchen Faucet Handle depending on the handle type?
Once you have chosen the type of handle that best suits your kitchen faucet, it’s time to tighten it. The steps will vary depending on the handle type:
- For traditional handles with screws, you will need a screwdriver or Allen wrench. Unscrew the set screw at the back of the handle and lift it off to expose the stem. Tighten the packing nut beneath the stem using a wrench. Reinstall the set screw and tighten it securely.
- For plastic knobs or buttons, you should turn the knob or button clockwise until it locks into place. If it still feels loose, use a screwdriver to tighten the set screw at the back of the handle.
- For cartridge faucets, you should lift the lever handle off of the stem and tighten the set screw at the back of it. Reinstall the handle, making sure that it is securely locked into place.
- For any type of handle, make sure that the handle is flush with the base of the faucet. If it is not, then you may need to adjust the stem and packing nut.
What Causes a Loose Kitchen Faucet Handle?
Different reasons may cause a kitchen faucet handle to become loose. Here are some of them to consider:
Common Steps on How to Tighten a Kitchen Faucet handle
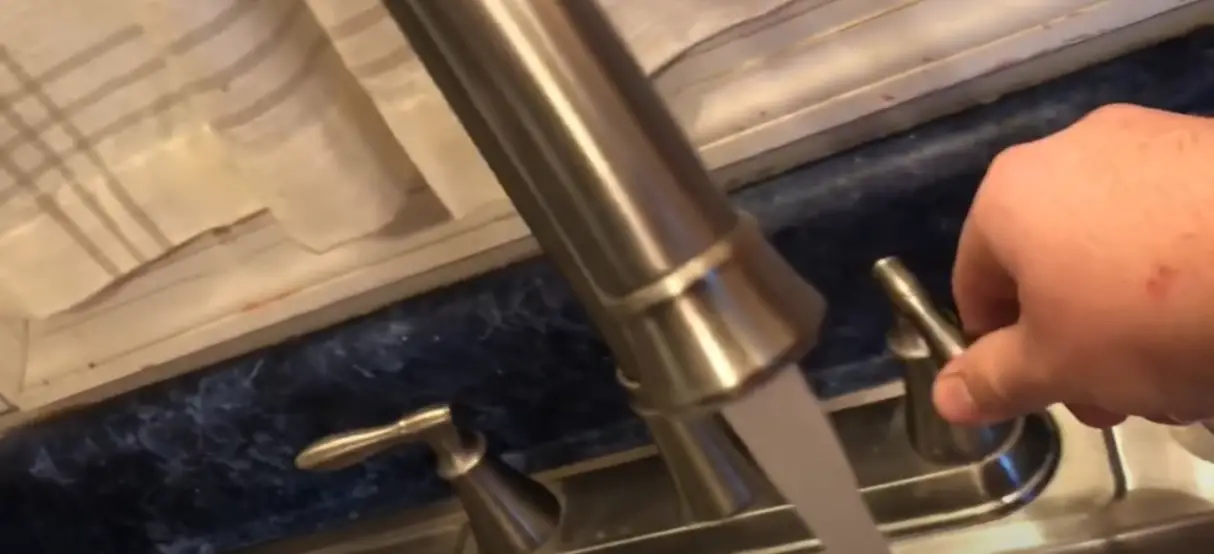
Turn off the water supply under the sink
The first step to tightening a kitchen faucet handle is to turn off the water supply lines under the sink. This will ensure that you don’t have any water coming out while working on the faucet. If you don’t know where the water shut-off valves are, consult the manual that came with your faucet.
Remove the handle
Once the water is shut off, you can proceed to remove the handle. Use a Phillips head screwdriver and unscrew the screws on either side of the handle to pull off the handle. If you don’t have a screwdriver, you should be able to use a flathead screwdriver instead. You may need to apply some force if the handle is stuck.
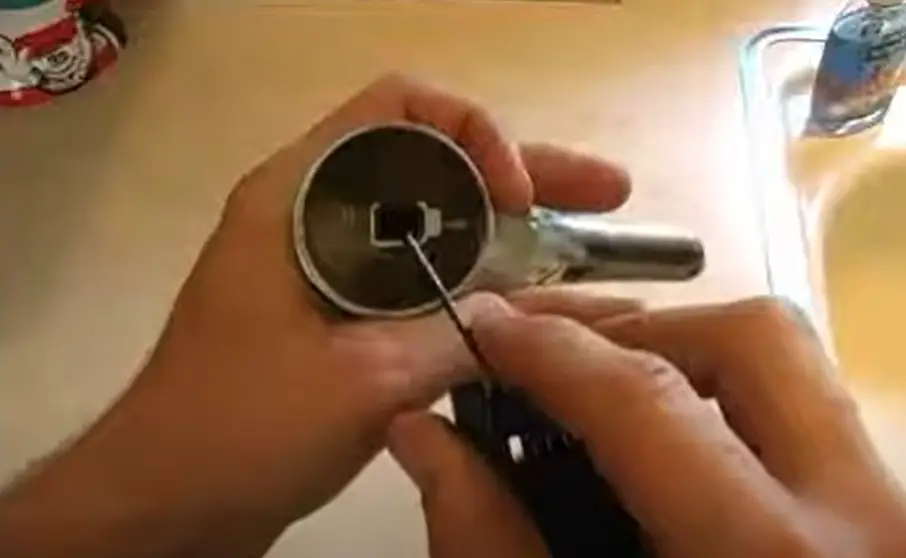
Disassemble the faucet
After removing the handle, you will need to disassemble the faucet itself. This is done by unscrewing and separating all of the parts inside. Be careful when doing this as you do not want to damage any of the parts.
Tighten all connections
Once everything is taken apart, you can now tighten all of the connections. This includes the nuts that hold the faucet in place as well as any other connections between the parts. Use a wrench to make sure they are tight and secure.
Reassemble the faucet
After all of the connections are tightened, you can now reassemble the faucet. Start by putting all of the parts back together and then secure them with the nuts or screws. Then, reattach the handle and make sure it is firmly in place.
Replace the handle
The last step is to replace the handle. Put it back in place and use a Phillips head screwdriver to tighten the screws on either side. Additionally, you can apply a bit of thread lock to the screws to make sure they stay in place.
Check for leaks
Once everything is tightened and in place, you can turn on the water and check for any leaks. If there are none, then you have successfully tightened your kitchen faucet handle. But if there are any leaks, you may need to repeat the steps above or contact a professional for further assistance.
Following these simple steps will help ensure that your kitchen faucet handle remains in good working order for years to come. Keeping up with regular maintenance and tightening your handle when necessary can extend the life of your faucet, saving you time and money in the long run [4].
When Should You Call A Professional?
Additionally, they can help replace any parts that need replacing to tighten the handle securely. All of this should help ensure your kitchen faucet operates properly again without having to worry about further problems down the line. If you do decide to call a professional, it’s important to make sure they are licensed and insured.
Tips on repairing a Kitchen Faucet handle
If you’re trying to repair a kitchen faucet handle, it can be tricky and time-consuming. These quick and easy tips will help make the process much smoother.
- Turn off the water supply before starting any repairs on the faucet handle or its components. This will prevent any water from leaking out when you start working on it.
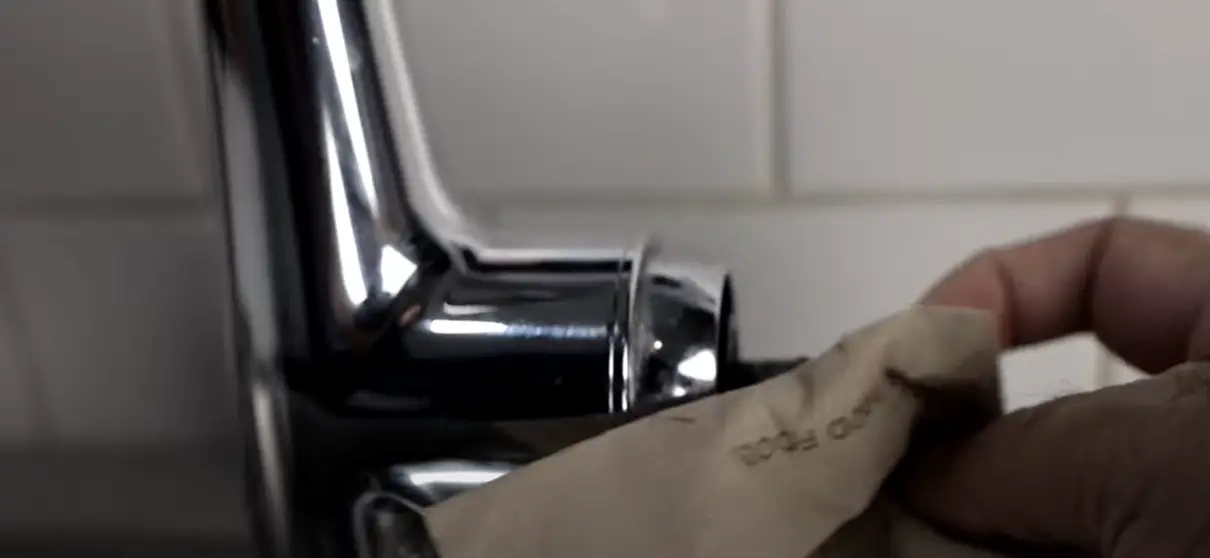
- Look for signs of corrosion or discoloration around the base of the handle – this could indicate that there is a problem with the gasket seal or other components in the faucet handle that needs replacing or repairing.
- If you notice any wear marks, replace them with new ones so they fit perfectly into place without having to force them.
- Use a wrench to unscrew the handle from the faucet base, and then use a screwdriver to remove any components that are still attached.
- Check if there’s any debris or dirt stuck in the threads of the handle before you start tightening it again. If so, use some pliers to remove it.
- Once everything is clean and free of debris, simply line up the threaded holes on both sides of the faucet handle with those on the faucet base and slowly begin turning it clockwise until it feels secure and tight against the base plate.
- Test out your work by turning on the water supply and checking for any leaks – if all is good, you’ve successfully tightened your faucet handle!
By following these simple steps, you should be able to make repairs to your kitchen faucet handle quickly and easily. However, if the problem persists or becomes more complicated, it may be best to call in a professional plumber to take a look at it.
How to Tighten a Loose Kitchen Faucet Handle: Step-by-Step Guide
A loose kitchen faucet handle can be annoying and affect the functionality of your faucet. To help you resolve this issue, we’ve created a step-by-step guide with multiple columns to outline the key steps and considerations for tightening a loose kitchen faucet handle.
| Step | Procedure | Tools Required | Time Required | Difficulty Level |
|---|---|---|---|---|
| 1 | Turn off the water supply to the faucet by closing the shutoff valves under the sink. | Adjustable wrench or pliers | 5 minutes | Easy |
| 2 | Inspect the faucet handle to locate the set screw. This is usually located under a decorative cap or cover. | Flathead screwdriver or Allen wrench | 2 minutes | Easy |
| 3 | Remove the decorative cap or cover to access the set screw. | Flathead screwdriver or knife (for prying) | 2 minutes | Easy |
| 4 | Use the appropriate tool (Allen wrench or screwdriver) to tighten the set screw. Turn it clockwise until snug. | Allen wrench or screwdriver | 3 minutes | Easy |
| 5 | Replace the decorative cap or cover and ensure it is securely in place. | Flathead screwdriver or your fingers | 2 minutes | Easy |
| 6 | Turn the water supply back on by opening the shutoff valves. | Adjustable wrench or pliers | 2 minutes | Easy |
| 7 | Test the faucet handle to ensure it is now securely in place and does not wobble or rotate loosely. | N/A | 2 minutes | Easy |
Explanation of the Table:
- Step: Lists the sequential steps to tighten a loose kitchen faucet handle.
- Procedure: Provides a brief description of what to do in each step.
- Tools Required: Lists the necessary tools for each step of the process.
- Time Required: Indicates the estimated time needed for each step.
- Difficulty Level: Rates the difficulty of each step, with “Easy” indicating simple tasks.
By following these steps and considering the tools required, time involved, and difficulty level, you can confidently tighten your loose kitchen faucet handle and restore its functionality without the need for professional assistance.
FAQ
What causes the faucet handle to be loose?
The handles on kitchen faucets can become loose over time due to daily use and regular wear and tear. This can cause the handle to feel wobbly or shaky when turned.
How do I tighten a kitchen faucet handle?
If your kitchen faucet handle is loose, there are several easy steps you can take to tighten it up. First, turn off the water supply beneath the sink. Then, remove the screw located underneath the handle using a Phillips head screwdriver or an adjustable wrench. Finally, replace the old screw with a new one of the same size and threading, and secure it tightly with the screwdriver or wrench. With these simple steps, you should have a tight and secure kitchen faucet handle.
What to do if your faucet is leaking from the handle?
If your faucet is leaking from the handle, the problem might be more than just a loose handle. You may need to replace worn-out washers or gaskets that are no longer sealing tightly. To do this, you will need to remove the handle and access the interior parts of the faucet. Once inside, inspect all washers and gaskets for wear or damage. If they look worn out or damaged, it’s time to replace them.
What type of faucet handle is the most durable?
The most durable type of faucet handle is one made from metal, such as brass or stainless steel. Metal handles are less likely to become loose over time, and they also provide a more secure grip when turning the water on and off. Additionally, metal handles are generally more aesthetically pleasing than plastic or ceramic handles.
What tools do I need to tighten a kitchen faucet handle?
When it comes to fixing up a kitchen faucet, having the right tools makes all the difference! Have your Phillips head screwdriver or adjustable wrench ready, plus grab some plumber’s tape for added protection against any unwanted leaks.
You may even need to find and buy a replacement screw with an identical size and threading – but no worries; you’ll be back in business soon enough!
Can a loose faucet handle cause a leak?
Yes, a loose faucet handle can cause leaks. If the handle is not tight enough and begins to wobble when you turn it on or off, then water may be able to escape through the gap between the handle and the body of the faucet. This could lead to wasted water as well as costly repairs if left unchecked.
How do you tighten a kitchen faucet lever?
Keep your kitchen faucet safe and secure with a few easy steps. Make sure to turn off the water supply beneath the sink, then use either an adjustable wrench or a Phillips head screwdriver to remove any existing screws from underneath the handle. Replace them with brand new ones that are of equal size and threading for maximum strength – now you’re all set!
Your lever handle will be ready for years of continued service in no time at all.
How do you tighten an American standard kitchen faucet handle?
For American Standard kitchen faucets, you’ll want to be sure to turn off the water supply before getting started. Then use an adjustable wrench or a Phillips head screwdriver to remove any existing screws from underneath the handle. Replace them with brand new ones that are of equal size and threading for maximum strength – now you’re all set! Your handle should be ready for years of continued service in no time at all.
Can I fix a loose faucet handle myself?
Yes, it is possible to fix a loose faucet handle yourself. As long as you have the right tools on hand such as an adjustable wrench, removing and replacing old screws should do the trick. Be sure to turn off the water supply before beginning and make sure to use identical screws when replacing them for maximum strength. With these easy steps, you should have a tight kitchen faucet handle in no time.
How do you tighten a faucet knob?
Tightening a faucet knob is pretty simple and can be done with the help of a flathead screwdriver or an adjustable wrench. First, make sure to turn off the water supply before starting. Then use your preferred tool to loosen and remove any existing screws from underneath the handle. Replace them with brand new ones that are of equal size and threading for maximum strength – you’re all set! Your faucet knob should now be secure enough for years of continued service.
What size is the Delta faucet handle screw?
The Delta faucet handle screw is typically a 6-32 size, but it can vary depending on the model. To find the correct size for your faucet, you should double-check with the manufacturer’s instructions or contact them directly for more information.
What type of lubricant should I use on my kitchen faucet?
When it comes to maintaining your kitchen faucet, a silicone-based lubricant is your best bet. It can help to prevent sticking and deterioration of the metal components so that your faucet handle will work properly for years to come. Be sure to use a small amount on the moving parts and be careful not to get it near any seals or rubber gaskets that could be damaged by the lubricant.
How do you tighten the bottom of a sink?
The bottom of the sink needs to be secured properly to prevent leaks and prolong the life of your sink. If you find that it is loose, first make sure to turn off the water supply before beginning. Then use an adjustable wrench or a Phillips head screwdriver to remove any existing screws from underneath the handle. Replace them with brand new ones that are of equal size and threading for maximum strength – now you’re all set! Your faucet should be ready for years of continued service in no time at all.
How do you use a faucet wrench?
A faucet wrench is a useful tool for tightening or loosening nuts and bolts on kitchen and bathroom fixtures. To use it, hold the handle with one hand while turning the head of the wrench in the desired direction until it securely fits over the nut or bolt you would like to remove. Then turn it in that same direction until it is either tightened or loosened as desired. Make sure to turn off the water supply before beginning and use caution when handling this tool.
Why is my kitchen faucet handle still loose after tightening it?
If your faucet handle remains loose after tightening, it may be due to worn components or underlying issues. You may need to investigate further to resolve the problem.
Can I use a wrench to tighten a kitchen faucet handle?
Yes, you can use an adjustable wrench or a basin wrench to tighten the nut or screw securing the faucet handle. Ensure not to overtighten, as it could damage the handle or valve.
What should I do if the screw or nut holding the handle is stripped or damaged?
If the fastener is damaged, you may need to replace it. Visit a hardware store to find a matching screw or nut and follow the manufacturer’s instructions for installation.
Are there any special considerations for tightening a single-handle faucet versus a double-handle faucet?
The basic process for tightening a faucet handle is similar, but the specific steps may vary depending on the faucet type. Refer to your faucet’s user manual or consult the manufacturer for guidance.
Is it necessary to turn off the water supply before tightening a kitchen faucet handle?
It’s a good practice to turn off the water supply to your faucet before attempting any repairs or maintenance. This ensures your safety and prevents accidental water leakage.
How often should I check and tighten my kitchen faucet handle?
Regularly inspect your faucet handle for looseness. Depending on usage, you may need to tighten it every few months to keep it secure and prevent further issues.
What are some signs that indicate a more significant problem with my faucet handle?
If tightening the handle doesn’t resolve the issue, signs of a more significant problem may include water leakage, unusual noises, or difficulty in turning the faucet. In such cases, consider seeking professional help.
Useful Video: How to Tighten a Kitchen Faucet Handle
Conclusion
If you need to tighten the handle on your kitchen faucet, don’t fret! Following the steps outlined in this guide will help you take care of the issue quickly and easily. You may also want to consider replacing the handle to give your kitchen a new look. Regardless of how you choose to address the issue, it’s important to ensure it is securely tightened so water doesn’t continue leaking out. Follow these tips and enjoy your newly tightened kitchen faucet!
References
- https://www.smithsplumbingservice.com/blog/2019/april/the-four-most-common-types-of-faucets/
- https://www.kibiusa.com/what-are-the-basic-faucet-handle-types-for-kitchen/
- https://www.mrkitchenfaucets.com/how-to-tighten-a-single-handle-kitchen-faucet/
- https://www.sunrisespecialty.com/loose-kitchen-faucet