Kitchen sinks are one of the most commonly used fixtures in any home. They come in all shapes and sizes, from small single-basin models to large farmhouse sinks. Over time, kitchen sinks can become stained and discolored due to constant use and exposure to harsh chemicals and detergents. This guide will show you how to seal your kitchen sink using a variety of methods, including silicone caulk, epoxy putty, and acrylic latex caulk.
Why is sealing kitchen sinks necessary?
Sealing kitchen sinks is a necessary step to properly maintain your sink and keep it in good working condition. A well-sealed sink prevents water from seeping under the countertop or into the cabinetry below, protects against moisture damage, helps keep odors at bay, and reduces the risk of mold and mildew buildup. In addition, sealing your kitchen sink can help prevent your dishes from becoming stained with residue from food particles and grease.
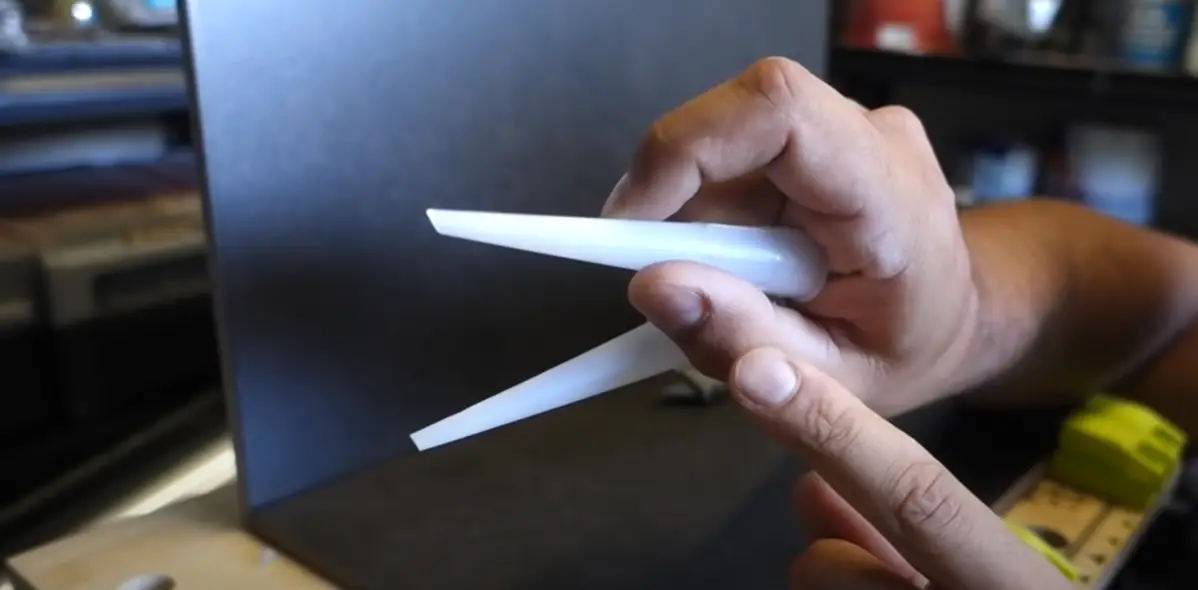
Sealing a kitchen sink requires basic materials that can easily be found at your local hardware store. These materials include a putty knife, plumbers putty, and caulk. To use caulk, you will also need a utility knife or razor blade and a caulking gun [1].
How to seal a kitchen sink: Step by step
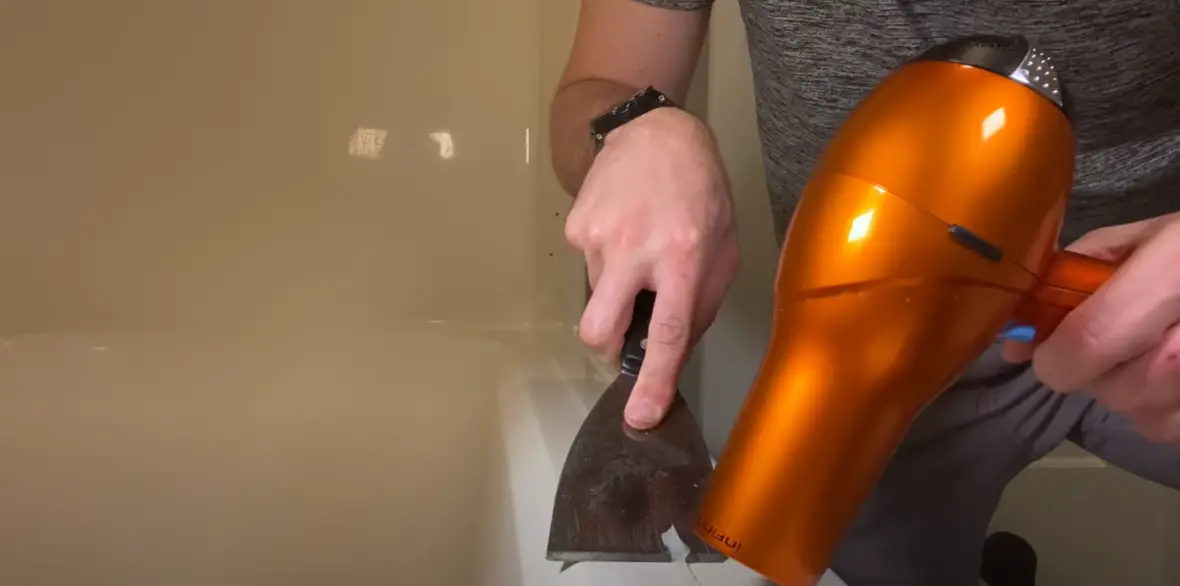
Remove old sealant.
The first step to sealing a kitchen sink is to remove the old sealant. Using a putty knife or other suitable tool, gently pry off any existing sealant around the edges of your sink, making sure to clean up any debris along the way.
Clean and dry edges.
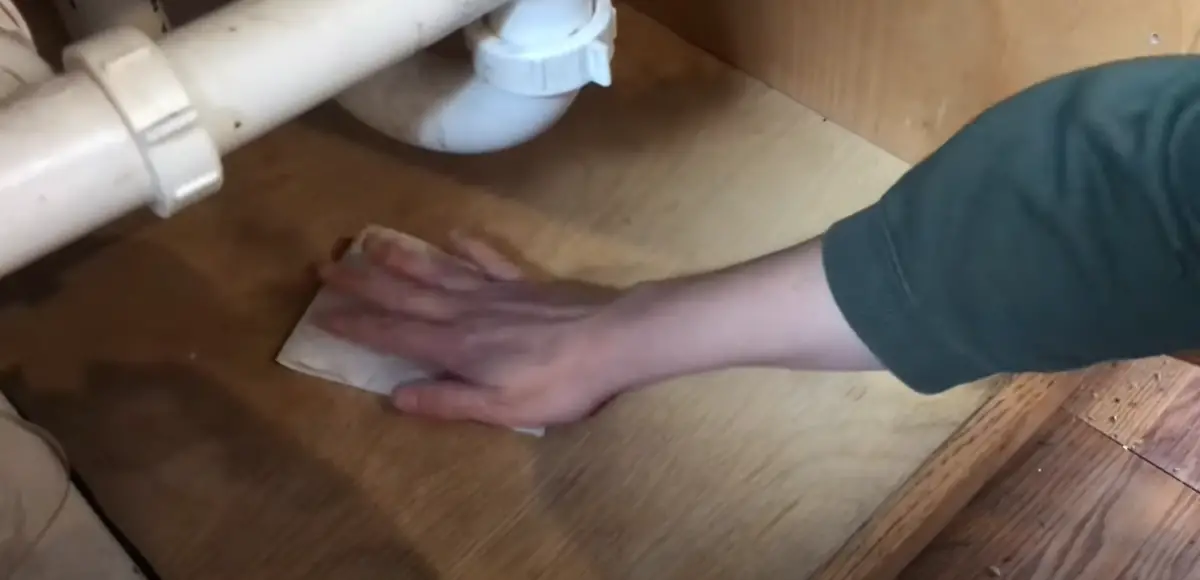
Once all of the old sealants have been removed, use warm soapy water and a soft cloth to clean and dry the edges of your sink. This will ensure that there are no traces of grease, dirt, or grime that can interfere with proper adhesion when applying new sealant. Once cleaned, allow an hour for the area around your sink to completely dry before proceeding.
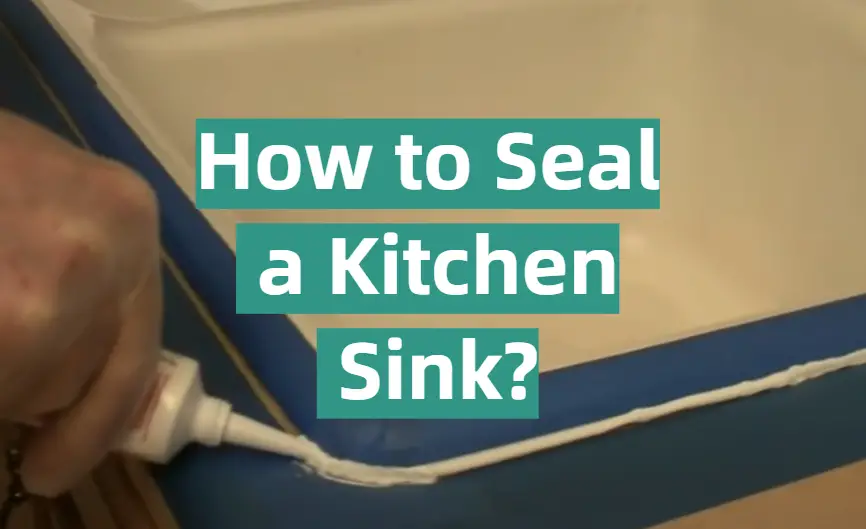
Apply new silicone sealant.
Next, use a caulk gun to apply the silicone sealant. Start by applying a bead of sealant along the edges of your sink and then smooth it out with either a damp finger or a dry cloth. Make sure to read the instructions on the package so that you can identify how long it needs to be left before it can reach its maximum adhesion strength.
Allow for curing time.
Once applied, allow for adequate curing time before using your kitchen sink again. Depending on which type of silicone sealant was used, this could range from 12 hours up to 7 days! Additionally, depending on where you live and the temperature in your home, you may need more or less curing time than recommended by the manufacturer.
Remove excess sealant.
Once the sealant has fully cured, you can use a putty knife or other suitable tool to remove any excess sealant that may have bled out from the edges of your sink. This will give you a polished and professional look when finished.
Test for leaks.
Once the curing period is over, it’s time to test for any potential leaks. To do this, fill a sink with water and watch for any drips or other signs of leakage from the edges of your sink before draining the water away. If all looks good, your kitchen sink is now properly sealed [2]!
How to repair moldy sealant around your kitchen sink?
If the sealant around your kitchen sink has become moldy, it’s important to remove and replace it as soon as possible. Otherwise, the mold can spread and cause health issues. Here are some tips on how to repair moldy sealant around your kitchen sink:
- Start by removing any existing sealant from the area using a putty knife or an old spoon. Make sure you are careful not to damage the surface of the sink.
- Thoroughly clean the area with a mild detergent and warm water solution, then use a damp cloth or sponge to dry it off completely before applying the new sealant.
- Apply a generous layer of waterproof silicone sealant over the entire area by using a caulking gun.
- Smooth the sealant out evenly with your finger, wiping off any excess with a wet cloth or damp sponge.
- Allow the sealant to set for 24 hours before using the sink again.
If you want to remove mold from the sealant already applied, apply a solution of bleach and water. Leave it on for several hours before rinsing the area thoroughly with warm water. Once the sealant is dry, you can reapply the waterproof silicone sealant as mentioned in steps 3-5 above.
It’s important to remember that you should use only waterproof silicone sealant when repairing moldy sealant around your kitchen sink; otherwise, it will damage the surface and/or become loose again in no time!
The best products for sealing around the sink
The sealing products, as well as detailed step-by-step instructions, will help you keep your kitchen sink looking great and prevent water leakage.
When it comes to sealing around the kitchen sink, there are different options available according to your needs. If you want a quick and easy fix, silicone sealants are ideal for this task. These come in either clear or colored options and can be applied directly onto the edges of the sink’s base where it meets the countertops or walls. Make sure that all surfaces have been thoroughly cleaned before applying any sealant. Be sure to follow safety instructions on product labels when using these sealants.
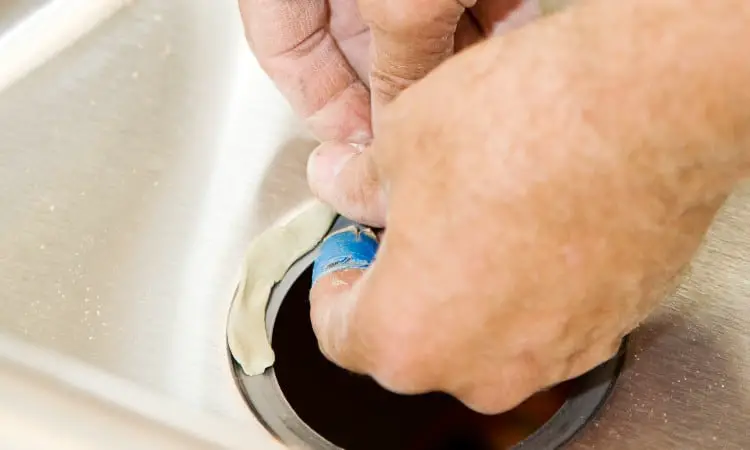
Another option is to use a plumber’s putty or epoxy putty. Plumber’s putty is a soft, malleable material that can easily be worked around the edges of the sink for a watertight seal. Epoxy putty is another option and tends to stay in place better than a plumber’s putty. Apply this type of sealant as instructed on the product label.
Once you have chosen your product, it is important to ensure that all surfaces are properly prepared before beginning installation. This includes cleaning any dirt or debris from the surfaces where you will be applying sealant and checking for any signs of moisture or water damage. Ensure that there are no gaps between the sink and countertop by using shims if necessary.
How To Maintain Your Kitchen Sink For Long-Lasting Performance?
A kitchen sink is a fixture that sees daily use, from prepping food to washing dishes. As such, it’s important to make sure your sink is properly sealed to prevent leaking and damage. Sealing the kitchen sink means applying a sealant around the edges of the sink where it meets the countertop or wall for an airtight fit.
Another factor in properly maintaining your kitchen sink is to make sure you clean it regularly and check for signs of damage. Cleaning your sink with a soft cloth, warm water, and mild soap should be done at least once per week. Additionally, you should inspect the sealant and caulk around the edges of the sink every few months to ensure they are still intact.
On average, kitchen sinks can serve a household of four for up to 20 years with proper care. Additionally, some kitchen sinks come with a lifetime warranty, so be sure to check if you’re eligible for one. The most durable kitchen sinks are made of stainless steel or natural stone. If you have a stainless-steel sink, it’s important to clean it regularly and use a special cleaner to prevent corrosion. If a sink is made of natural stone, it should only be cleaned with a soft cloth and warm water to avoid damage [3].
FAQ
What is the best sealant for kitchen sinks?

When it comes to sealing a kitchen sink, the best sealant to use is one that is specifically designed for kitchen and bathroom fixtures. This type of sealant will be water-resistant, flexible, and long-lasting. It should also be easy to apply and clean up with a minimal mess. Commonly used brands include Loctite Plumber’s Putty, Permatex Ultra Copper Maximum Oil Resistance RTV Silicone Gasket Maker, or DAP Kwik Seal Plus Premium Kitchen & Bath Adhesive Caulk. Be sure to read the instructions on the product carefully before applying any sealants or adhesives to your sink.
What types of caulk can I use?
For best results when sealing a kitchen sink, it is important to use the right type of caulk. Generally, you should opt for a silicone-based caulk or an acrylic latex caulk. Avoid using traditional oil-based caulks, as they are not waterproof and are prone to cracking over time.
How do I prepare my sink before sealing?
Before applying any sealants or adhesives, it is important to make sure that the area around the sink is completely clean and dry. Use a damp cloth to wipe away any dirt or grime from the surface and a soft brush to get into crevices or corners if necessary. You should also remove any old caulking that may still be present on the edges of your sink before adding any new sealants.
How do I apply the sealant?
Once the area is clean and dry, you can begin applying the sealant. Start by using a caulking gun to dispense an even line of caulk around the edges of your sink. If you are using a silicone-based caulk, make sure to smooth it down with your finger or a wet sponge immediately after application. For acrylic latex caulks, use a damp cloth to wipe away any excess material. Allow the sealant to cure for at least 24 hours before using your sink as usual.
Why do you need to caulk around the kitchen sink?
It is important to caulk around the edges of a kitchen sink to prevent water damage and mold growth. Caulking helps keep moisture out and creates a water-resistant seal that will last for years. It also helps to reduce energy costs by preventing cold air from entering through the gaps around your sink. Additionally, caulking can help improve the overall aesthetic of your kitchen by giving it a clean and finished look.

Should you caulk between the sink and countertop?
In many cases, it is not necessary to caulk between the sink and countertop. If there are already silicone or latex sealants in place, then adding extra caulk is unnecessary. However, if you notice any gaps or cracks between the sink and countertop, then it may be beneficial to add a sealant for further protection against water damage. Be sure to use a product that is specifically designed for kitchen and bathroom fixtures to ensure optimal results.
Should I use caulk or silicone in the kitchen?
For kitchen applications, it is best to use a silicone-based caulk or an acrylic latex caulk. Silicone-based caulks are water-resistant, flexible, and easy to apply. They also form a durable seal that won’t crack over time. Acrylic latex caulks are also water-resistant but tend to be less durable than their silicone counterparts. Traditional oil-based caulks should be avoided for kitchen and bathroom fixtures as they are not waterproof and can easily crack.
Do you push or pull when caulking?
When applying caulk around a kitchen sink, it is important to pull the gun in one smooth motion. This will ensure that the caulking is even and won’t leave behind any gaps or bubbles. Pushing the gun can cause the sealant to be uneven, resulting in an ineffective seal.
Can you use Flex seal to seal a sink?
Flex seal cannot be used to seal a kitchen sink. This product is designed for use on roofs and other outdoor surfaces and should not be used in or around sinks. Instead, opt for a silicone-based caulk or an acrylic latex caulk as these products are specifically designed to form long-lasting seals in wet environments.
Can I use silicone instead of plumbers’ putty?
Yes, you can use silicone sealant instead of plumbers’ putty. Silicone sealants are water-resistant, flexible, and easy to apply around the edges of a sink. They also form a durable waterproof seal that won’t crack or deteriorate over time.
Is silicone enough to hold a sink?
Silicone sealant alone is not enough to hold a kitchen sink in place. You will also need to use mounting clips or screws to secure the sink to the countertop. Additionally, silicone caulk should be used around the edges of the sink for further protection against water damage and mold growth.
Does water leak through silicone?
No, water will not leak through silicone sealant when properly applied. Silicone caulks are designed to be waterproof and form an effective barrier against moisture. Be sure to read the instructions on the product you are using before applying it around your sink to ensure optimal results.
How long does a silicone sealant last?
When applied correctly, silicone sealant can last for up to 20 years. To ensure that your sealant lasts as long as possible, be sure to properly clean and dry the surface before applying it and choose a product specifically designed for kitchen and bathroom fixtures. Additionally, check the area periodically over time to make sure there are no gaps or cracks in the sealant that need to be reapplied.
How long does it take for silicone to be watertight?
Silicone sealant will begin to form a waterproof seal immediately after application. However, it can take up to 24 hours for the silicone to cure completely and provide optimal protection against water damage. For best results, make sure not to use any water on the area for at least 12 hours after applying the sealant.
Can you replace a kitchen sink without replacing the countertop?
Yes, it is possible to replace a kitchen sink without replacing the countertop. However, you should still use a silicone sealant around the edges of the sink to ensure that there are no gaps or cracks in the seal that could lead to water damage and mold growth. Additionally, make sure that your new sink is compatible with your existing countertop before installation.
How do you seal a sink to a granite countertop?
When sealing a sink to a granite countertop, it is important to use the right kind of sealant. An acrylic latex caulk or silicone-based caulk will form the strongest, most durable seal and is specifically formulated for wet areas such as kitchen and bathroom fixtures. Additionally, be sure to clean and dry the surface before applying the sealant and allow it to cure completely before using water on the area.
What should you not put on a granite sink?
You should not use abrasive materials such as steel wool on a granite sink, as this can scratch the surface. Additionally, you should avoid using harsh chemicals or cleaners that contain bleach or ammonia. These products can cause discoloration and damage to the sink over time. Stick to mild soap and water for everyday cleaning and be sure to regularly seal any cracks or gaps around the edges of your sink with silicone caulk. This will help protect it from water damage and mold growth.
Useful Video: How to Seal Your Sink with SinkSEAL
Conclusion
Sealing your kitchen sink is a quick and easy task that can prevent the costly repair or replacement of your sink. With the right preparation, materials, and instructions, you can have peace of mind knowing that your kitchen sink will remain secure for years to come. Remember to take all necessary safety precautions when working with hazardous materials and always practice good hygiene in the process. After following these steps, your kitchen sink should be functioning optimally and securely sealed against any water damage or leakage.
References
- https://kitchenseer.com/should-you-silicone-or-caulk-around-kitchen-sink/
- https://www.unibond.co.uk/en/sealants/how-to-seal-a-kitchen-sink-a-simple-diy-guide.html
- https://www.teka.com/global/inspiration/innovation/how-to-clean-and-disinfect-your-kitchen-sink-easily/