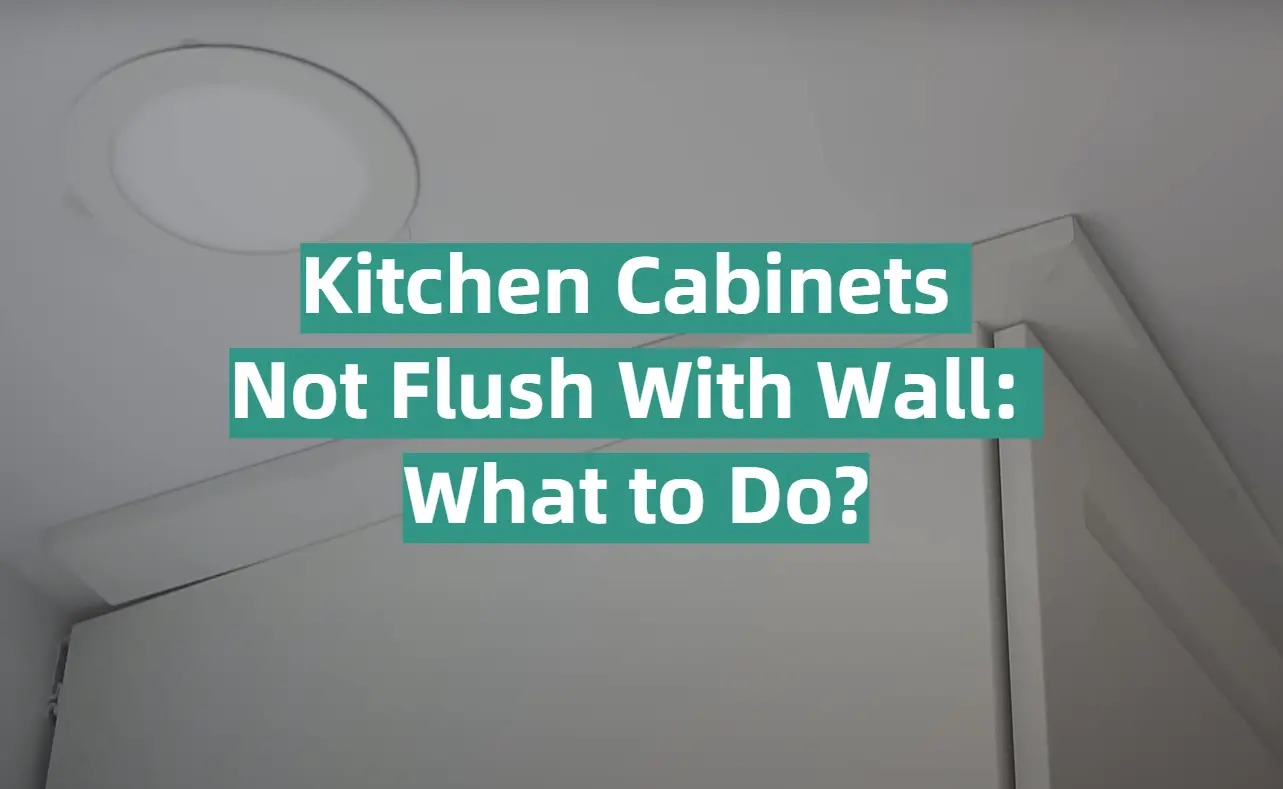
If you’re in the process of renovating your kitchen or have just moved into a new home, you may notice that some of your cabinets don’t sit flush against the wall while others do. It can be confusing to deal with cabinets that are not flush with the wall. But don’t worry, we’re here to help! In this article, we’ll provide some useful tips and answer some common questions on how to address this issue.
Brief Summary
Kitchen cabinets should ideally sit flush against walls for optimal support and aesthetics. However, uneven wall surfaces, improper installation, and ill-fitting cabinets often leave unsightly gaps. Fixing cabinets that aren’t flush requires checking door alignment, tightening loose hardware, using shims, and re-installing cabinets if necessary. For extra stability, anchor cabinets firmly into wall studs with wood screws and liquid nail adhesive, placing shims underneath to level as needed. Securing cabinets to walls with gaps involves measuring the space, marking attachment points, and driving screws with washers into studs. Fill remaining gaps with caulk for a flush finish. For a quick fix, adjust doors, ensure tight hinges and handles, and use shims to push cabinets closer to walls. As a last resort, cabinets may need complete removal and reinstallation to sit flush. Proper measurements, secure fastening to studs, leveling shims, and filler products are key to eliminating gaps between cabinets and walls. With some work, kitchen cabinets can be flush, stable, and integrated seamlessly into the space.
Should Kitchen Cabinets Be Flush With the Wall?
It might seem like a silly question, but the answer is actually quite important. In general, yes, kitchen cabinets should be flush with the wall. A well-fitted cabinet will provide support for your countertops and surrounding walls, as well as help maintain an even look throughout your space.
However, it’s not always possible to get every cabinet perfectly flush with the wall – especially if it’s made of wood or laminate rather than metal. So what do you do if your kitchen cabinets are not properly fitted? [1]
Fortunately, there are a few simple solutions that can help make sure your cabinets fit just right. Let’s take a look at some common problems and how to fix them.
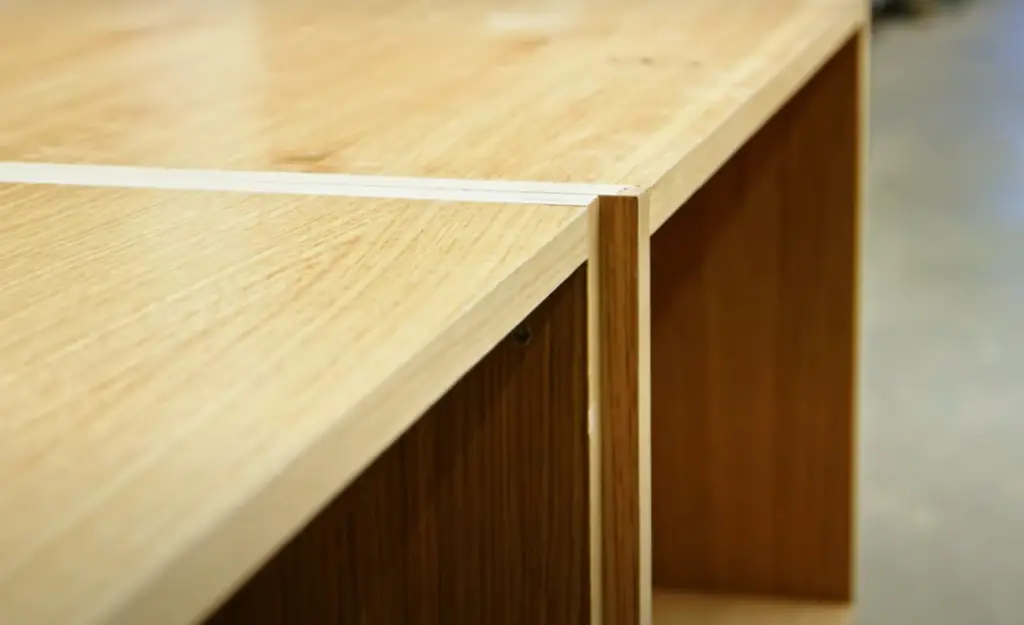
Factors In Kitchen Cabinet Placement
Kitchen cabinets can be tricky to install, especially if they’re not perfectly flush with the wall. Common factors that contribute to kitchen cabinet placement issues include:
- Wall type. The surface of some walls may be irregular or uneven, making it difficult to install kitchen cabinets evenly;
- Cabinet size and weight. If the cabinets are too big and heavy, they may be difficult to mount properly;
- Poor installation technique. Incorrectly measuring the distance between the upper and lower cabinets could cause them to appear misaligned on the wall [2];
There are several steps you can take if your kitchen cabinets aren’t flush with the wall. Let’s dive into a few solutions below!
Fixing Kitchen Cabinets Not Flush With the Wall
While there are several ways to fix kitchen cabinets that aren’t flush with the wall, it’s important to remember that shimming and bracing can help secure any loose cabinets. Here are some key steps to take if your kitchen cabinets aren’t flush:
- Make sure the cabinet is properly installed on the wall. If it is not, then you will need to adjust or re-hang the cabinet before proceeding;
- Check for gaps between the cabinet and the wall. Shims can be inserted between them to even out any unevenness in placement;
- Brace any loose corners or sides of the cabinet onto studs in the wall. This will secure and stabilize the cabinet to prevent it from shifting or moving over time;
- Measure the distance between the upper and lower cabinets for proper alignment. If they are misaligned, you can use a level to adjust them until they are even with each other;
- Install corner brackets if needed, as these can help keep any loose corners of the cabinet securely in place on the wall;
Following these steps will help ensure your kitchen cabinets are properly aligned with the walls and remain stable over time!
Why Is Space Left Between The Cabinet And Wall?
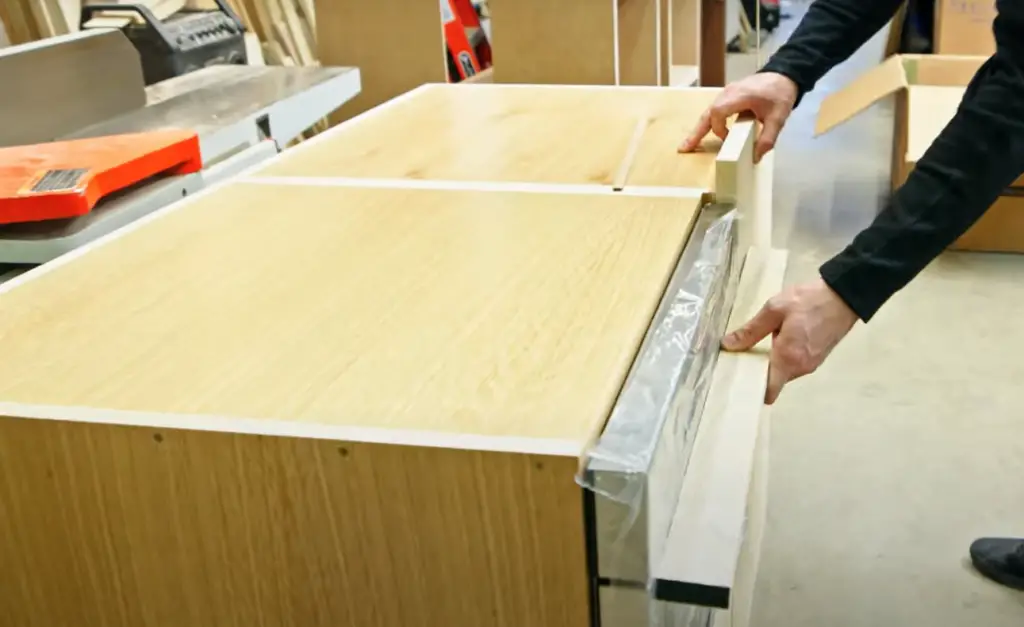
No matter why there is a gap between your cabinets and walls, you may find it unsightly and annoying! Fortunately, fixing this common issue doesn’t have to be difficult or time-consuming. In fact, we’ve got some great tips to help you get your kitchen cabinets flush with the wall and look their best in no time.
How to Anchor Kitchen Cabinets to the Wall When They are not Flush with It?
Having a cabinet that is not flush with the wall can be both dangerous and unsightly. Fortunately, there are a few simple steps you can take to ensure your cabinets remain secure and safe to use.
The first step is to anchor each cabinet securely into the wall studs. This will provide extra stability for your cabinets, so they don’t become loose or unstable over time. The best way to do this is by using wood screws. Measure from one corner of the unit to the other and then choose the appropriate length screw for each side of the cabinet. Use a drill with an appropriately sized bit on each side of the cabinet frame, mark where each screw should go, pre-drill pilot holes, and then drive the screws into the wall studs.
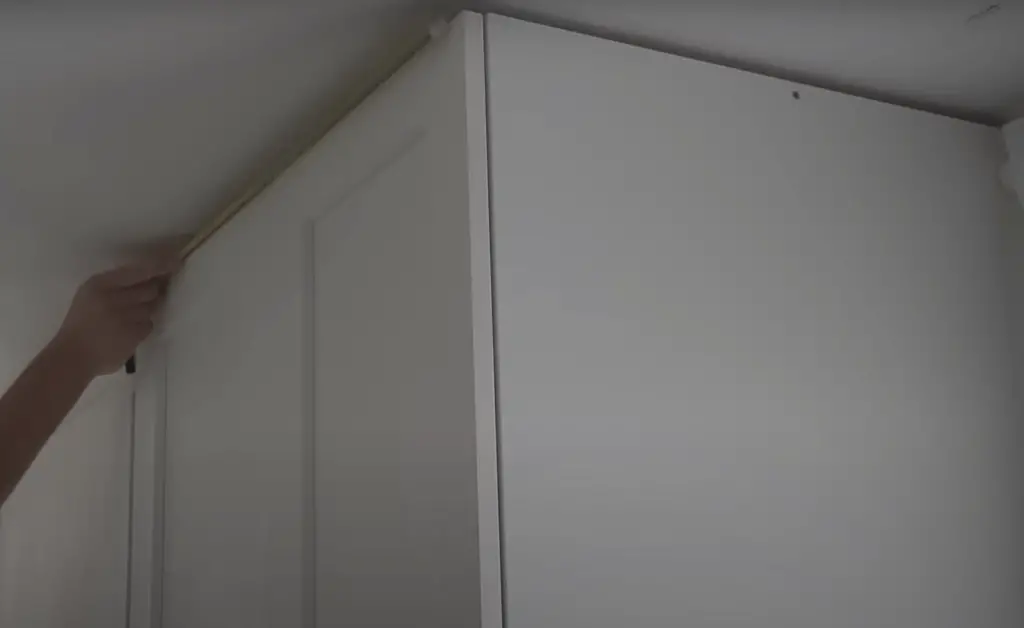
You can also use a liquid nail adhesive to add extra security. Apply a small bead of adhesive to each corner of the cabinet where it meets the wall, and then hold it in place for several minutes. This will help keep the cabinets flush with the wall over time. [3]
If you still find your cabinets are not flush with the wall, a shim may be necessary to properly level them out and provide additional stability. Measure from one corner of your cabinet frame to another and cut a piece of wood that is slightly thicker than the difference between those measurements. Place this shim underneath any portion of your cabinet frame that needs leveling out and screw through it into the wall studs as well.
How To Secure The Cabinet To The Wall With A Gap
The first thing you need to do is secure the cabinet to the wall with a gap. This will help keep the cabinets in place and minimize movement. To do this, start by measuring the gap between the wall and the cabinet. Then, mark where you want to attach it to the wall using a pencil or marker.
Next, use screws and washers to attach it securely. Space out your screws evenly along the top of the cabinet and make sure that they are firmly attached. You’ll also want to make sure that all of your screws are flush with each other for maximum stability.
Finally, fill any gaps that remain with caulk or spackle material – be sure to let it completely dry before attaching any additional hardware. This will ensure that your cabinet is secure and there are no gaps for the cabinet to shift or slide.
Tips For Making Kitchen Cabinets Flush With The Wall:
- Check Your Cabinet Doors – Most of the time, the gap between the cabinet and wall can be fixed by adjusting or replacing cabinet doors that are misaligned or warped. Taking a closer look at each door will help you identify which ones need to be adjusted or replaced;
- Inspect Hinges & Knobs – Loose knobs, handles, and hinges can cause cabinets to not sit flush against the wall. Be sure to inspect all hardware closely to identify any loose screws or other issues that could be causing this problem;
- Make Use of Shims – If the cabinet was installed too far away from the wall, you can fill in the gap with shims to push it closer and make it flush;
- Re-Install Cabinets – In some cases, the gap between your cabinets and walls may be due to installation errors. If this is the case, you’ll need to uninstall your cabinets and start over from scratch. It’s a good idea to enlist the help of a professional for this task if you’re not confident about doing it yourself;
FAQ
How do you fix the gap between cabinets and walls?
The first step in fixing the gap between kitchen cabinets and walls is to identify the cause. It could be an uneven wall surface, improperly cut cabinet frames, or simply poor installation. Once you’ve identified the issue, it’s time to fix it!
For uneven wall surfaces, you may need to use a putty knife and some spackle to level out the wall. If this isn’t successful, then consider adding reinforcing blocks behind your cabinets for extra support.
If improper cuts were made in the cabinet frames, then you might want to replace them with new ones that are measured correctly. You can also adjust hinges on existing frames if necessary.
Finally, if the gap is caused by poor installation, it’s important to ensure that the cabinets are mounted properly and securely. This includes making sure the screws are tight and checking for any screws that may have been missed. [4]
Should the cabinet be flush with the wall?
Most of the time, yes. When it comes to kitchen cabinets not being flush with the wall, you want them to be as close to flush as possible. There should be a very small gap between the cabinet and the wall, but nothing more than 1/8″ wide. Any greater gap is cause for concern and could lead to problems down the road.
What do you do with that awkward space above your kitchen cabinets?
When you notice that one of your kitchen cabinets is not flush with the wall, it can be quite a conundrum. You’re left wondering what to do with that small gap between the top row of cabinetry and the ceiling. Don’t worry – there are plenty of options available to help fill in this awkward space!
One option is to simply leave any gaps as they are and let them be a natural part of your home’s design. This works especially well if you have an eclectic-style décor where mismatched pieces come together to create a unique aesthetic.
If you prefer a more finished look, then consider installing trim or molding above your cabinets. Consider having fun with it by choosing bright colors or decorative patterns. You can also use the space to hang decorations, like hanging plants or banners with unique designs on them.
You may also want to consider adding storage in the small space above your cabinets. This is especially helpful if you have limited countertop and cabinet space in your kitchen. It’s easy enough to add a shelf above the cabinets, allowing you to store items like spices or cookbooks up there.
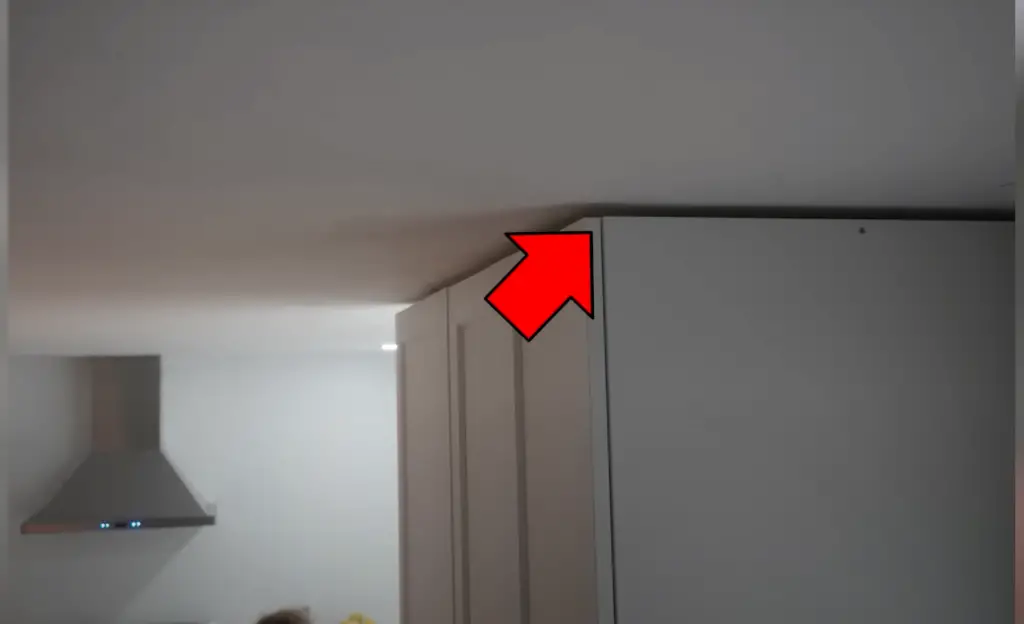
If you’re looking for additional lighting in your kitchen, then installing lights above the cabinets is an excellent choice. There are plenty of different options available, from recessed lighting to string lights – so take some time to find what works best for your home’s aesthetic and functional needs!
Do you need a filler between the wall and cabinet?
In most cases, if your kitchen cabinet is not flush with the wall, you will need to fill the gap. This can be done in a few different ways, such as using shims or filler strips. Shims are thin pieces of wood that fit between two surfaces and help level out the overall surface area. Filler strips are usually made of plastic or metal and help cover up any gaps while also providing extra stability. Both can be found at most home improvement stores.
In addition to shims and filler strips, you may also find it helpful to use caulk when filling in any large gaps between the wall and cabinet. Caulk is typically used for sealing cracks around windows or doors so that water does not seep in. It can also be used to fill the gap between your cabinet and wall, helping create a tight seal that keeps dust and dirt out.
No matter what type of material you use for filling the gap, it is important to make sure that the cabinet is level with the wall before applying any caulk or adhesive. Once everything is leveled out, use a putty knife to apply the caulk or filler strips and allow it to dry completely before reinstalling your cabinets.
Conclusion
Installing kitchen cabinets can be a daunting task for many homeowners, especially those with little experience. If your cabinets aren’t flush with the wall, don’t worry! You can easily fix the issue by taking proper measurements, considering cabinet type and design, making adjustments to your casing or framing if necessary, and shimming where needed. With these steps you will soon have beautifully installed kitchen cabinets that are flush with the wall.
Good luck and happy remodeling!
References:
- https://projectperfecthome.com/kitchen-cabinets-wall/
- https://ohanlonkitchens.com/2020/08/31/factors-that-impact-kitchen-cabinet-placement/
- https://www.diychatroom.com/threads/how-to-anchor-cabinet-to-wall-when-not-flush-to-wall.292426/
- https://kitchenseer.com/how-to-fill-gap-between-kitchen-cabinets-and-wall/








When we remodeled our kitchen last year, I noticed that the new cabinets were not perfectly flush with the walls. There was an uneven gap of about 1/4 inch that drove me crazy every time I looked at it. I did some research online and found that kitchen cabinets should be flush with the wall for optimal aesthetics. The gap was likely caused by uneven walls or improper installation. I used silicone caulk to fill the gaps between the cabinets and walls which helped make it look much cleaner. Now you can barely notice the unevenness. Just be sure to use a caulk that matches your cabinet color.
We recently moved into a house with older kitchen cabinets that had gaps between the cabinets and walls. The gaps were 1/2 inch wide in some spots which just looked sloppy to me. I prefer a more seamless, built-in look with cabinets flush to the walls. I read that having cabinets flush with the walls makes them look like furniture built just for that space. I used wood shims to adjust the cabinet positions and make them flush with the walls. It required some patience but it made a huge difference in the look of the kitchen. No more gaps!
When we remodeled our outdated kitchen, I was excited to finally have beautiful new cabinets installed. But when they were done, I noticed uneven gaps between the cabinets and walls. The gaps were wider in some spots and narrower in others. I asked the contractor why they weren’t flush with the walls. He explained that the walls weren’t perfectly straight. He suggested using caulk and trim pieces to cover the gaps. I didn’t want to just hide it, so we agreed to reposition the cabinets to minimize the gaps. It took more time but I’m glad we did it right. Now the cabinets have a custom, built-in look.
After installing new cabinets, my husband and I realized they were inset about 1/2 inch from the wall in some spots. We prefer the look of cabinets being flush against the wall like one unified block. The contractor said this is common with uneven walls. We decided to use extra trim molding down the sides to cover gaps, matching the cabinet finish. Now you can’t tell they aren’t perfectly flush. It would’ve bugged me forever if we left uneven gaps showing. Now our kitchen finally has the seamless look I wanted.
When updating our dated kitchen, we splurged on custom cabinets. I was frustrated when I noticed the new cabinets weren’t perfectly flush with the walls. There were gaps of varying widths between the cabinets and walls. The contractor said this was due to imperfections in our old walls. He suggested leaving the gaps or using trim pieces to cover them up. I didn’t want to settle for that. We agreed to reinstall the cabinets, carefully shimming and adjusting until flush with the walls. It took more time and money but I have no regrets. The flush cabinet installation gives our kitchen a high-end, custom look.
After our new kitchen remodel, I realized the cabinet sides were inset slightly from the wall, leaving a 1/4 inch gap. I pointed this out to the contractor who explained it’s impossible to get cabinets perfectly flush with imperfect walls. He said most homeowners just leave a small gap and caulk it. But I really wanted a flush, built-in look. We decided to uninstall and reinstall the cabinets, using shims until flush with the walls. It wasn’t easy but I’m so glad we took the extra time and care to do it right. Now our kitchen has a flawless, custom look.
When we had our dated kitchen redone, I was disappointed to find gaps between the new cabinets and walls. The gaps ranged from 1/4 to 1/2 inch wide. I asked the contractor why they weren’t flush. He said flaws in old walls make perfect alignment impossible. He suggested using trim pieces to cover gaps. I didn’t want to just hide it – I wanted a flawless look. We agreed to carefully reinstall the cabinets, adjusting as needed until flush with the walls. The extra effort was worthwhile. Now our kitchen has a high-end, custom look with cabinets seamlessly flush with the walls.
After having new cabinets installed in our outdated kitchen, I noticed uneven gaps between the cabinets and walls. In some spots the gaps were 1/2 inch wide, which looked sloppy to me. Online articles say kitchen cabinets should be flush with walls for an integrated look. When I pointed this out, the contractor said imperfect walls make a flush installation impossible. I didn’t want to just fill the gaps and move on. We agreed to remove and reinstall the cabinets, carefully shimming until flush with the wall. It took more time and money but the flawless result was worth it.
When our new kitchen cabinets were installed, I realized they weren’t perfectly flush with the walls. There were uneven gaps of up to 1/2 inch because our walls aren’t perfectly plumb and straight. I asked the contractor to adjust the cabinet positions to minimize the gaps. He said minor gaps were unavoidable and could be caulked. But I didn’t want visible gaps – I wanted a flawless look. We agreed to remove and reinstall the cabinets, shimming and adjusting until flush with the walls. Achieving this took patience and precision but I’m so glad we took the time to do it right.
After having new custom cabinets installed, I noticed uneven gaps between them and the walls. In some spots, there were gaps of over 1/2 inch. When I pointed this out, the contractor explained it’s impossible to get cabinets completely flush with imperfect existing walls. I hated the uneven, shoddy look. We agreed to uninstall and reposition the cabinets, carefully shimming and adjusting them until they were flush with the walls. It required extra time and money but it was worth it. Now our kitchen has the flawless, custom look I wanted with cabinets seamlessly integrated with the walls.
I was so disappointed to see gaps between our expensive new cabinets and the kitchen walls. The old walls were uneven, making a flush fit impossible according to the contractor. The gaps ruined the seamless look I wanted. I considered adding trim pieces to cover gaps but didn’t want to just hide flaws. We agreed to remove and reinstall cabinets, taking time to position and shim them perfectly flush with walls. Achieving this seamless look required patience and precision but was well worth the effort. I’m so pleased with how our kitchen turned out.
After installing new kitchen cabinets, I noticed uneven gaps between them and the walls. In some spots, the gaps were nearly 1/2 inch wide due to imperfections in the old walls. I pointed this out to the contractor who said the gaps couldn’t be entirely avoided. He suggested using trim pieces to cover them up but I didn’t want to settle for that. We agreed to reposition the cabinets, carefully shimming and adjusting them until flush with the walls. Though tedious, I’m glad we took the extra time to do it right. Now our kitchen has a flawless, custom look.